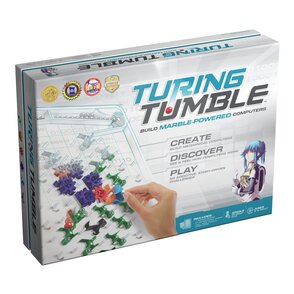
 Coding and computational thinking tools are all the rage in education right now... everywhere you turn, another company has popped up with another electronic device that will teach your students to code. But sometimes it is nice to unplug, right? Enter the Turing Tumble - a computer that doesn't need any batteries, wires, or plugs... just your brains, perseverance, and some little marbles! 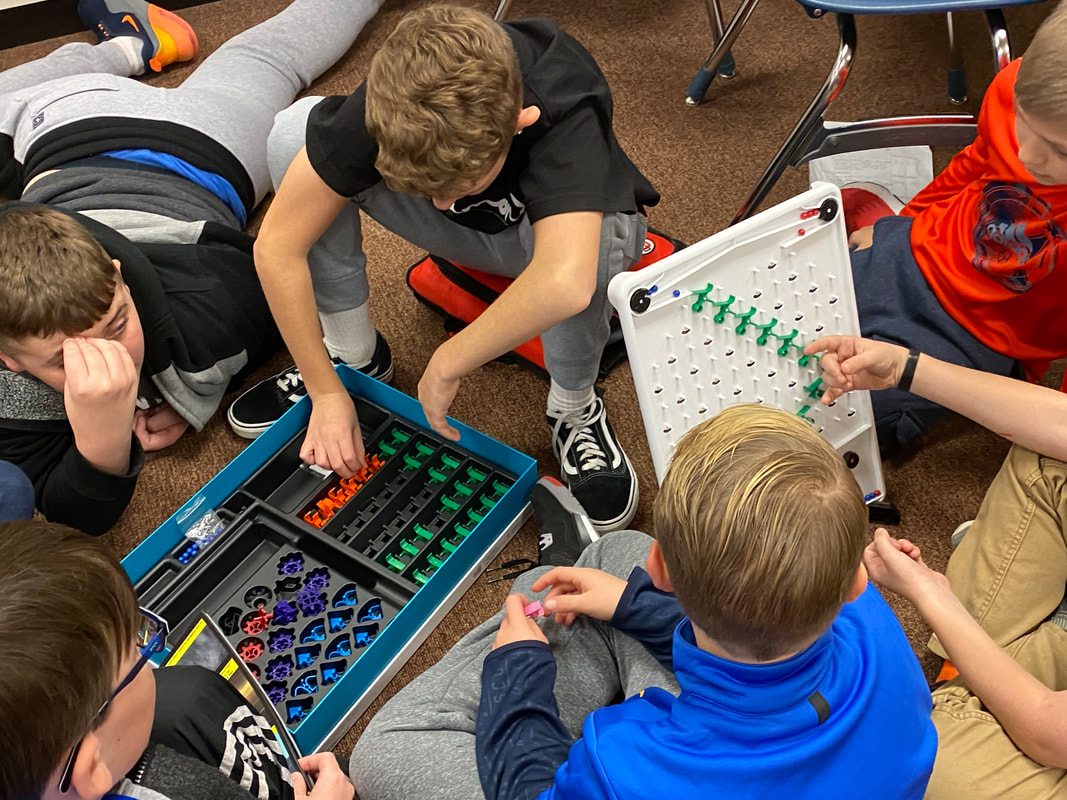 So how exactly does it work? First, you have assemble the computer. This can be a bit of a process, so I'd recommend it be done before you hand the Turing Tumble to students. I had my library helpers assist me in assembling my five kits for first time use. Here's a great unboxing/setup video if you want to see what is involved before you begin: The included graphic novel style challenge book is fairly self-explanatory. I went over expectations with my students and let them go... and wow, did they ever go! Within minutes they had the first puzzles set up and began running their "programs": 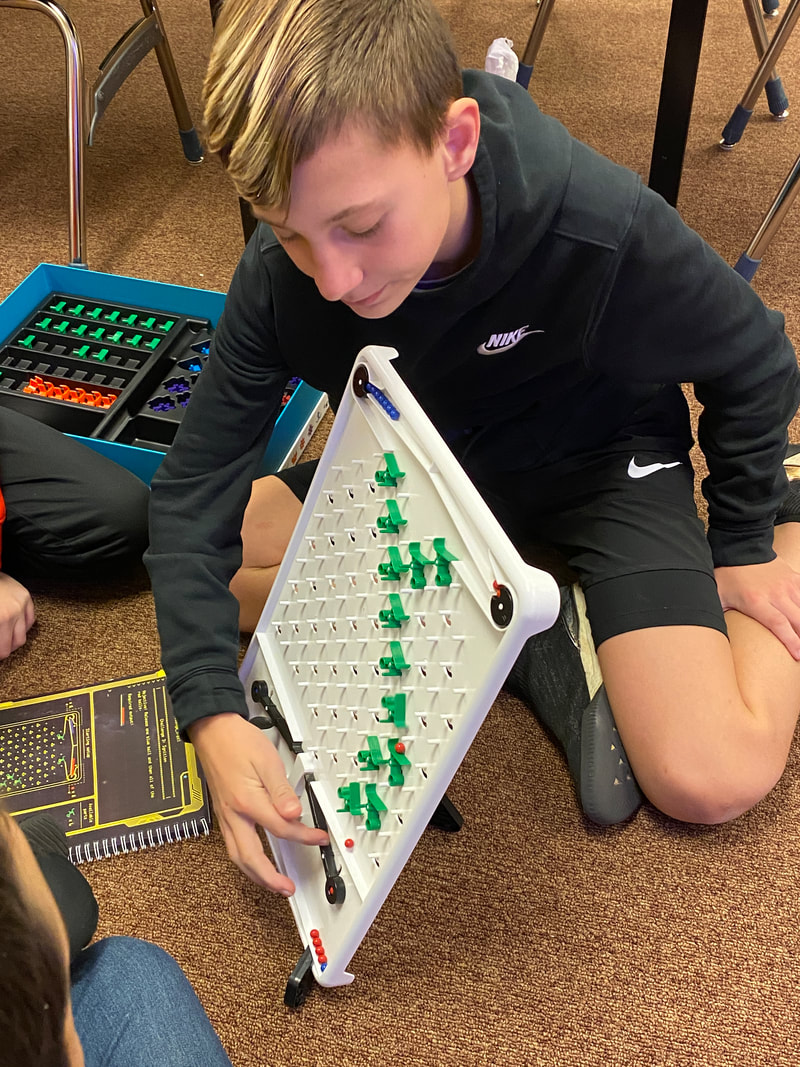 But then came the best part... the talking. The first 2-3 puzzles are fairly simple and mostly teach the operations of the computer. Starting with the 4th puzzle, things start getting intense. The collaboration! The trial and error! The discussion about WHY it wasn't working and HOW to fix it! My nerdy-teacher-heart was SINGING!! YES!!! Just listen in on this discussion: And this one (from the same group)!! The puzzles continue to get more and more complicated, adding more pieces, demanding different outputs - it really gets them thinking! 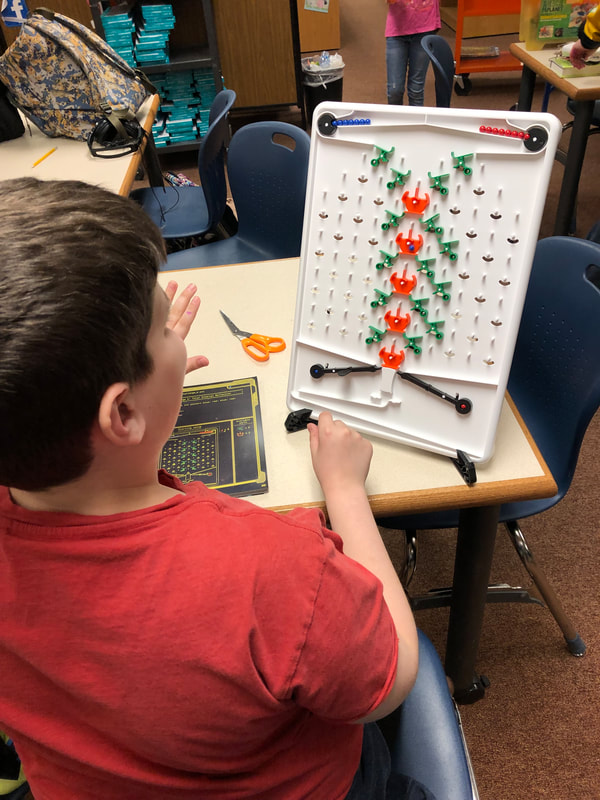 The Turing Tumbles are, without a doubt, one of the best additions to our Makerspace. I can't wait to see what else my students do with them!
Side note: The Turing Tumbles are named after Alan Turing, the famous mathematician responsible for laying the foundation for modern computer science! His work with decoding ciphers helped win WWII. Unfortunately, he was arrested and jailed for his at-the-time illegal relationship, dying an untimely death that is still debated whether it was accidental or suicide. Alan Turing's work was critical to the development of stored-program computers, and it can be argued that all modern computers are an iteration of Turings' work. Can you envision using a Turing Tumble in your classroom? Leave a comment below and let me know!
0 Comments
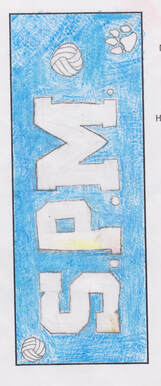
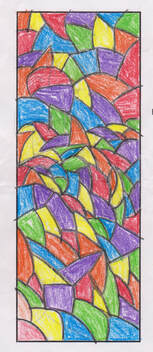
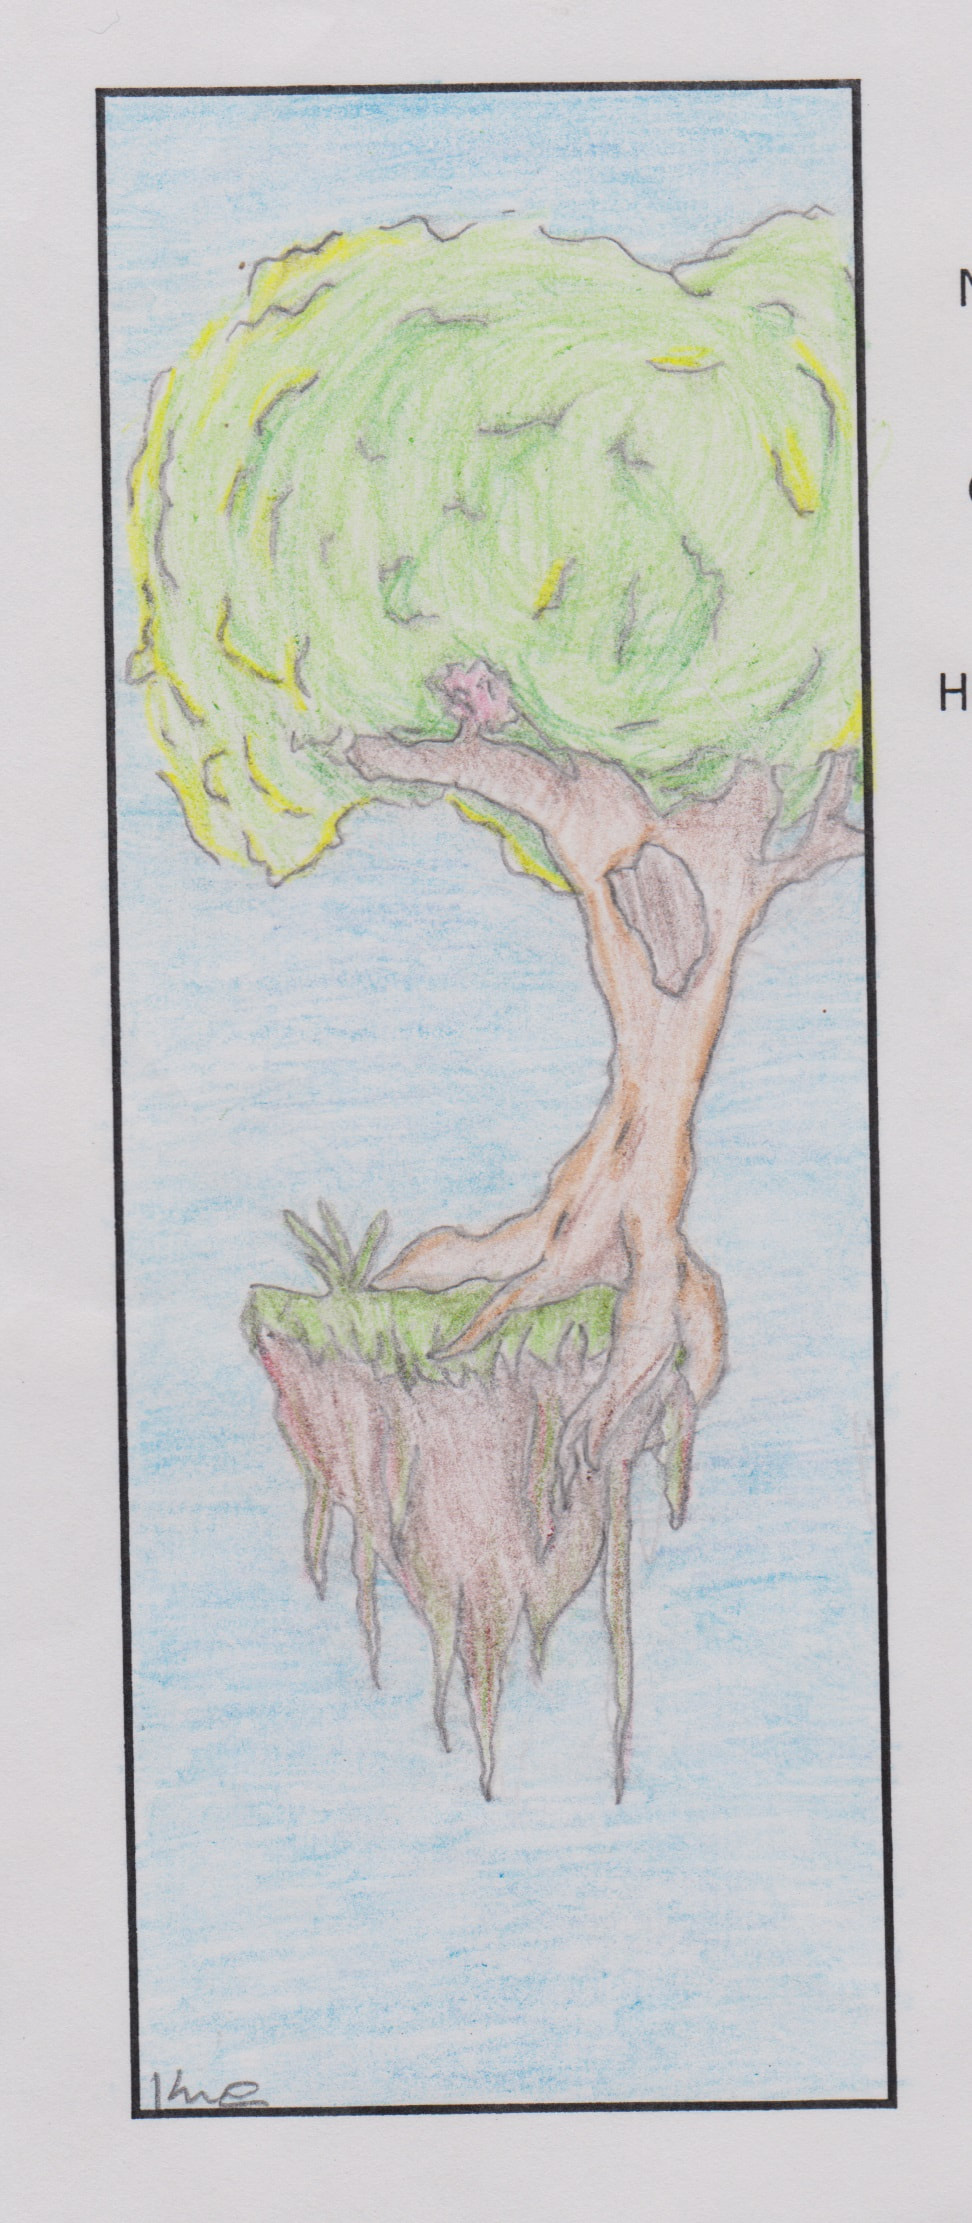
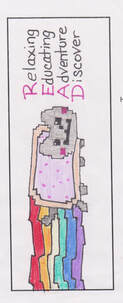
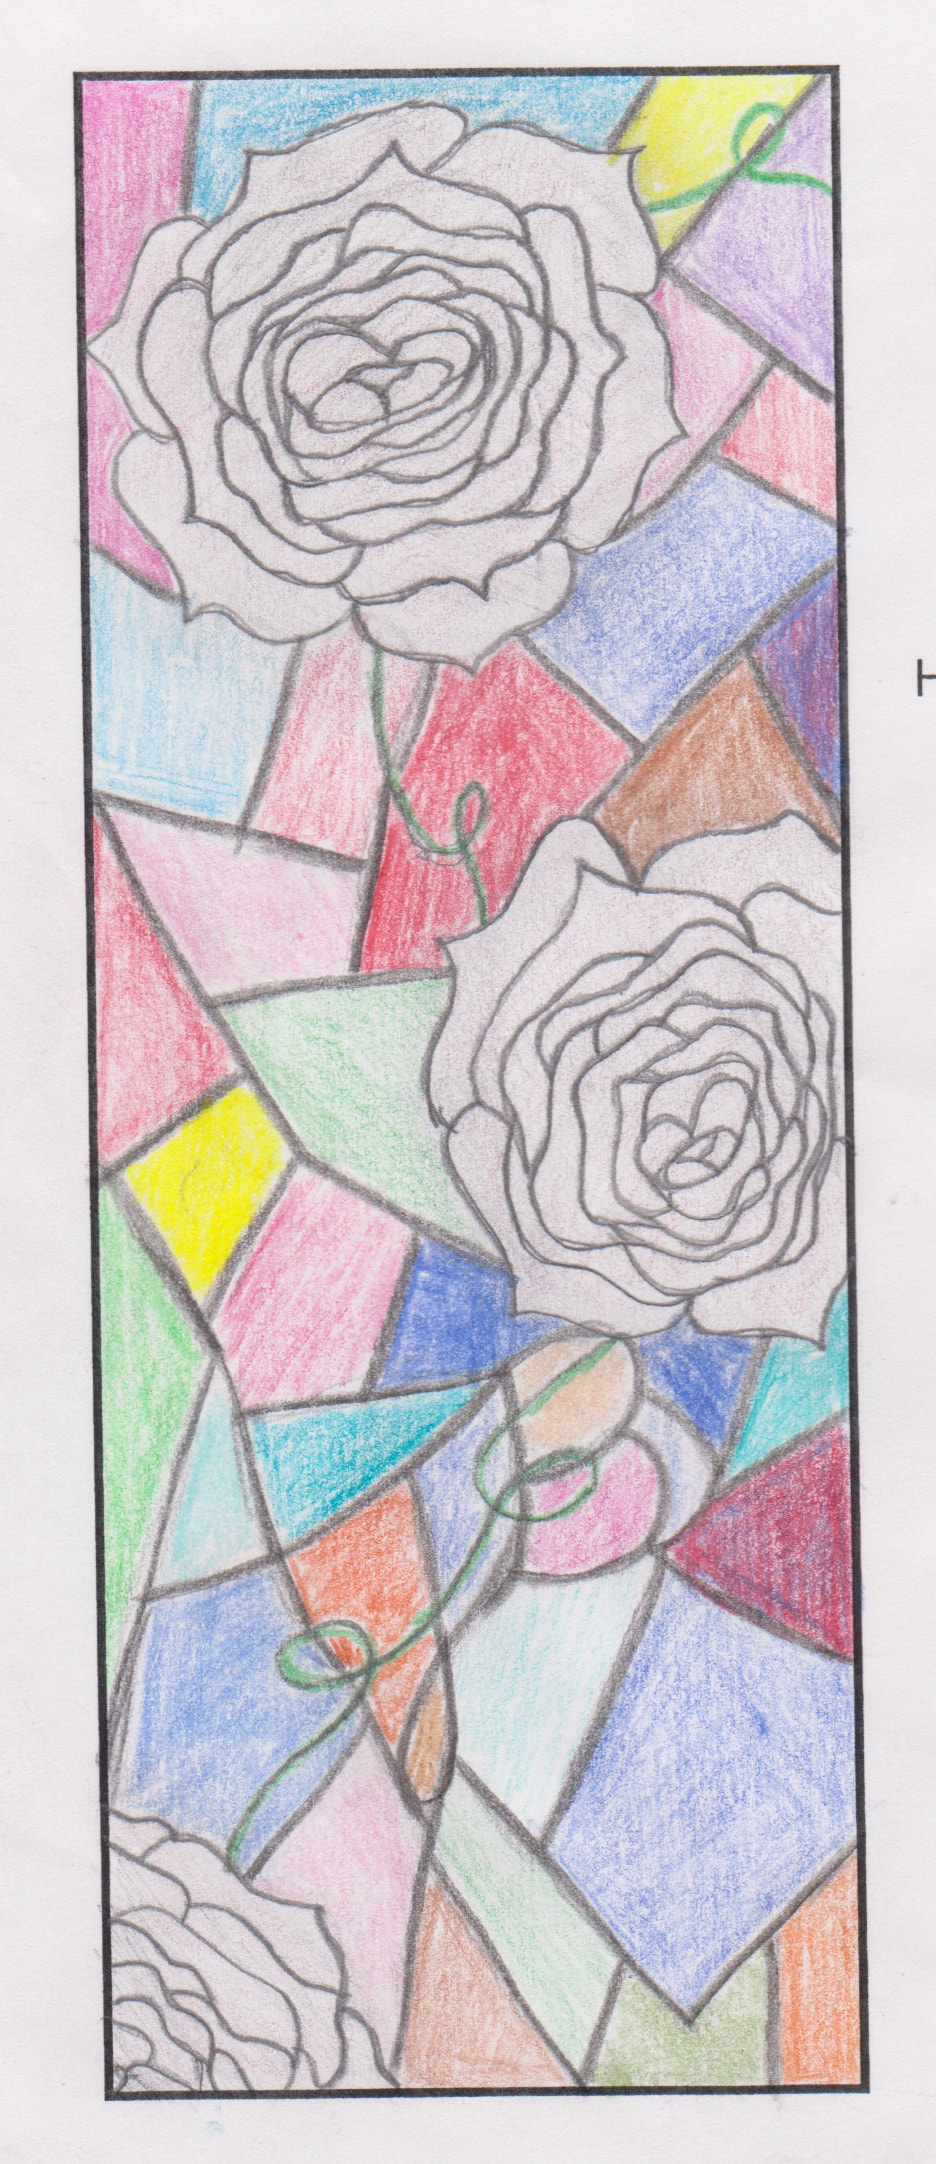
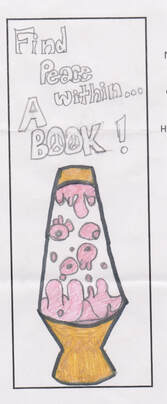
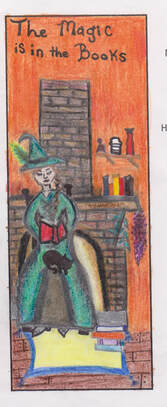
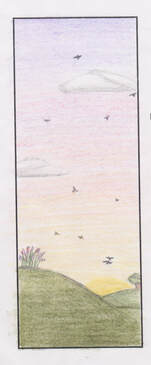
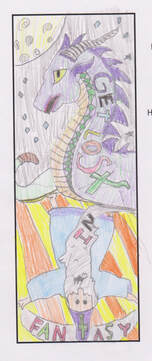
Each year, the SPMS Media Center holds a bookmark contest. Students can enter original artwork for consideration as the school bookmarks for the year The students vote for their favorites. Here are our 2019-2020 winners! 6th Grade
Congratulations to Sergia N. and Tessie D.! 7th Grade
Congratulations to Kristalyn N., Catherine B., and Averie B.! 8th Grade
Congratulations to Libby F., Peter R., Hope D., and Lucas O.!
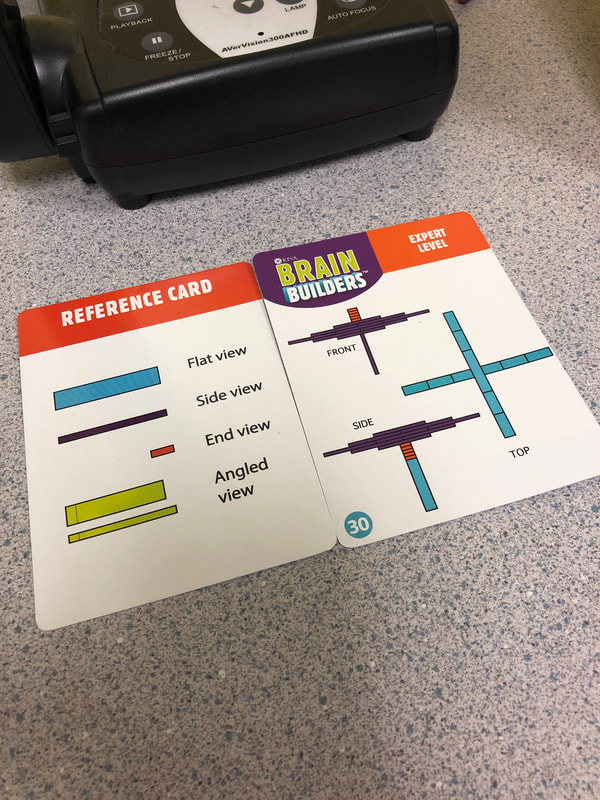
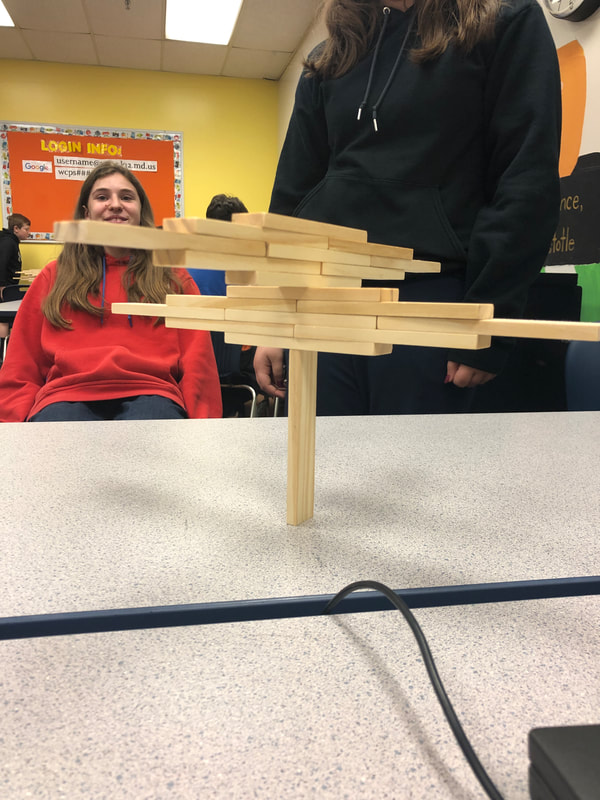
 If you haven't already heard of the wonders of KEVA planks, let me introduce you to one of the most popular Makerspace materials I have purchased to date! These small, perfectly cut pieces of wood may look just like any other wooden block; however, their simplicity makes them perfect for everyone to use! First - what is a KEVA Plank? As you can see from the photo below, they are small planks made of maple or pine (my sets are pine). Every piece is exactly the same - 1/4" thick, 3/4" wide, and 4.5" long. 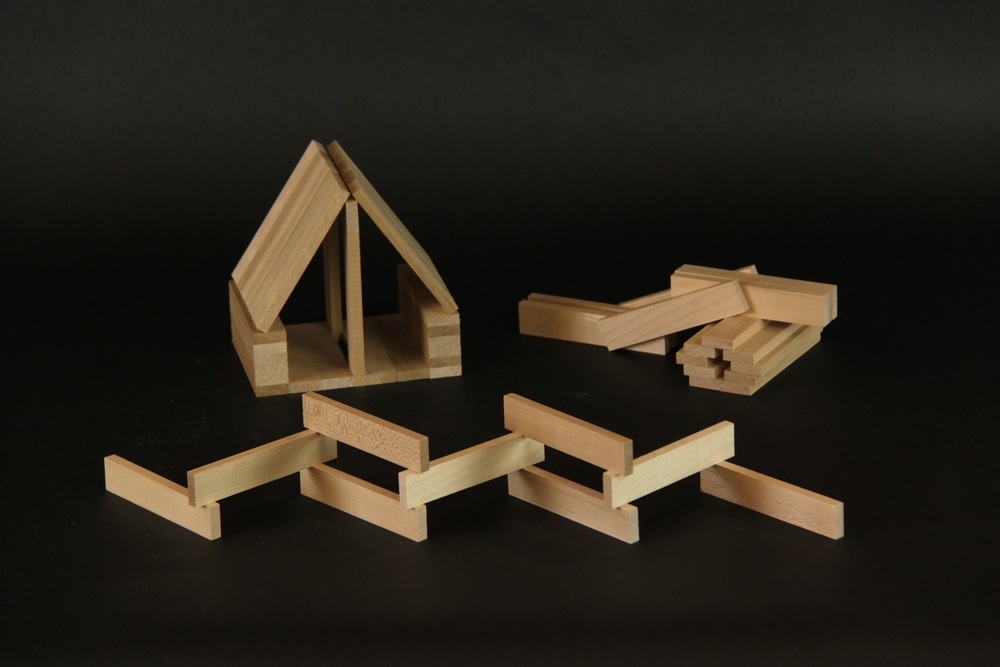 Why do those measurements matter? Because KEVA Planks follow the "Golden Ratio" of 1:3:5. 1 plank wide is 3 planks tall and also 5 planks long, as illustrated in this picture: 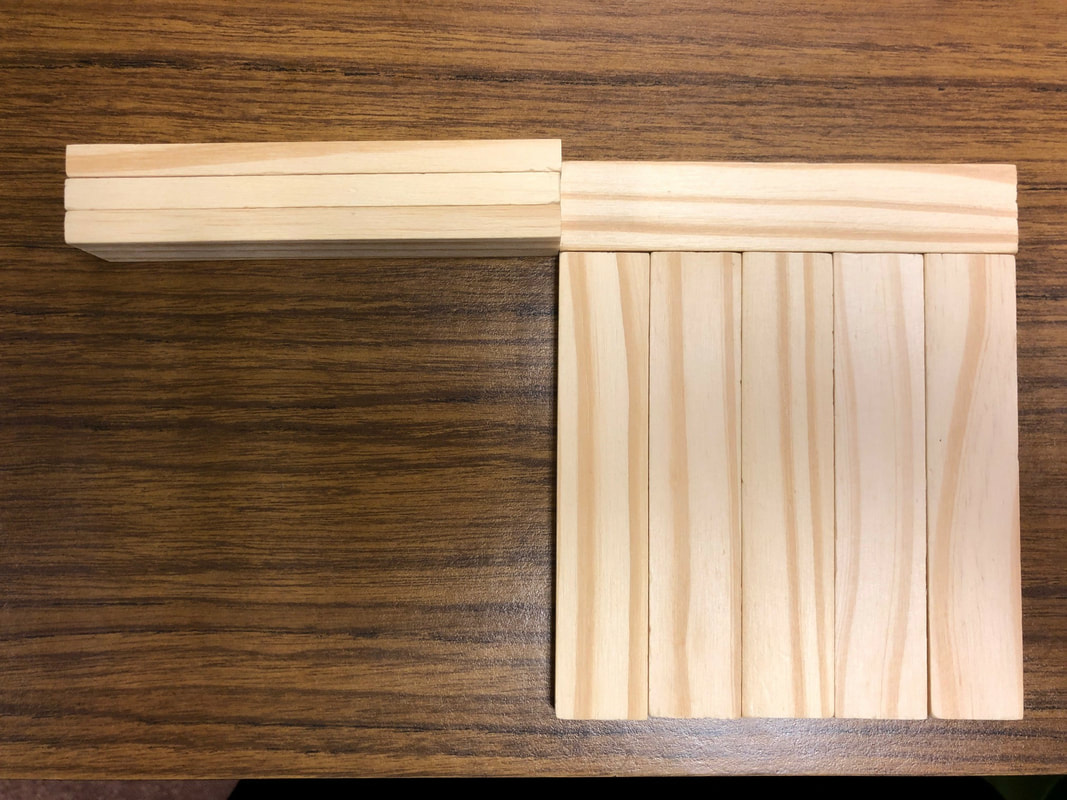 This is know as the beginning of a series of numbers discovered by Leonardo Fibonacci. You can learn more about the Fibbonacci sequence here: In short, the ratio of each successive pair of numbers in the series approximates the irrational magic number called phi, or 1.1618 (not to be confused with pi, or 3.1415). The interactions of the first numbers in the Fibbonacci sequence create perfect proportions and are very versatile. You see it in the architecture of the Parthenon, the Great Pyramids, and more! So how can you use KEVA Planks with kids? Fortunately for teachers, the KEVA Planks company has created an amazing selection of resources for parents, educators, and librarians! Just click on this picture below, then mouse-over the Educators or Libraries tabs as appropriate! 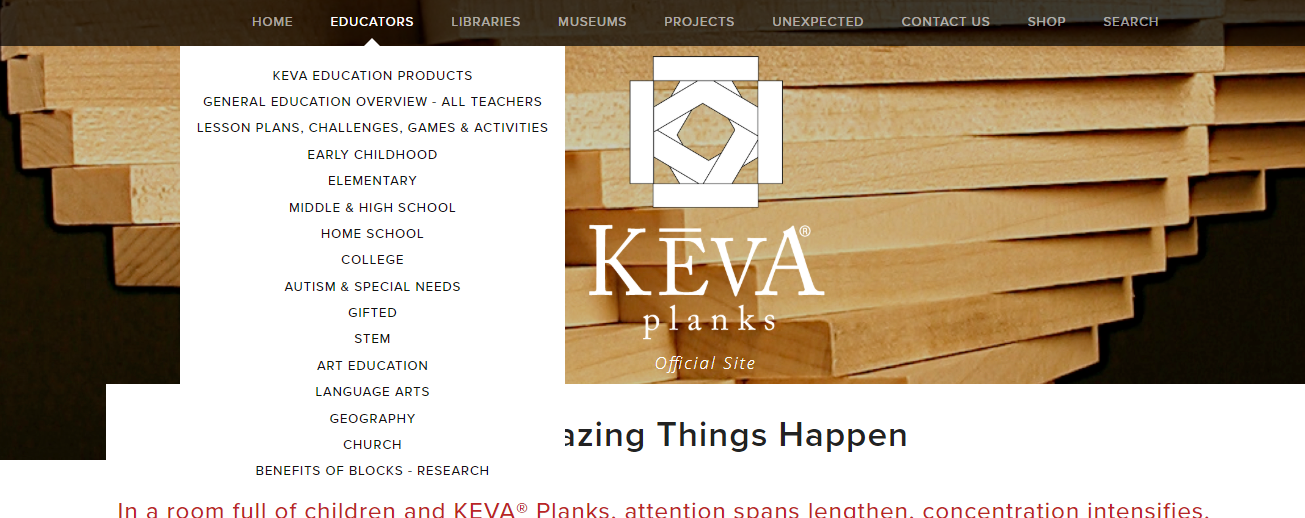 I used KEVA Planks with my 6th and 7th grade Coding and Computational Thinking classes with amazing results. I used the KEVA Brainbuilders boxes to supply them with a warm up challenge. Each card has 1 pattern to be built with 20 planks or less. Here is a sample expert level card with two of my students who worked together to solve it. This was a very difficult card, but they did it!
The collaboration, engineering skills, and communication that my students displayed while they worked together to solve these puzzles was incredible. My students have made some AMAZING structures with the KEVA Planks. I have given them challenges, such as "build the tallest freestanding structure you can using triangle shapes" or "build the longest bridge you can build without supports". 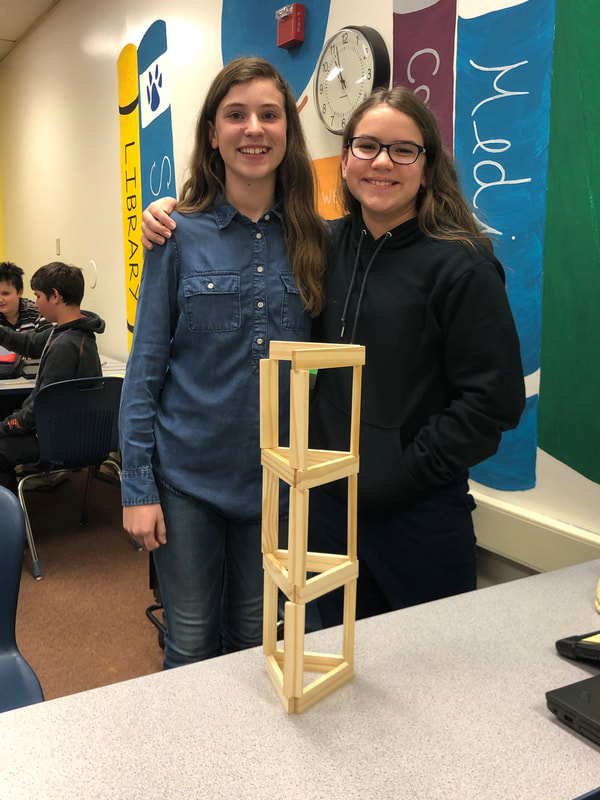 Sometimes I have just allowed them to free build and use their imaginations. They have built replicas of famous buildings, free standing structures taller than me... they even studied the physics of skyscraper demolition by building and recording the demolition of model skyscrapers, analyzing the fall patterns in slow motion to see what the smallest area of "debris" was that they could make. I am always impressed by the designs they come up with!
How would YOU use KEVA Planks with your students? Drop a comment below and let me know!  Coding is a critical skill that is being pushed more and more in public schools. I teach a weekly coding class during our Targeted Intervention and Enrichment period. I have both 6th and 7th graders, twice a week per class. We use a variety of coding platforms to code, including Code.org, Code Combat, Scratch 3.0, a variety of robots and more. However, once in a while we just need to unplug and do an activity that doesn't require a screen. Enter Binary Bracelets! 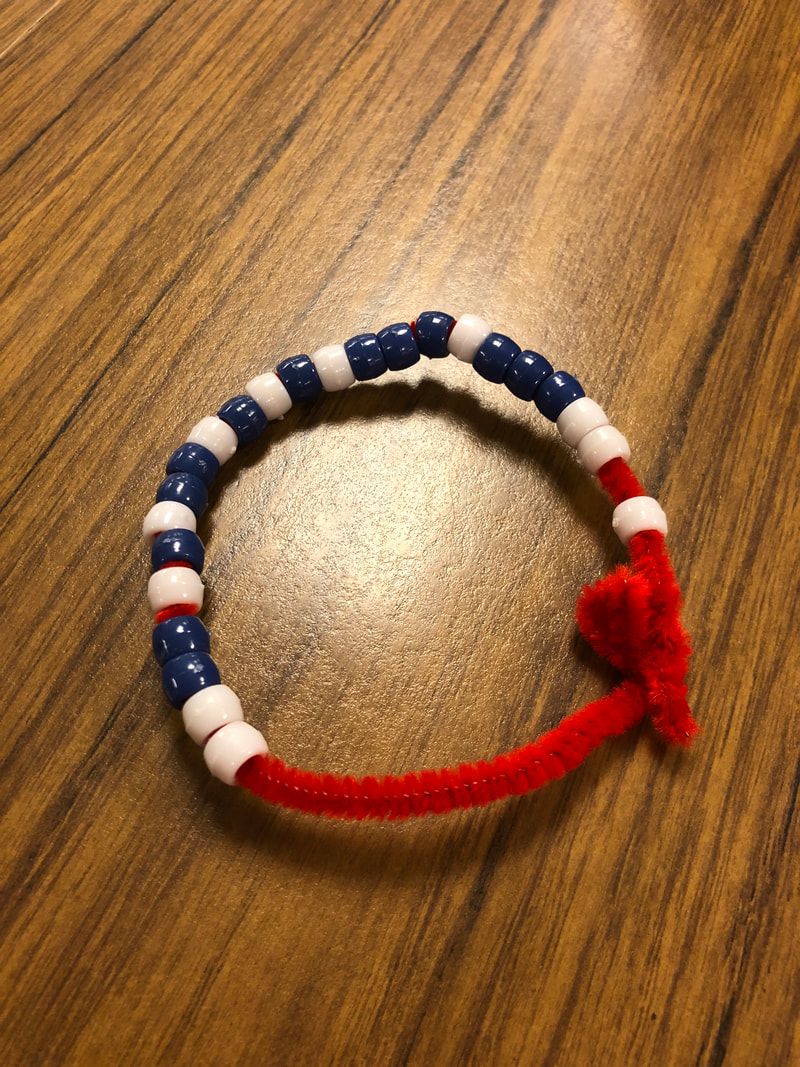 I pulled this lesson directly from Code.org. The materials are simple: chenille stems, pony beads, and a copy of the Binary Bracelet Code displayed and/or copied for students. I'd also recommend paper plates for students to sort and store beads while they work so they aren't all over the floor. Yes, that is the voice of experience speaking. For the bracelets, students will need to select 3 colors: a color to represent 0, a color to represent 1, and a color to act as a "spacer" to tell each letter apart. First, we reviewed the difference between an algorithm and a code. We explored the idea of binary code, which is "a coding system using the binary digits 0 and 1 to represent a letter, digit, or other character in a computer or other electronic device." I provided them with the materials, and they were off and "coding" the initials of their name onto their bracelets! 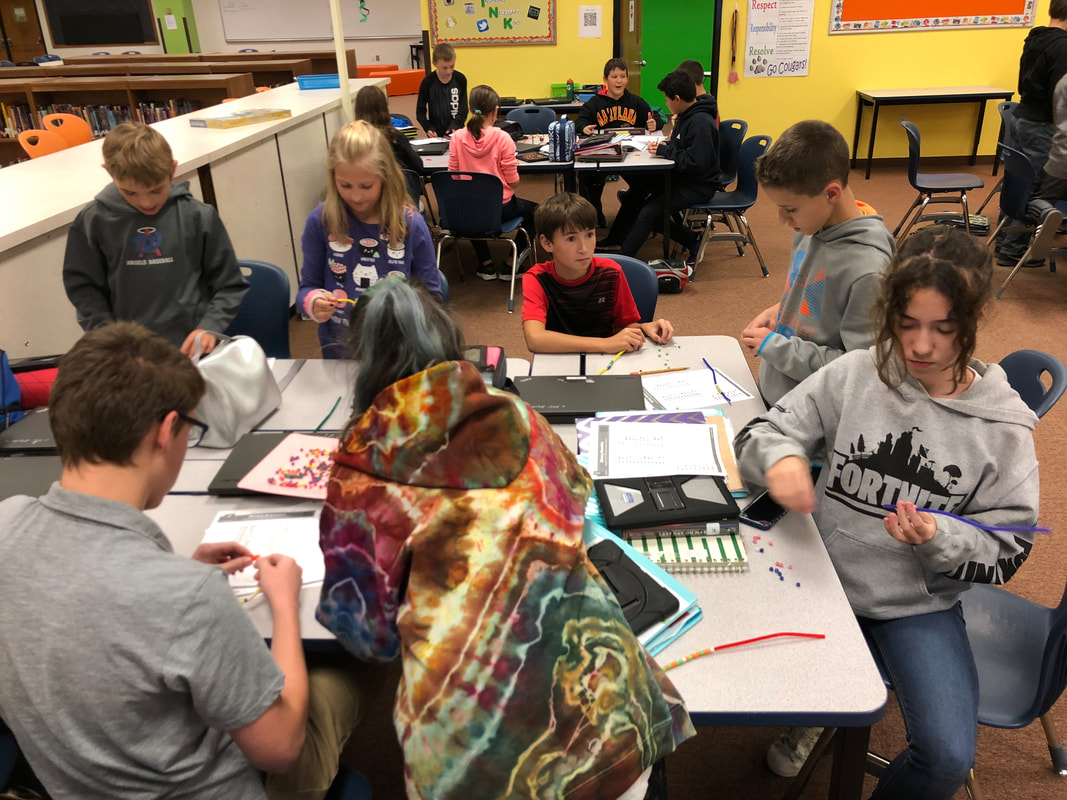 To my utter delight, they were excited to work on this project! Even better, they seemed to really understand how to make the bracelets! As a middle school teacher, you never know how students will react to a lesson. This one was a hit! Here are some shots of their finished bracelets. I was so proud of them and their hard work! 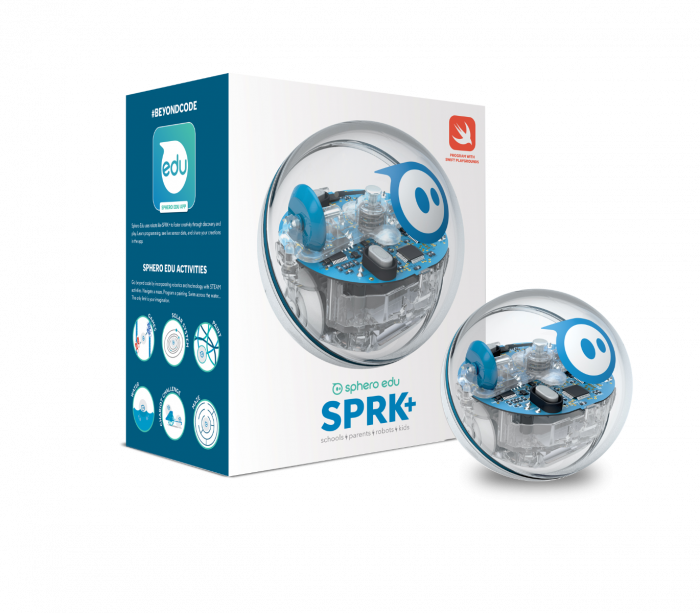 Sphero SPRK+ robots are not new to my blog... I have blogged about using them in class (and in summer school!) before. My students love them. This year I wanted to try a new approach to coding them. Thanks to inspiration from other blogs and the Sphero website, my students and I did a Sphero Mini-Golf Challenge! The goal was simple - design and build a golf course, then code your Sphero to get to the hole in the least number of movements possible. The kids had an absolute blast coming up with their golf course designs. They each had to select a theme and "hazards" that went with the theme. For example, one team created a beach theme and they created palm trees and surf boards to go with their project: 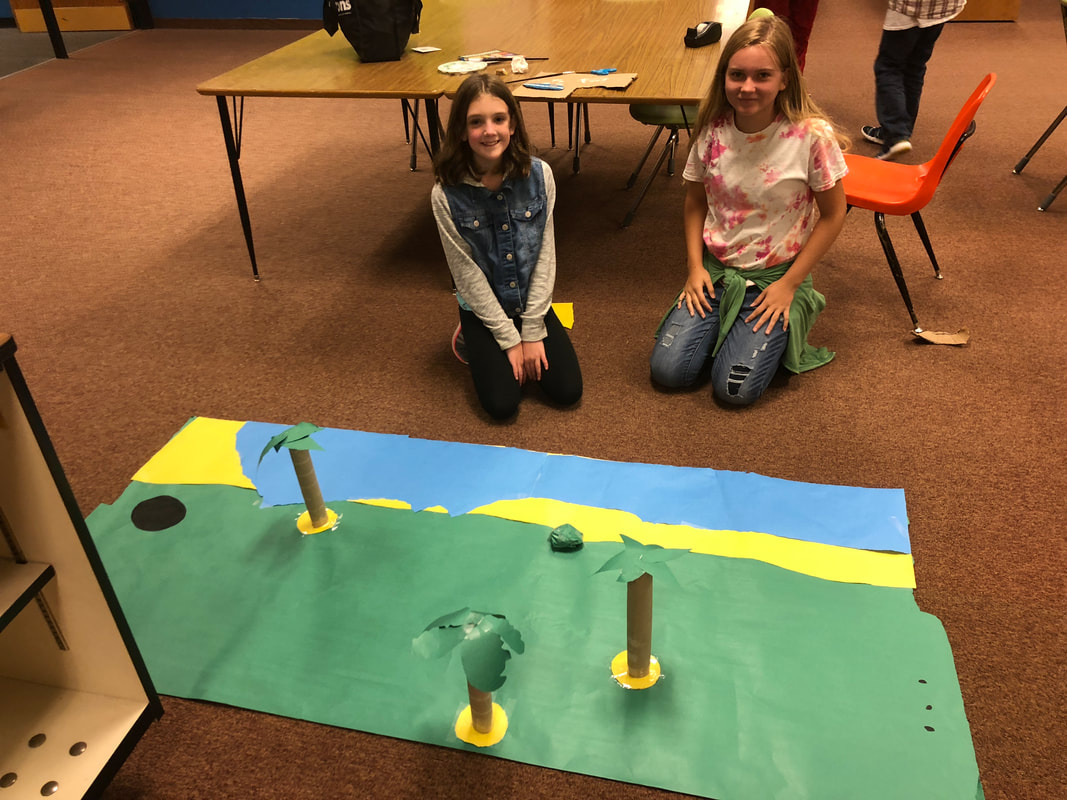 This project was fantastic - it hit all the components of the engineering and design process that we've been working through, and it really stretched their coding skills! 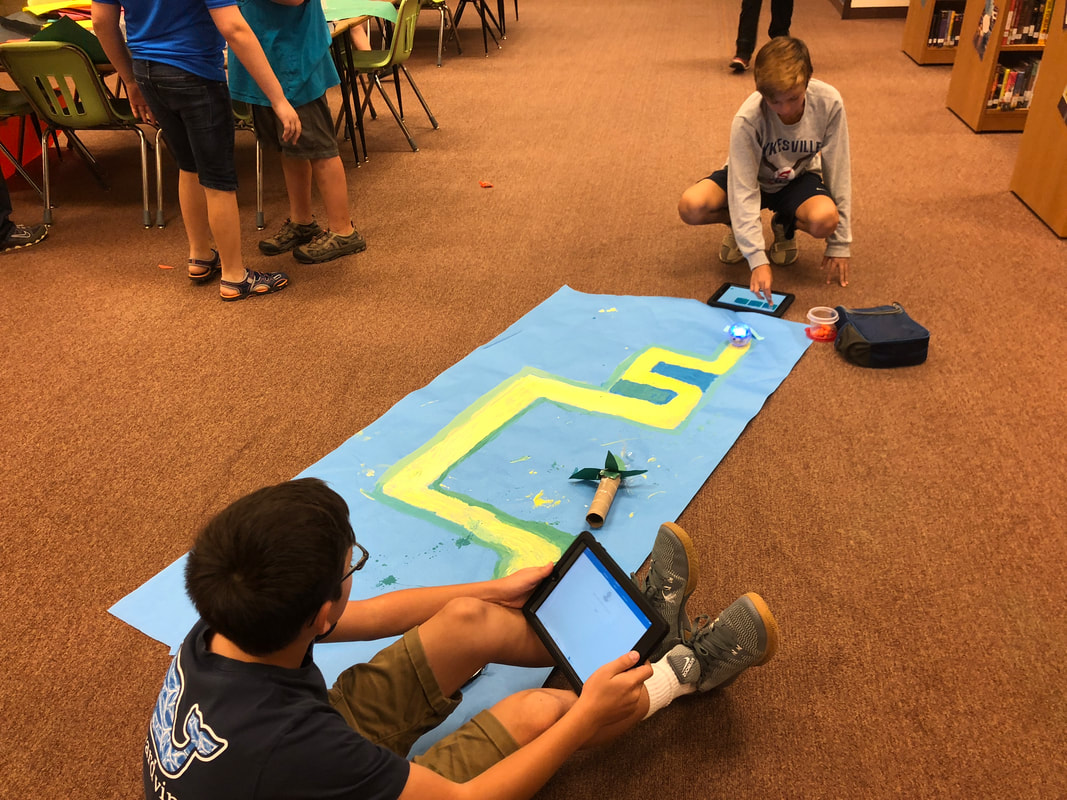 Once everyone created their mini golf course, we had one whole class period where everyone circulated around and played golf on each others' designed courses. They even kept score using these golf score cards, created by Sphero... It was amazing, and engaging! Disclaimer: I have a LOT of Spheros... we have 15 here at SPMS, due to generous donors on DonorsChoose.org. We are also a 1:1 iPad school, so my students could work in partner pairs. For this project, I would recommend groups of 4 or less to allow everyone to design, build, and code. 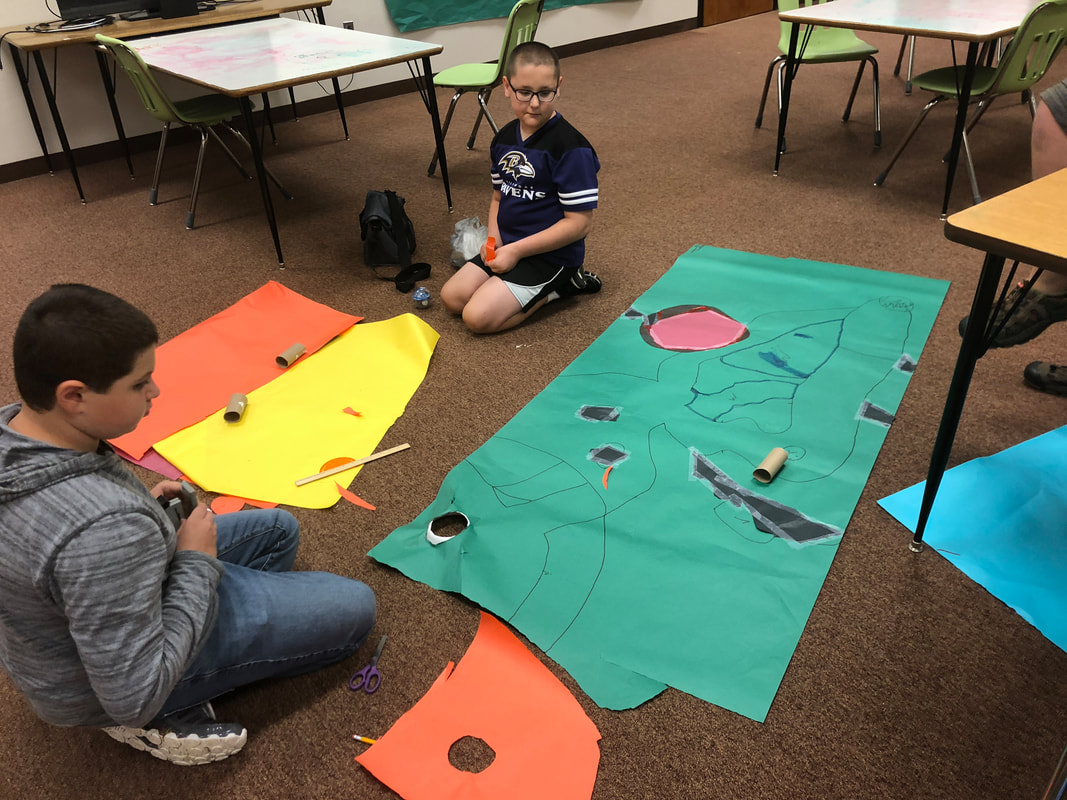 Check out this groups' success with coding... this was a tough project, but they did it! How would you integrate Sphero Robots into your instruction? Comment below and let me know!
 If you haven't seen Google Cardboard, you absolutely HAVE to check it out! Virtual Reality is still relatively new in education; however, the implications for its use are staggering. Imagine being able to take a class of students to the top of Mount Everest, to the Parthenon, to the nesting grounds of emperor penguins... it's incredible! With a pair of VR Googles, students can use a phone to visit these locations and thousands more. Not a social studies teacher? Neither was the MATH teacher who told me about this cool activity she had in mind for her students... she was teaching the Pythagorean Theorem. Here's a refresher in case you haven't had middle school math for a while: 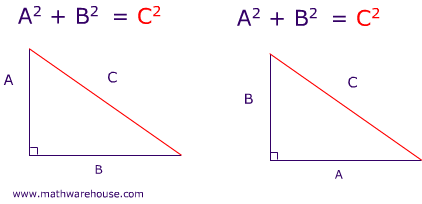 The activity had the kids taking a pretend flight on "Pythag Air" to famous world landmarks and using them to calculate the missing side(s) of the triangles using the Pythagorean Theorem. They had an airline ticket to record their answers: 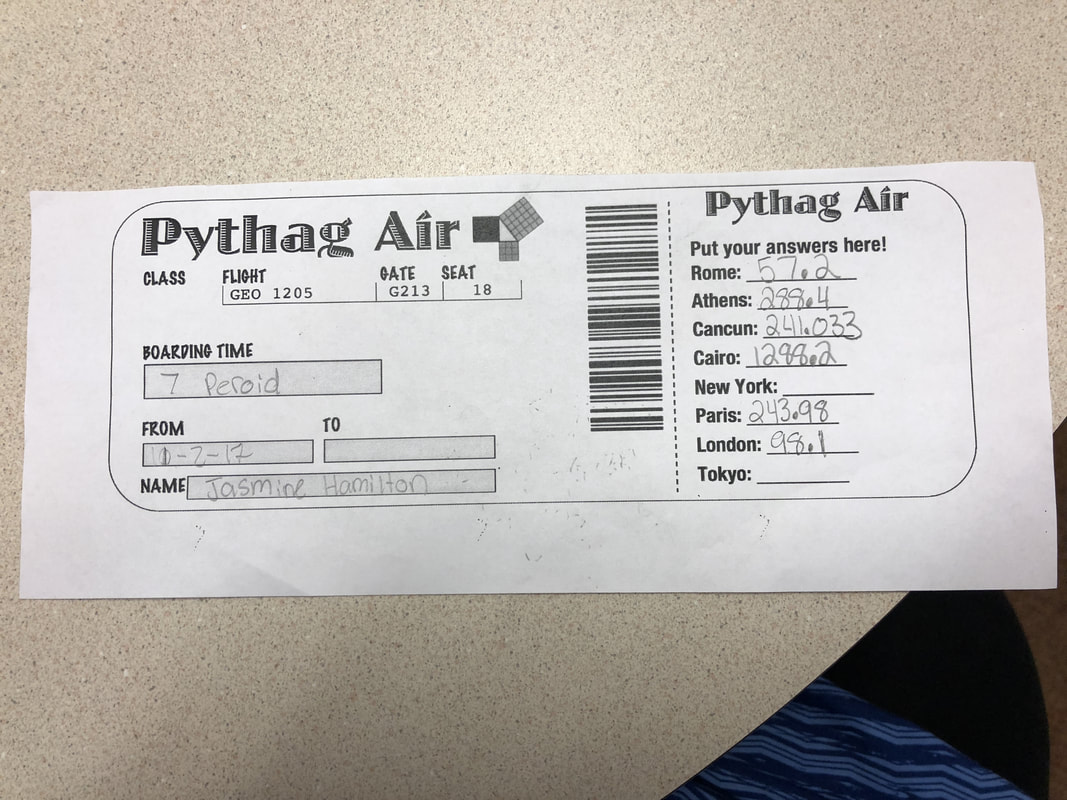 Here are two examples of the activity. You can view the rest of them HERE at the TeachersPayTeachers activity: So creative and fun, RIGHT?? Way better than just solving a bunch of problems on a whiteboard! As the teacher was describing the activity, I saw the perfect opportunity to use our VR headsets... the kids could go on a virtual field trip to the locations that they studied! Needless to say, it was a hit. The kids were floored by how awesome the places looked in the headsets! For this particular group of high-needs learners, any new an exciting way to engage them helps. Kudos to Mrs. Rhodes for her great idea! Are you ready to take your kids on a virtual field trip, too? You'll need:
Where will YOU go with your class? Comment below!
The SPMS Knitting Club had our first meeting last night, and it was amazing! We had such a great time learning how to needle knit, loom knit, and crochet. We practiced casting-on and basic knit stitches during our first meeting. Over the coming weeks, the students will learn more techniques, including: knits, purls, yarning over, increasing, decreasing, and more! They will then select a project (such as a hat, scarf, ear wrap, etc.). Several of the students expressed interest in knitting newborn hats for our local hospital! Are you wondering why you should learn to knit? In addition to being able to make cool projects, it turns out that knitting has some neat health benefits as well. Read about them here! We had a lot of staff interest, too! Special thanks to the teachers who helped oversee the club and teach the various skills. Mrs. Thompson and Mrs. Knepper, YOU ROCK! Are you an SPMS Student or staff member interested in joining knitting club? Check out our meeting dates on our website: http://www.springfieldmiddle.com or see Mrs. Hurley for details! Check out pictures from our first meeting below - it was a blast! As you can see, we even had one student's Nana come to knitting club. YAY! 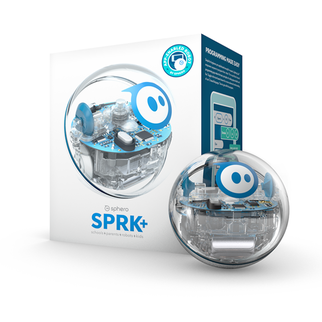 Summer school is a great opportunity to try out some unconventional projects - the kids need extra motivation to continue to show up and work when it should be summer vacation. One of the most popular items in our Makerspace are the Sphero SPRK+ Robots. These small, easy-to-use robots are constantly skittering around underfoot in the library during the school year. They are sealed, so they are waterproof, too! I'd heard about using the Spheros to paint on Pinterest a few months ago, and I just KNEW we had to try it! However, the idea of having a classroom full of middle schoolers driving paint-covered robots around my carpeted library made me twitchy. I knew it would have to be a small group setting when other students would not be walking into the library... summer school seemed like the perfect opportunity to try out this fun way to create some abstract artwork! We used 9'x12' plastic painting tarps on the floor, the SPRK+ Sphero robots, the SpheroEdu app, washable tempera paints, 8.5"x11" cardstock, and one iPad per Sphero: I was really impressed with their completed work! We discovered a few tips: 1. LESS IS MORE. Paint, that is... use less paint than you think you need. It spreads! 2. SLOW DOWN. Turn the drive speed down on the Spheros - otherwise you'll end up driving paint-covered robots on the carpet. Not that we did that or anything... 3. MODEL. I know that shouldn't need to be said, but model the expected behaviors first so the kids understand what they are to do (and NOT to do). I modeled everything and the kids were very careful and responsible with the robots and the paint. What could have been a huge mess was a really fun art project! If I were to do this during a regular school year, I would add a coding component too - the students did some limited coding with this project, but mostly drove the robots over their paper. I would use larger sheets of paper and require the kids code their robot to drive a pattern or path! My summer school sessions were time-limited, so for this project they were driving the robots manually. Check out some pictures of the students' work below, and don't forget to comment on how you might use Spheros to make art! 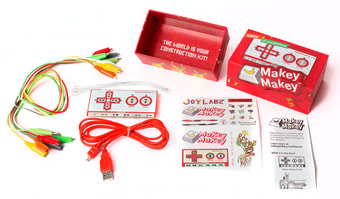 Teaching summer school can be a challenge - many kids are loathe to give up their summer fun to come in to school and work. I knew in order to keep the kids engaged that we were going to have to do some really fun activities... enter Makey Makey! Makey Makey kits are super popular in our Makerspace! If you have never heard of these, check out this video... you'll fall in love, just like we have! PRO TIP: Makey Makey kits are available through the Scholastic Resource catalog if you have book fair money to spend! The students were challenged to design and build a video game controller. We followed the engineering and design process, outlined below: 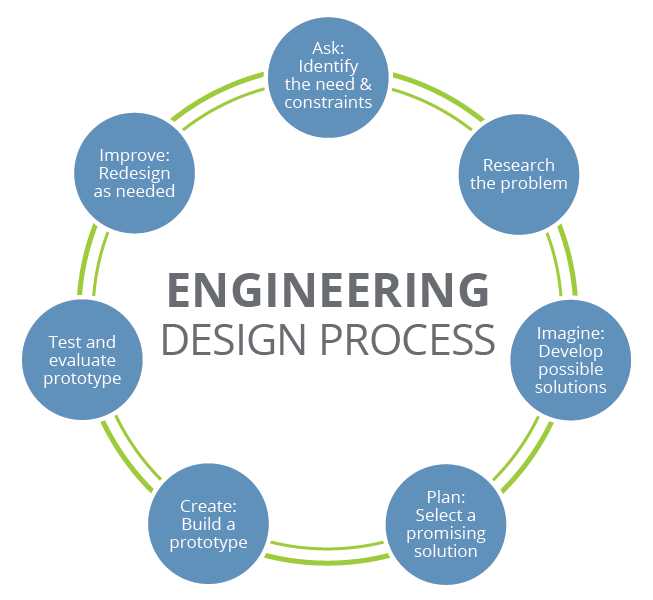 I started by giving them a brief tutorial on how the Makey Makey kits work, and we reviewed the basics of electrical circuits in the process. I supplied them with the kits and other materials to use to make the "buttons" on their controllers: water, playdough, aluminum foil, water (in petri dishes), and of course they had each other to use as well. You can also use fruit - pretty much anything that conducts a mild current! The kids used the Makey Makey App website as well as some flash-based old school video games (Super Mario, Super Mario 3, Tetris, etc.) More advanced coders can use Scratch to create their own games to work with the kits, too! Here are some of their creations... I'm so proud of them! Do you think you could use Makey Makey kits in your classroom? Comment below with how - I'd love to hear your thoughts!
 Makerspaces are all the rage in libraries - kids are making and creating awesome things in library spaces every day! For the month of February, the Springfield Middle Media Center Makerspace is focusing on Making with a Heart ... we are making dog and cat toys for the rescue For Otis' Sake. Our project started with my supervisor, Jona French, approaching me with this idea. She collected some donated fabrics from people who are passionate about animals and brought it in. I invited students, staff, and the community to bring in fabric as well - the donations were overwhelming! We had students bring in fleece, flannel, old PJs, denim, and much more! I set up three stations for students to visit: 1. Choose Students had to choose which of the toys they would like to make. I created a couple of samples with QR codes to videos and/or step by step directions. 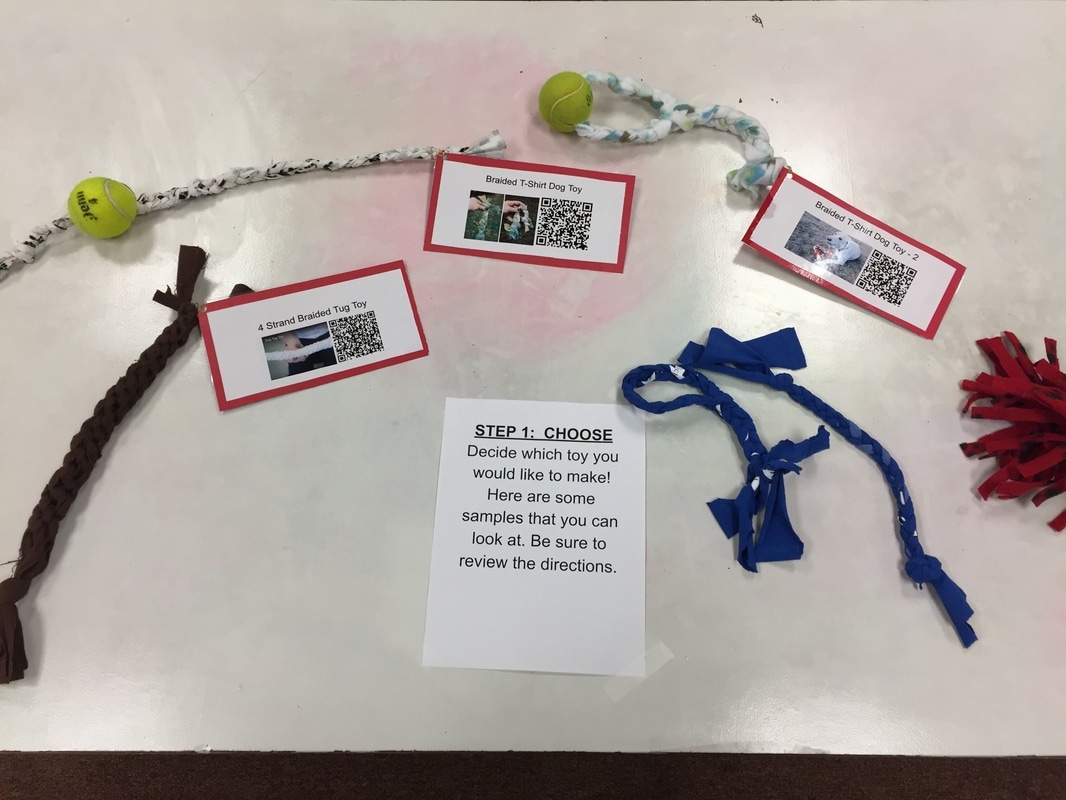 2. Cut Students can use special fabric scissors to cut their fabric at this table. I also have rulers and yardsticks (not pictured) for them to use at this station. 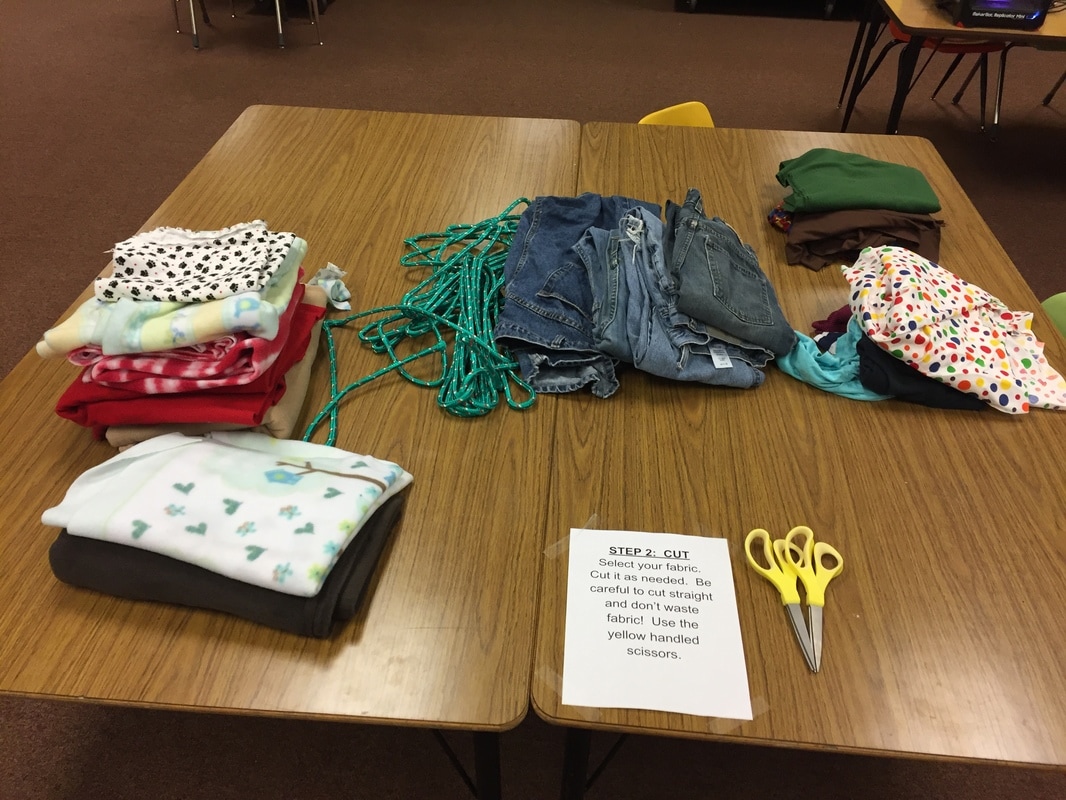 3. Make At this station, kids can make their toy. We provided tape to tape down their projects to make it easier to braid, tennis balls to string on finished projects, and tags to identify who made each project. 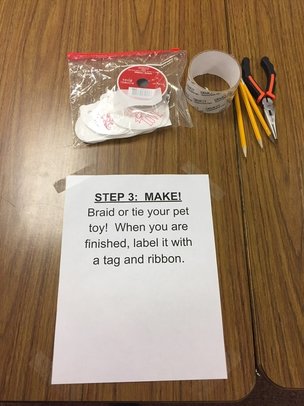 Students are invited to the library any time a teacher says they can come to make toys. The response has been incredible. Within minutes we had a flock of kids making toys. Check out some of the great toys these guys made! At the end of the month we are going to donate all the toys to the rescue. What compassionate, kind makers we have here at SPMS!
|
About the AuthorHi! Welcome to my blog! My name is Christine Hurley. This is my 17th year of teaching - I've taught Kindergarten, 4th grade, elementary media, and now I am in my 6th year of teaching middle school media! Archives
September 2020
Categories
All
|
 RSS Feed
Proudly powered by Weebly