|
One of the newest trends in libraries is the idea of a collaboration station - a table with several chairs around it and a large display screen at the end. The idea is that your patrons can sit down around this table and connect their device(s) to the screen and share their work with each other. Oftentimes they look something like this: 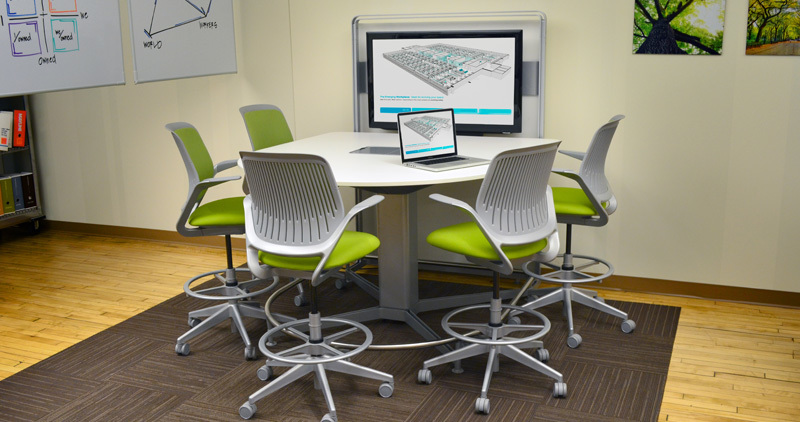 Really cool, right? Also really expensive. I mean, REALLY expensive. I love this idea, but I definitely did not have room in my budget to fund one of these tables. So... what to do? Get creative and MAKE ONE! 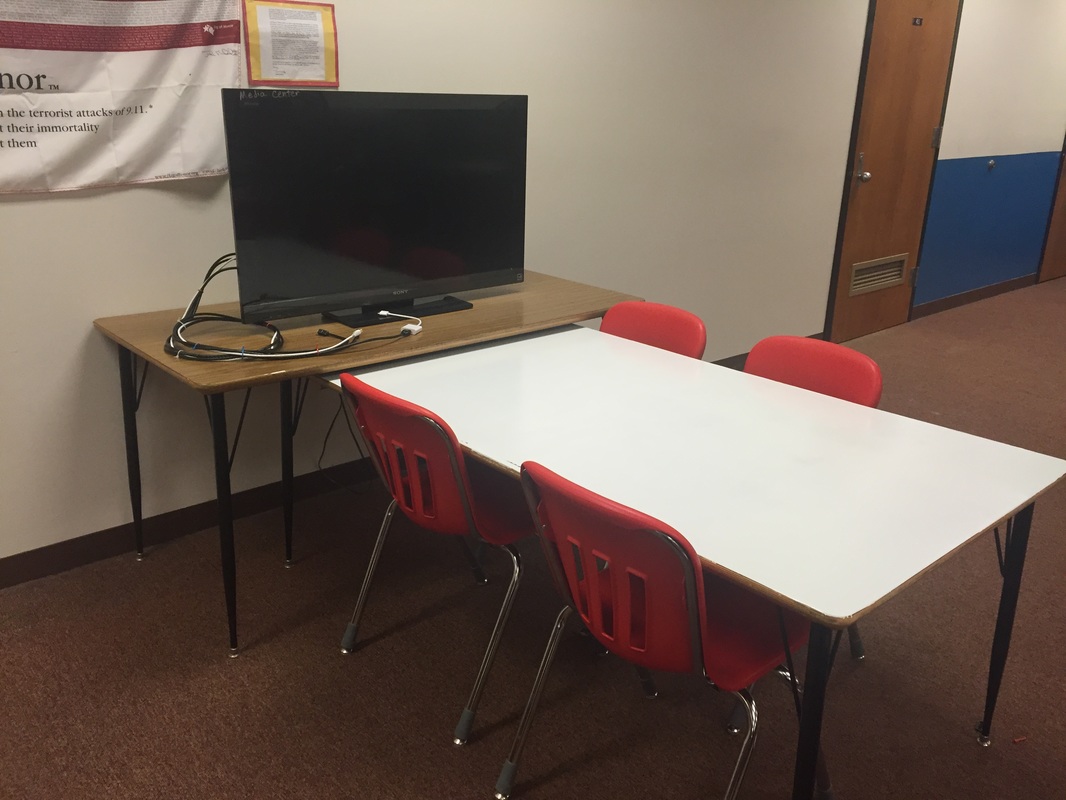 I had a TV that belongs to the media center mounted to one of those big, bulky TV carts. It wasn't being used for anything, and was taking up too much room in my storage area. I was looking at it one day wondering where to place it when the idea hit me - I would make my own collaboration station. My amazing custodial staff unbolted the TV and mounted it to an old table that I had sitting around. The table was slightly narrower than a typical table, which made it perfect for what I needed. I had recently painted several of my tables in the library with whiteboard paint (check out that blog post here!), so I simply slid that table up against the table with the TV on it to make a letter T. The TV had four HDMI inputs, making it perfect for hooking up devices. I just needed some cords and adaptors... thank you, Amazon! I purchased enough cords to connect all the different devices to the TV: HDMI Cable - the base cable that will allow you to connect devices with the TV with adapters. Also allows connection of laptops with an HDMI output, such as the IBM Lenovo laptops that my county has in abundance. I ordered 4 of these, one for each port. HDMI to Thunderbolt Adapter - to connect MacBook, MacBook Air, MacBook Pro 13 inch, MacBook Pro 15 inch, MacBook Pro 17 inch; 2. Apple Mac, Mac Pro, Mac Mini, iMac. I ordered 1 of these. HDMI to Lightning Adapter - to connect iPhone 5, 5C, 5S, 6, 6 Plus; iPad Retina Display, Mini 2, Mini 3, Air, Air 2; iPod touch 5th Generation, 6th Generation. I ordered 1 of these. HDMI to 30-pin Adapter - to connect iPad, iPad 2, iPad 3; iPhone 4, iPhone 4s; and iPod Touch. I ordered 1 of these. HDMI to Micro USB Adapter - to connect all Android devices. I ordered 1 of these. 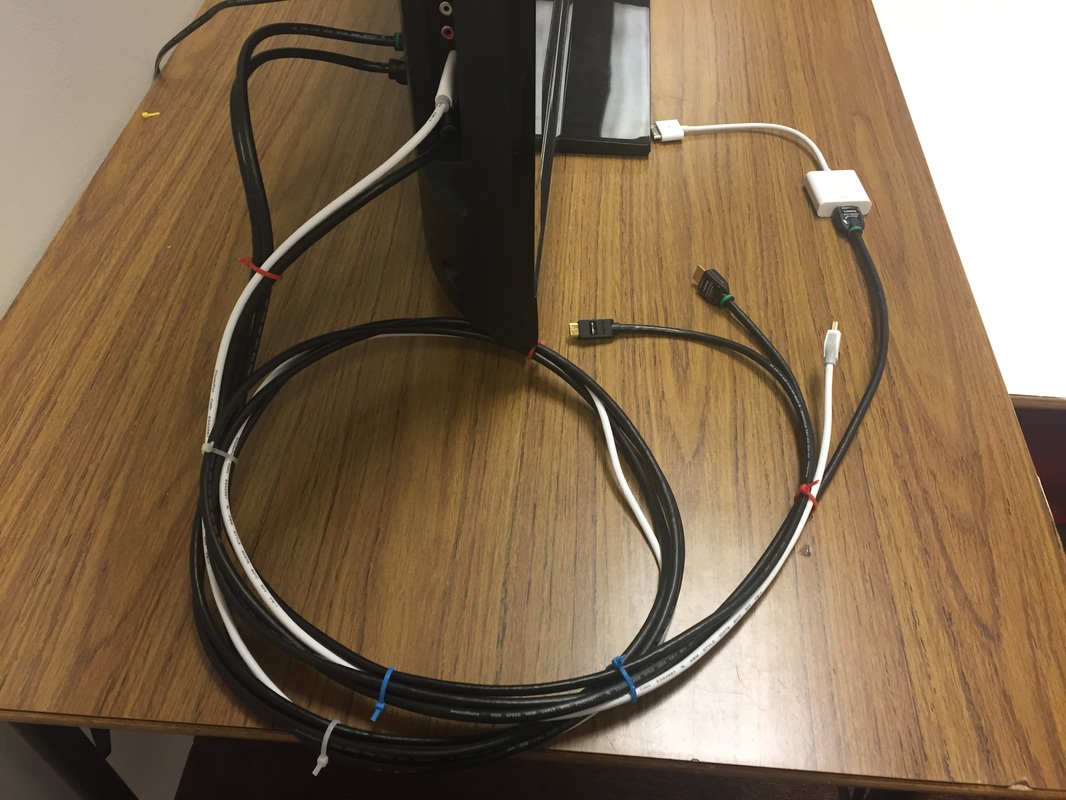 I hooked up all 4 HDMI cables and the accompanying adapters and zip tied them all together to create a neater set-up. The next thing to do was to get a student and try it out! 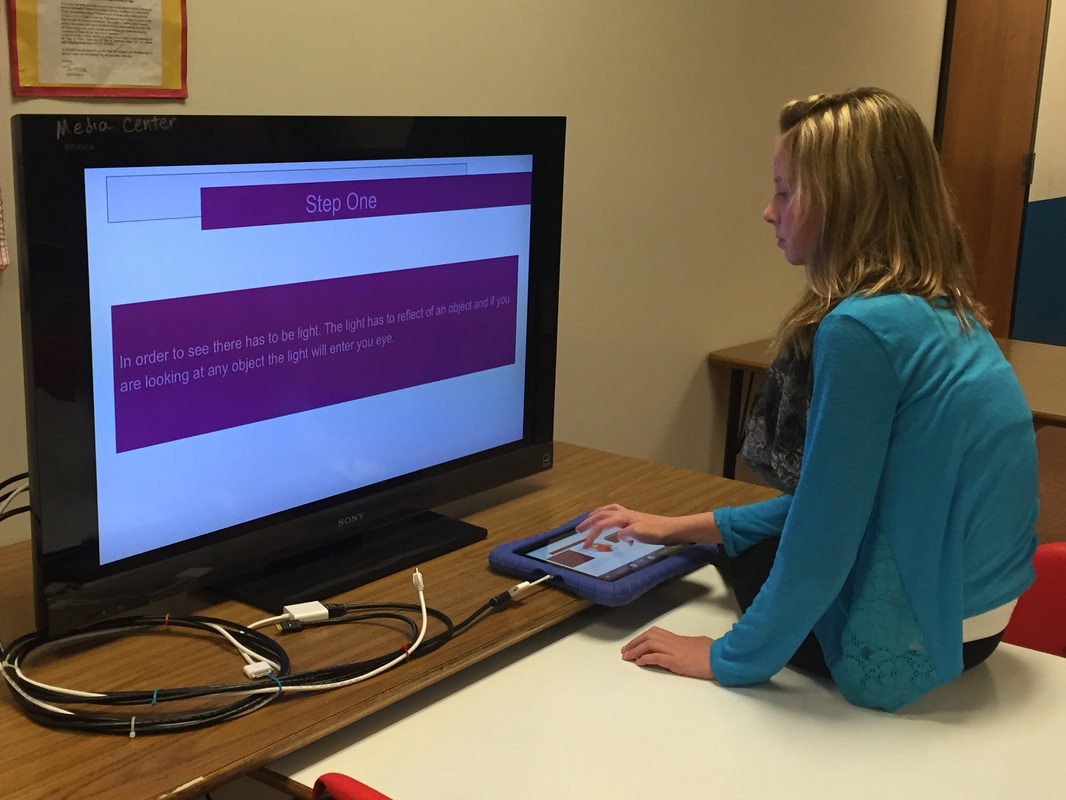 IT WORKS!!! So for about $125 in cables and whiteboard paint, using furniture I already had, I made a collaboration station. I can't wait to see how my students use it!
How could you use a collaboration station in your library? Leave a comment below!
2 Comments
 If you have never heard of Minecraft, you surely are not a teacher or parent of kids ages 6-15 these days. They are OBSESSED with Minecraft! If you have never seen it, here's an example of a Minecraft screen: 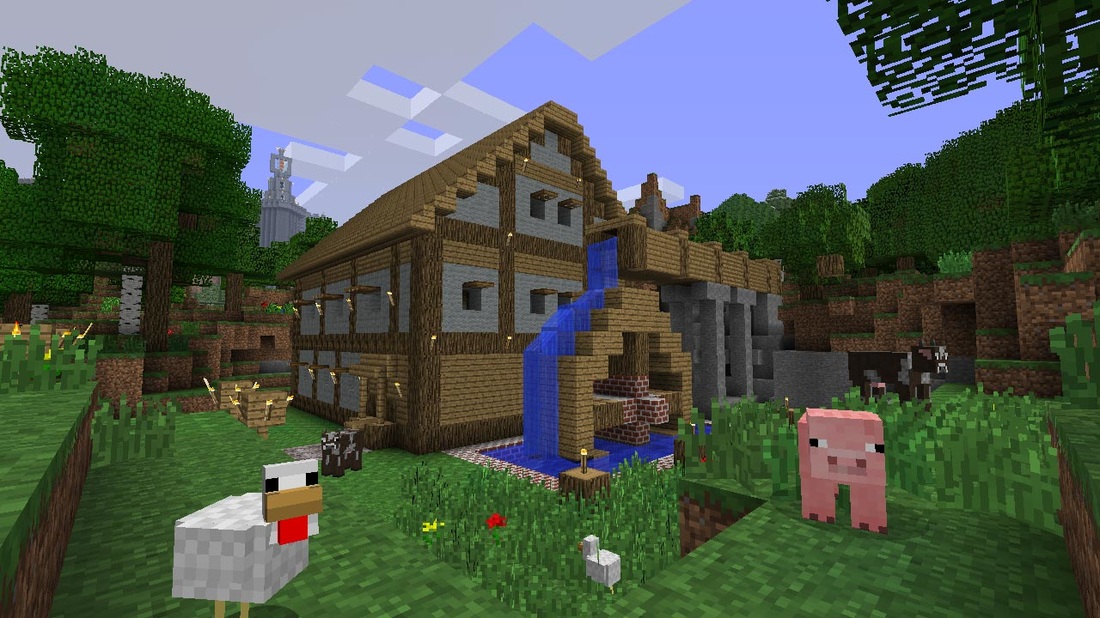 Initially I totally didn't get it. I mean, LOOK AT IT. Why would you want to play a game with 8-bit style graphics when you could play in these gorgeous 3D environments that are available to gamers today? I decided to put aside my disbelief that kids could actually want to play something that looks THAT bad and try it out... and you know what? It's ADDICTING! You have the power to create the game as you play it. How awesome is that? Unfortunately you also have the ability to be eaten by large scary spiders, drown, be mobbed by zombies, starve to death, or a myriad of grisly deaths. How can kids build and create without the "survival" aspect of Minecraft? Enter MinecraftEDU. With the educational version, teachers are allotted a lot of control over different aspects of the game. You can create assignments, give them objects or blocks, transport them from one place to another, and much more. You can even do long-distance building and use a fill tool to fill in large areas of blocks (a HUGE time-saver!) You'll need to buy the software licenses for MinecraftEDU for your school. 1 Server license (which will run the game) and however many student licenses you will need. You need one for every kid who will be accessing Minecraft at the same time. It is a "per computer" license, not per user. For example - I have Minecraft installed in our computer lab. There are 28 student computers and 1 teacher computer. I ordered 1 server license and 30 student licenses (so I could have an extra copy at home if I need to plan with it). I can have a maximum of 30 kids playing at once even though there are over 800 in my school. At the time of this blog post, MinecraftEDU costs $41.00 per server license and $18.00 per student license. 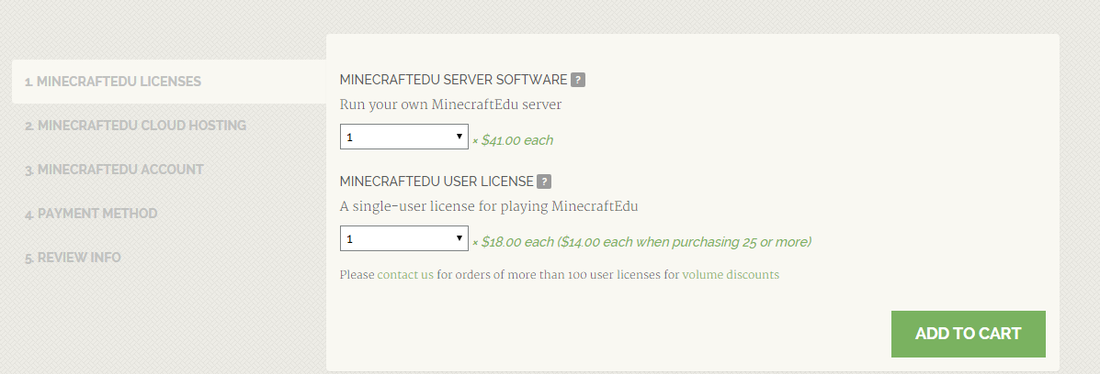 You'll need to check the current pricing. Once you purchase it, installation is easy. They make the download available to you on your MinecraftEDU account, so you just login and download the file. If you are a WCPS Teacher, you'll want to install the program on the generic student account for your school. If you install it on a specific student's account, it will not be accessible for all students who access that computer, just that one. Email me if you need more explanation! You'll also need to install the server on one teacher machine. I recommend a MacBook Air if you have one as the Macbooks can handle the processing with ease. PCs will do fine, but may lag a little. You'll use the teacher computer to host the server, or game, for all the students to login to. It's what enables all the kids to login to the same world. Once you have it all installed, fire up the server and get some kids together. They will know more than you, I promise. And that's ok... just go with it! I recommend starting with the tutorial world. It will teach you how to move around and get you familiarized with the controls. Here is a "Cheat Sheet" of the controls if it helps! Feel free to use it with your students.
Here are some of our students using Minecraft in the library... I'm excited to see how this develops at SPMS! If you need help purchasing or installing, or just want to talk about Minecraft, feel free to email or tweet me! If you are looking for lesson ideas, please check back soon - can't wait to see what our teachers here do with MinecraftEDU!! |
About the AuthorHi! Welcome to my blog! My name is Christine Hurley. This is my 17th year of teaching - I've taught Kindergarten, 4th grade, elementary media, and now I am in my 6th year of teaching middle school media! Archives
September 2020
Categories
All
|
||
 RSS Feed
Proudly powered by Weebly