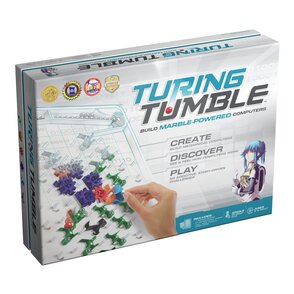
 Coding and computational thinking tools are all the rage in education right now... everywhere you turn, another company has popped up with another electronic device that will teach your students to code. But sometimes it is nice to unplug, right? Enter the Turing Tumble - a computer that doesn't need any batteries, wires, or plugs... just your brains, perseverance, and some little marbles! 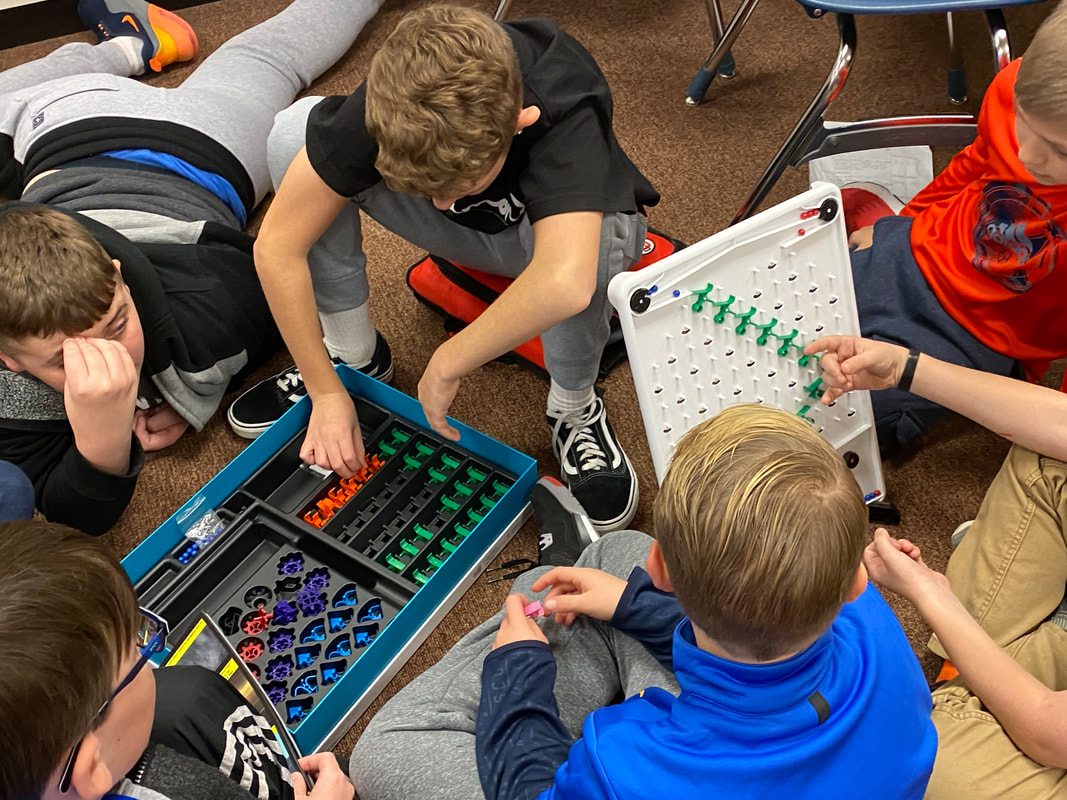 So how exactly does it work? First, you have assemble the computer. This can be a bit of a process, so I'd recommend it be done before you hand the Turing Tumble to students. I had my library helpers assist me in assembling my five kits for first time use. Here's a great unboxing/setup video if you want to see what is involved before you begin: The included graphic novel style challenge book is fairly self-explanatory. I went over expectations with my students and let them go... and wow, did they ever go! Within minutes they had the first puzzles set up and began running their "programs": 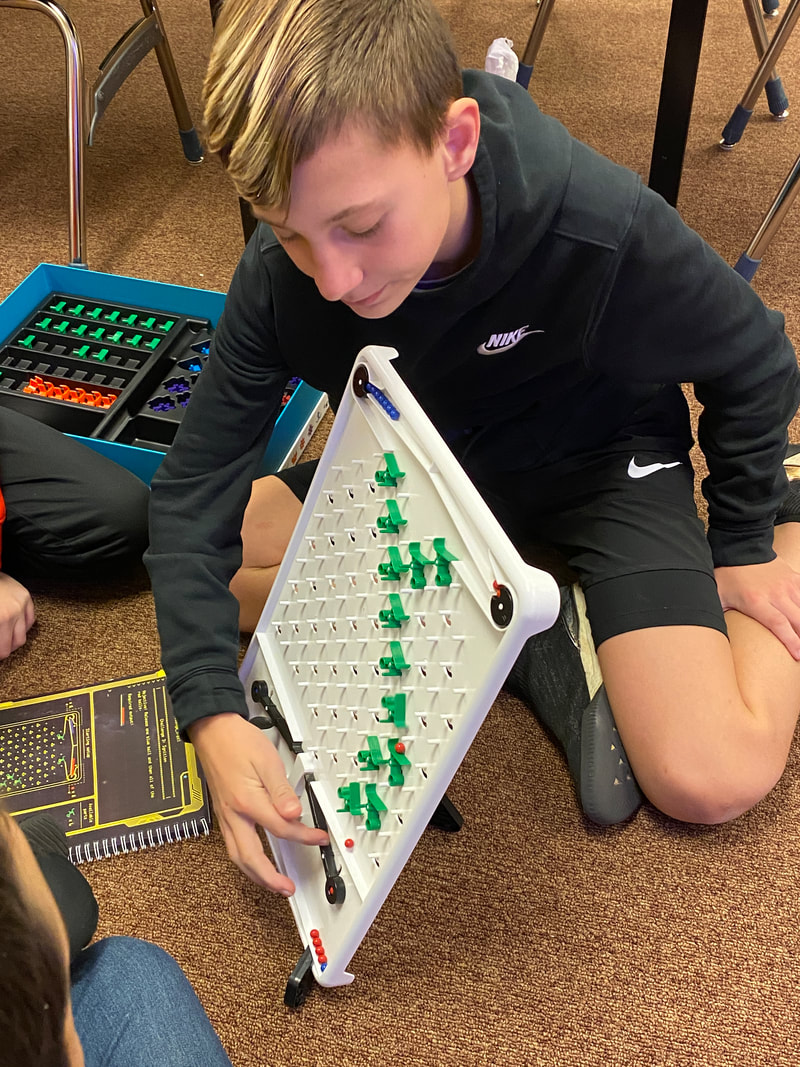 But then came the best part... the talking. The first 2-3 puzzles are fairly simple and mostly teach the operations of the computer. Starting with the 4th puzzle, things start getting intense. The collaboration! The trial and error! The discussion about WHY it wasn't working and HOW to fix it! My nerdy-teacher-heart was SINGING!! YES!!! Just listen in on this discussion: And this one (from the same group)!! The puzzles continue to get more and more complicated, adding more pieces, demanding different outputs - it really gets them thinking! 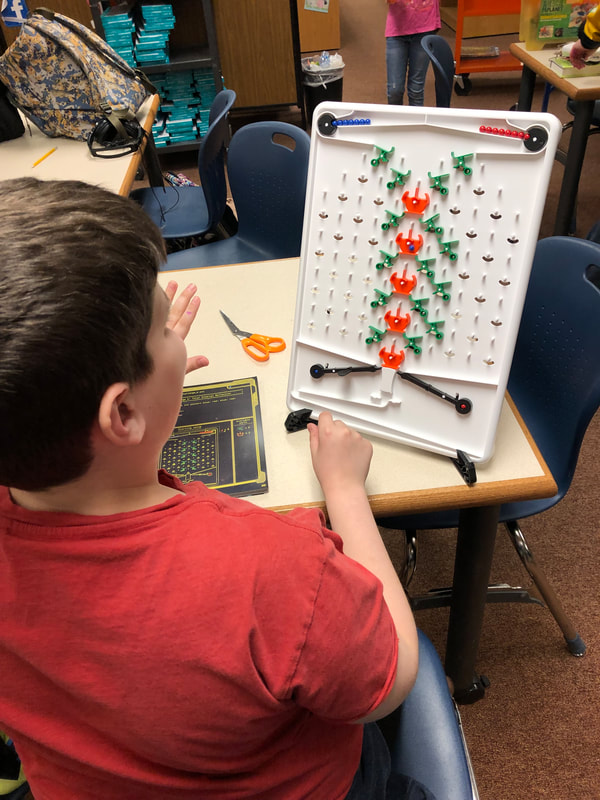 The Turing Tumbles are, without a doubt, one of the best additions to our Makerspace. I can't wait to see what else my students do with them!
Side note: The Turing Tumbles are named after Alan Turing, the famous mathematician responsible for laying the foundation for modern computer science! His work with decoding ciphers helped win WWII. Unfortunately, he was arrested and jailed for his at-the-time illegal relationship, dying an untimely death that is still debated whether it was accidental or suicide. Alan Turing's work was critical to the development of stored-program computers, and it can be argued that all modern computers are an iteration of Turings' work. Can you envision using a Turing Tumble in your classroom? Leave a comment below and let me know!
0 Comments
 When someone says "computer programmer" to you, what do you immediately think of? If you're like many people, it's something like this: 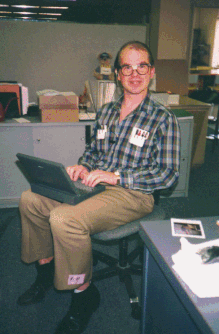 A nerdy white guy, right? Girls Who Code is here to shake up that stereotype. Their mission statement, from their website, states: Girls Who Code is a national non-profit organization working to close the gender gap in technology. Our programs educate, equip, and inspire girls with the computing skills they’ll need to pursue 21st century opportunities. Fantastic, right?? I am proud to be the first school in WCPS to host a Girls Who Code Club. We met 2x a week, 24 girls participating. As a secondary GWC Club, my girls had access to their iPads to work. They learned how to write "real code" - not just block coding in a drag-and-drop interface, but by actually writing code in Apple's Swift Playgrounds, shown here: 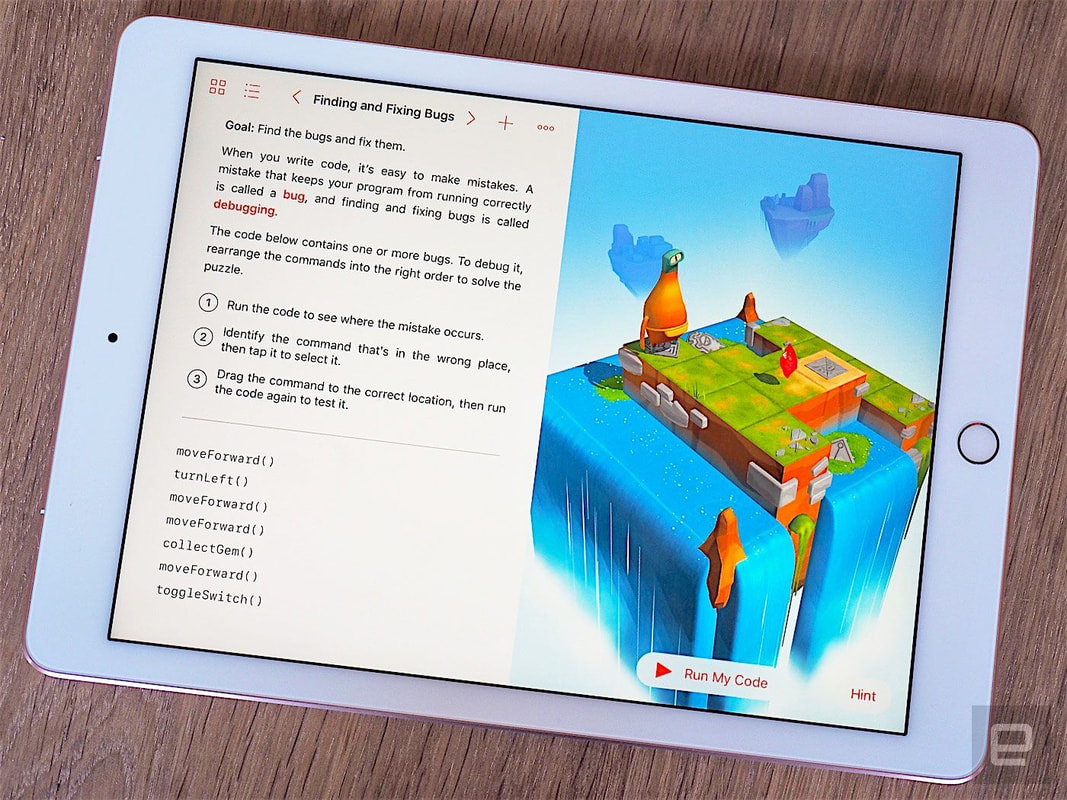 With the Learn to Code I, Learn to Code II, and the Answers playground, my girls learned how to write lines of code in Apple's Swift language. They found and fixed bugs, learned about variables, and so much more. The final project was to work on coding a personal assistant, much like Apple's Siri or Amazon's Alexa. More importantly, these girls discovered that they COULD code... that they could break down the stereotype of the nerdy white guy and that THEY, this amazing, talented, diverse group of brilliant young women, could be the future faces of programming:  To quote Beyonce... "Who runs the world? GIRLS!"
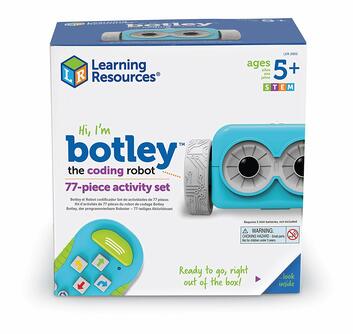 If you haven't met Botley yet, you NEED to hang out with this cool little guy and his fun personality! This battery driven robot requires no previous coding skill and no additional technology - he just needs you to be ready to problem solve! I found the perfect opportunity to use our Botley coding robot kits with our Life Skills students. With the easy, push-button remote and the fun activity cards included, my life skills kids were coding within seconds! First, the students explored creating line paths for Botley to follow using the puzzle-piece shaped cards included with the kit: 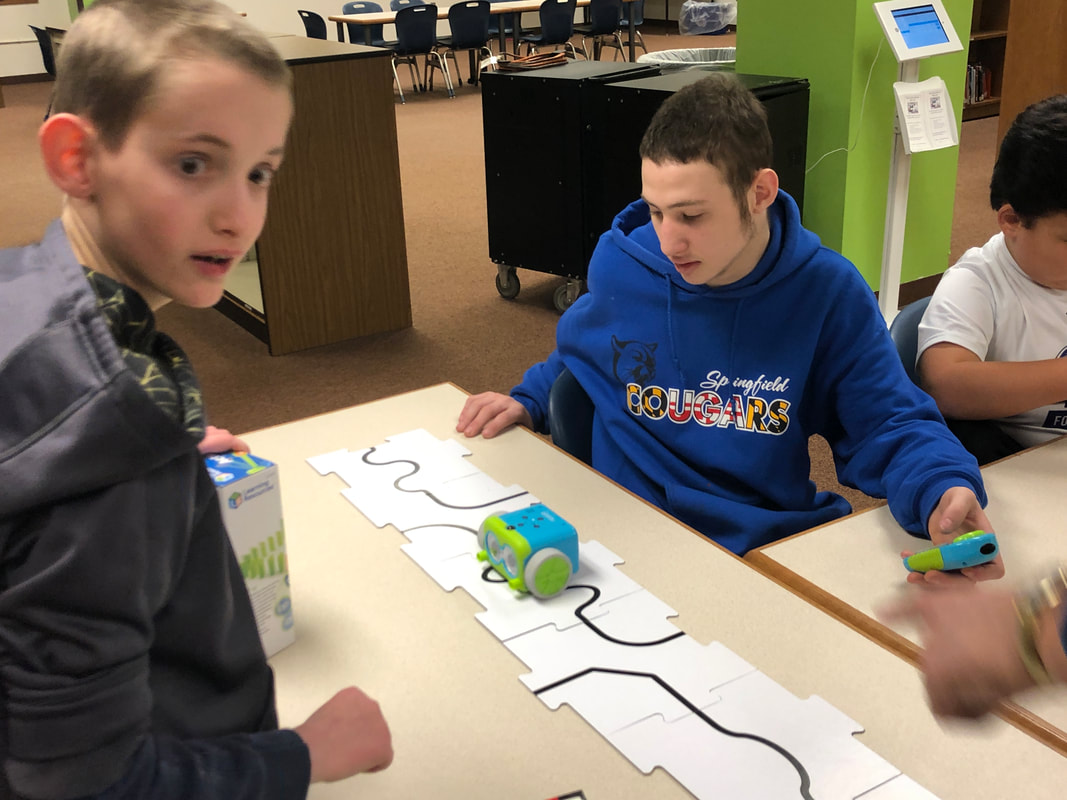 Next, they tried experimenting with some of the accessories, including the blocks, flags, and circle goals! 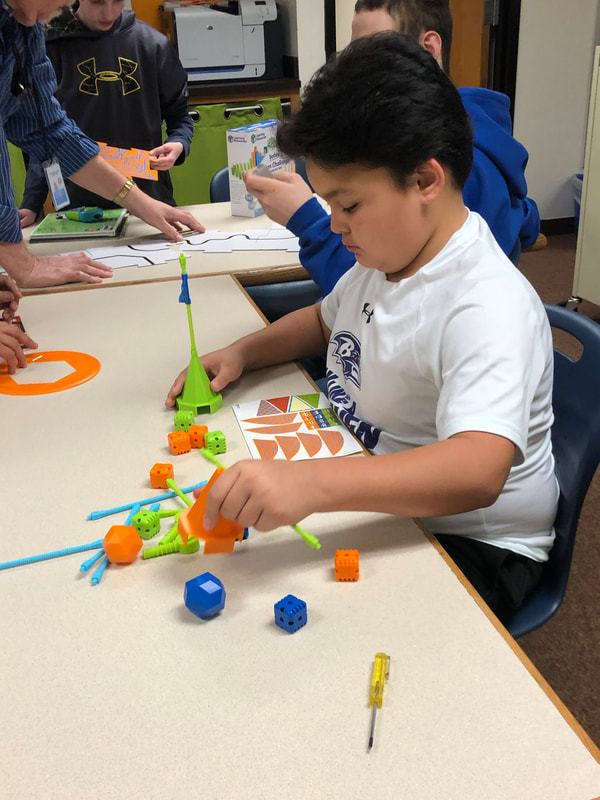 They used the accessories to make a goal for Botley to go and "grab" the square block with his two small arms, coding it with the remote control! 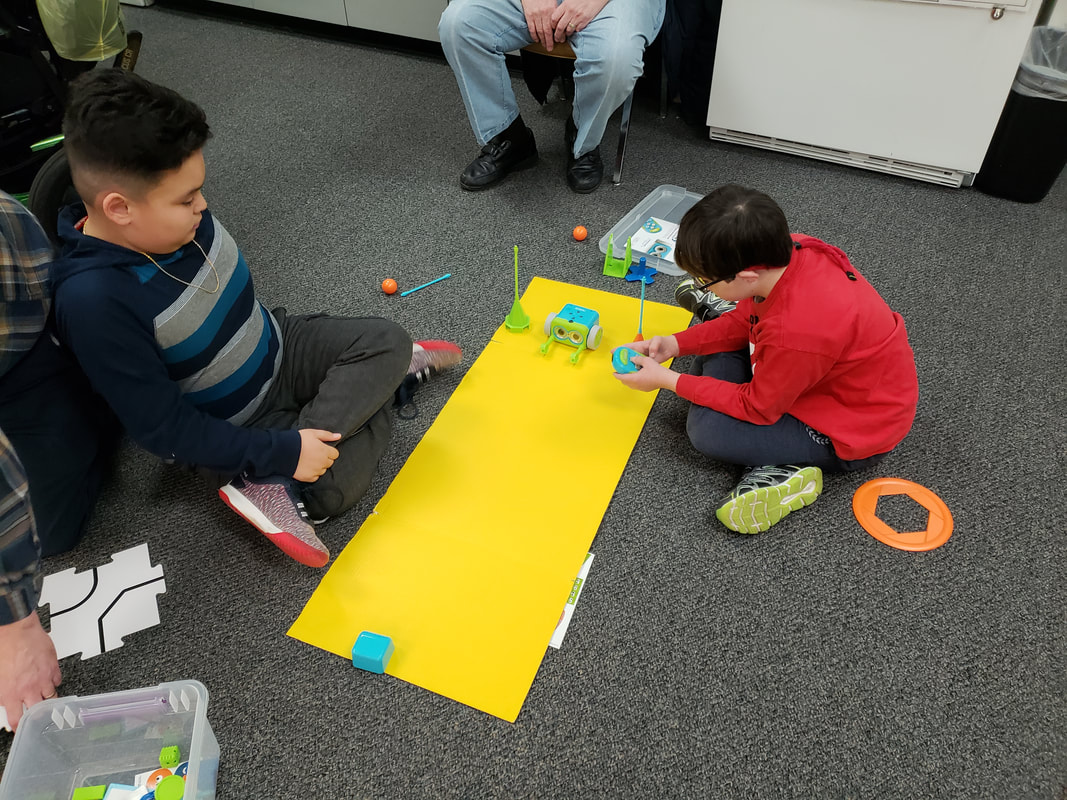 They even created fun obstacle courses for Botley to navigate, and coded him to move through it:  Using these Botley Robots with my life skills students was one of the most rewarding lessons I've done yet this year. These student-friendly robots truly allow anyone to code successfully!
How would YOU use Botley in your library? Drop a comment below and let me know! 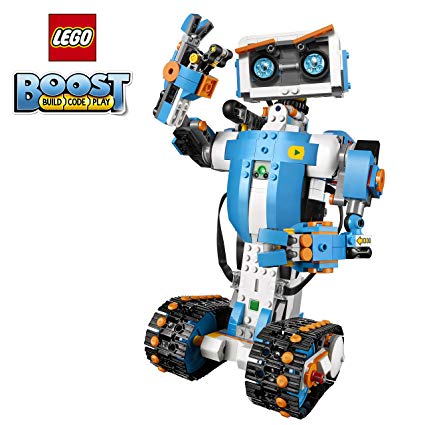 Are you looking for a Lego kit for your students that teaches coding? The Lego BOOST Creative Toolbox is perfect for ages 7-12! It claims to help kids learn the basics of coding, engineering, and robotics. To accompany it, you'll need to download a free app:  The kit includes a motorized hub, color sensor, distance sensor, an extra motor, and a little over 800 pieces to build one of five models. It reminds me of a kinder, gentler, less expensive version of the Lego Mindstorms EV3 kits! I wrote a grant for the Lego BOOST Creative Toolboxes on Donor's Choose and it was funded fairly quickly. My students tore into the boxes as soon as they arrived: 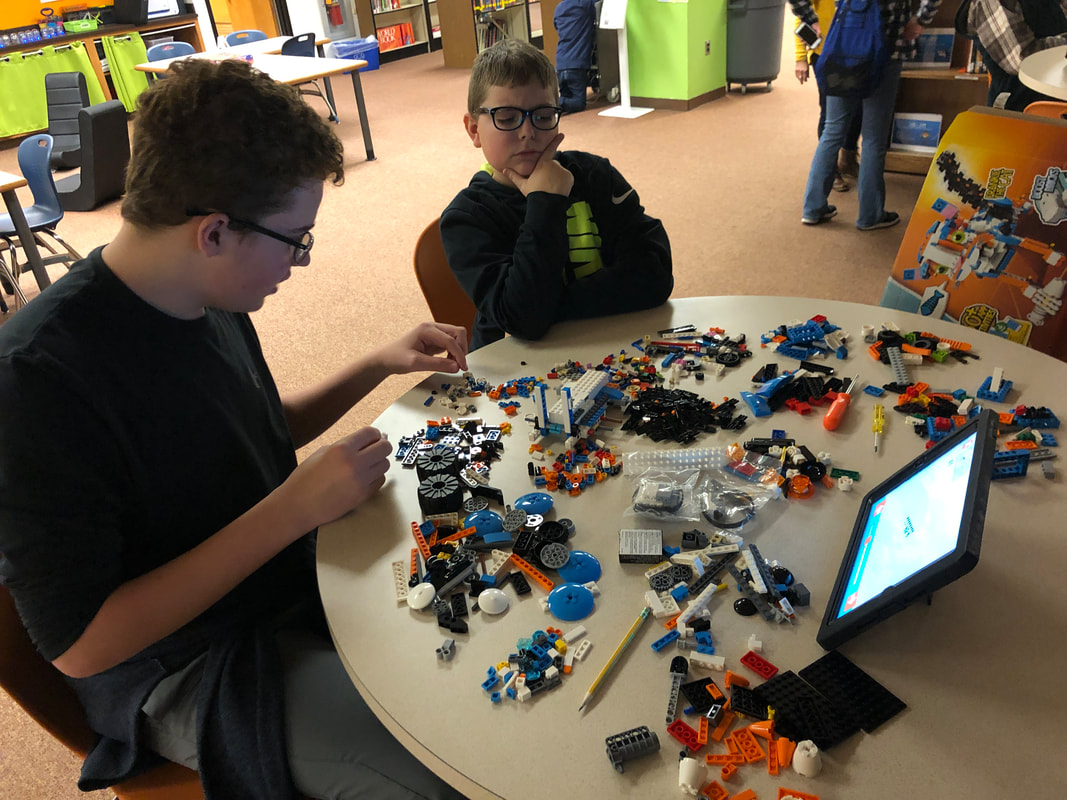 I was a little concerned at first that the functionality would be too easy for my middle school students, but they proved to be engaging enough that even my 8th graders enjoyed the challenge of building them! One group chose to focus on building Vernie the robot, who moves and talks: 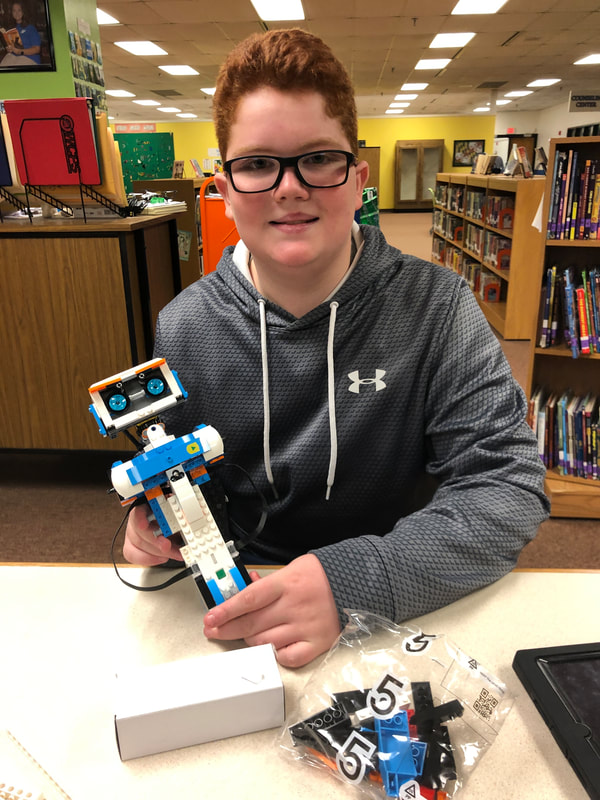 The other group decided to work on the M.T.R.4., or the Multi-Tooled Rover 4. It's a rover with several fun attachments that kids can use in a variety of ways! 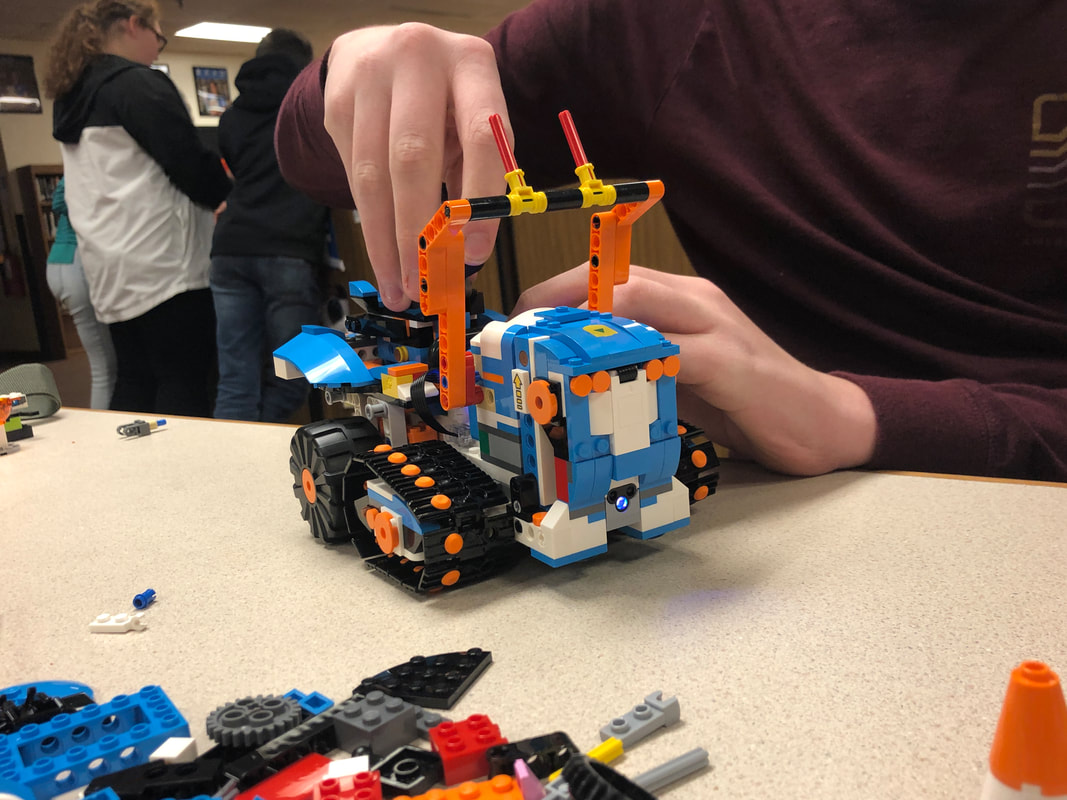 I love that the Lego BOOST Creative Toolbox provides versatility in a way that is less overwhelming than the Mindstorms EV3 kits. We have the EV3 kits, but my students often shy away from them because they are more difficult than they have time or desire to break into. The BOOST kits, however, feel fun and accessible from the beginning! As far as the coding goes, the app is very easy to use. My students, with little prior coding experience, were able to pick it up effortlessly. It teaches coding through a series of step-by-step challenges, and it provides the chance for open-ended play with the robots as well. 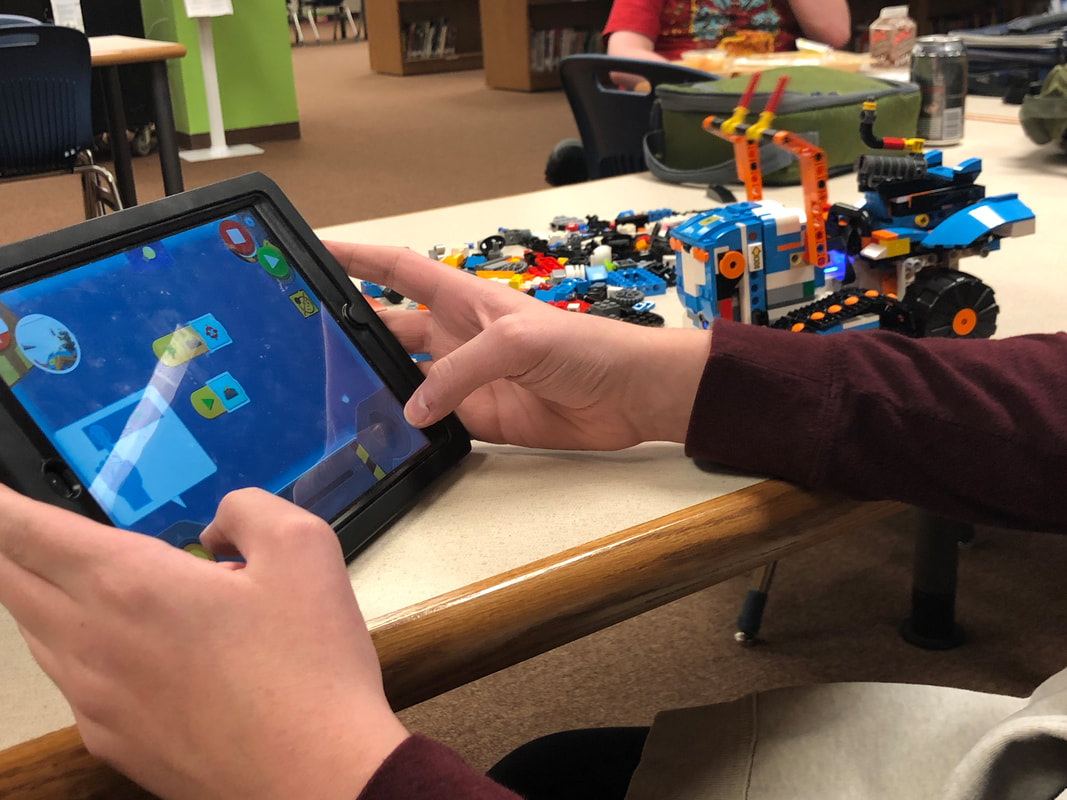 The only limitation I would say that this kit has is the same as other Lego Robotics kits - generally they are built to be 1:1 or 2:1 student-to-kit ratio. At $160 a kit, that can get expensive very quickly. I have two kits in my middle school media center and for now, that is enough for us!
Otherwise, I would definitely recommend the Lego BOOST Creative Toolbox for students in 3rd - 7th grade!  Coding is a critical skill that is being pushed more and more in public schools. I teach a weekly coding class during our Targeted Intervention and Enrichment period. I have both 6th and 7th graders, twice a week per class. We use a variety of coding platforms to code, including Code.org, Code Combat, Scratch 3.0, a variety of robots and more. However, once in a while we just need to unplug and do an activity that doesn't require a screen. Enter Binary Bracelets! 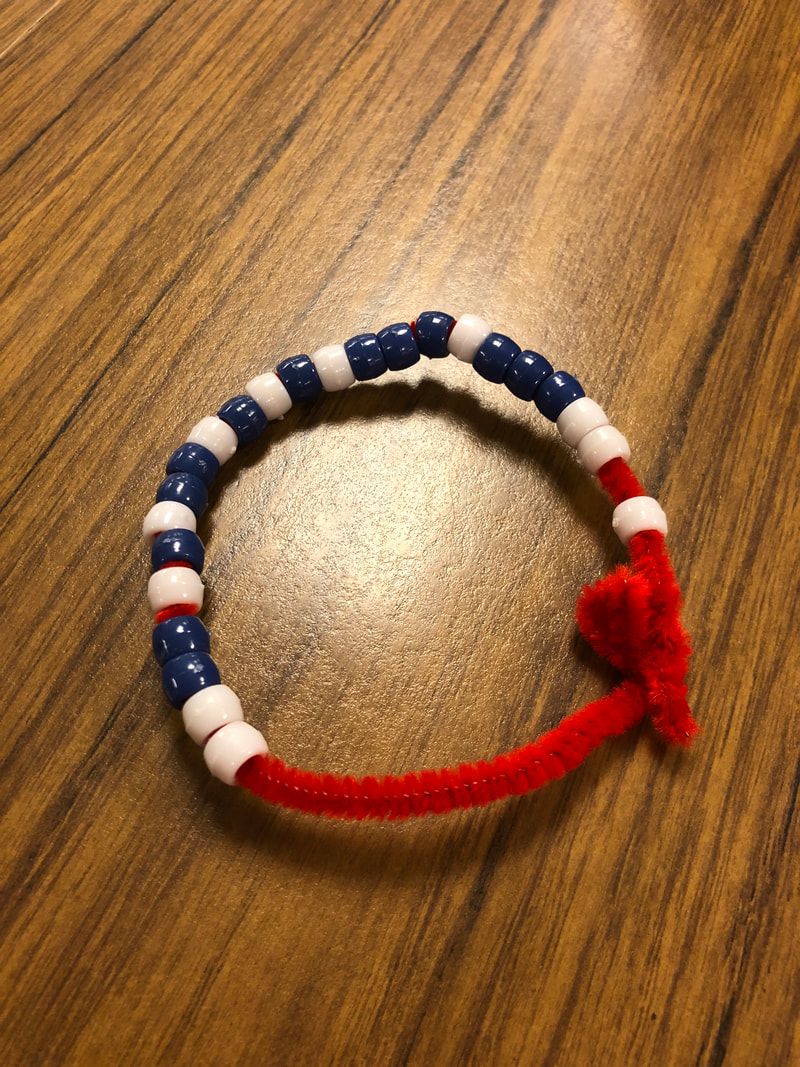 I pulled this lesson directly from Code.org. The materials are simple: chenille stems, pony beads, and a copy of the Binary Bracelet Code displayed and/or copied for students. I'd also recommend paper plates for students to sort and store beads while they work so they aren't all over the floor. Yes, that is the voice of experience speaking. For the bracelets, students will need to select 3 colors: a color to represent 0, a color to represent 1, and a color to act as a "spacer" to tell each letter apart. First, we reviewed the difference between an algorithm and a code. We explored the idea of binary code, which is "a coding system using the binary digits 0 and 1 to represent a letter, digit, or other character in a computer or other electronic device." I provided them with the materials, and they were off and "coding" the initials of their name onto their bracelets! 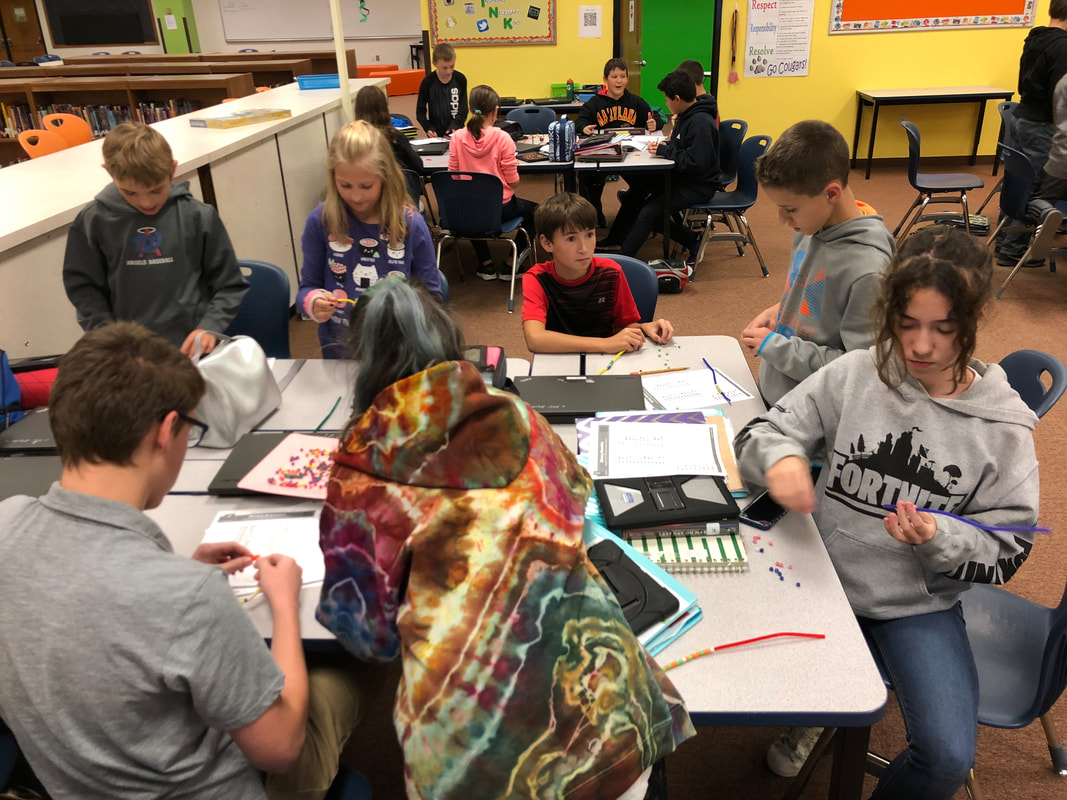 To my utter delight, they were excited to work on this project! Even better, they seemed to really understand how to make the bracelets! As a middle school teacher, you never know how students will react to a lesson. This one was a hit! Here are some shots of their finished bracelets. I was so proud of them and their hard work! |
About the AuthorHi! Welcome to my blog! My name is Christine Hurley. This is my 17th year of teaching - I've taught Kindergarten, 4th grade, elementary media, and now I am in my 6th year of teaching middle school media! Archives
September 2020
Categories
All
|
 RSS Feed
Proudly powered by Weebly