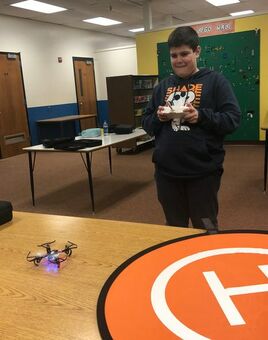
 In the spring of 2018, I attended the Common Ground Conference in Ocean City, Maryland, where I had the pleasure of attending a session all about using drones in the classroom! The session focused on an after school drone club using Parrot Mambo Fly Drones. These cool little drones are very stable when they fly, making them perfect for beginning drone flyers. I immediately set to writing a Donor's Choose grant for some drones to start an after school club of my own. Much to my chagrin, the Parrot Mambo Fly drones were not available through Donor's Choose, so I was able to procure some Holy Stone HS170 Predator Mini Drones instead. These small, inexpensive drones are not quite as stable as the Parrot Mambo Fly drones, but they do have some advantages! Replacement parts are cheap, including batteries, motors, and propellers. They also come with a separate controller, so no external technology is necessary (unlike the Parrot which requires a device to fly). When the drones arrived, drone club was born! We meet once a month on select Thursdays after school. Right now we are still learning to fly our Holy Stone Predators, but the kids are loving the experience. Our first order of business was to create a drone safety guide. The students generated our drone "best practices" to make sure everyone was safe and had a good time!
We have also done research into real-world careers that make use of drones, including real estate photography, military use, and even the future of retail delivery! Here are some photographs from Drone Club... more to come as we expand our drone program! My next goal is to get us eight Parrot Mambo Fly mini drones (we currently have 2) so we can code them using Swift Playgrounds on the iPads. Look for a future blog post as it develops, and if you have any ideas for our drone club, drop a comment below and let me know!
0 Comments
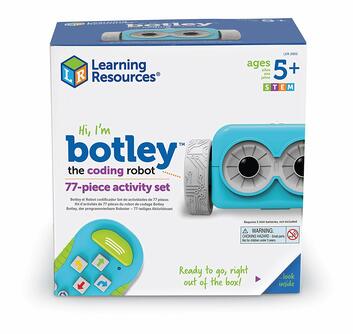 If you haven't met Botley yet, you NEED to hang out with this cool little guy and his fun personality! This battery driven robot requires no previous coding skill and no additional technology - he just needs you to be ready to problem solve! I found the perfect opportunity to use our Botley coding robot kits with our Life Skills students. With the easy, push-button remote and the fun activity cards included, my life skills kids were coding within seconds! First, the students explored creating line paths for Botley to follow using the puzzle-piece shaped cards included with the kit: 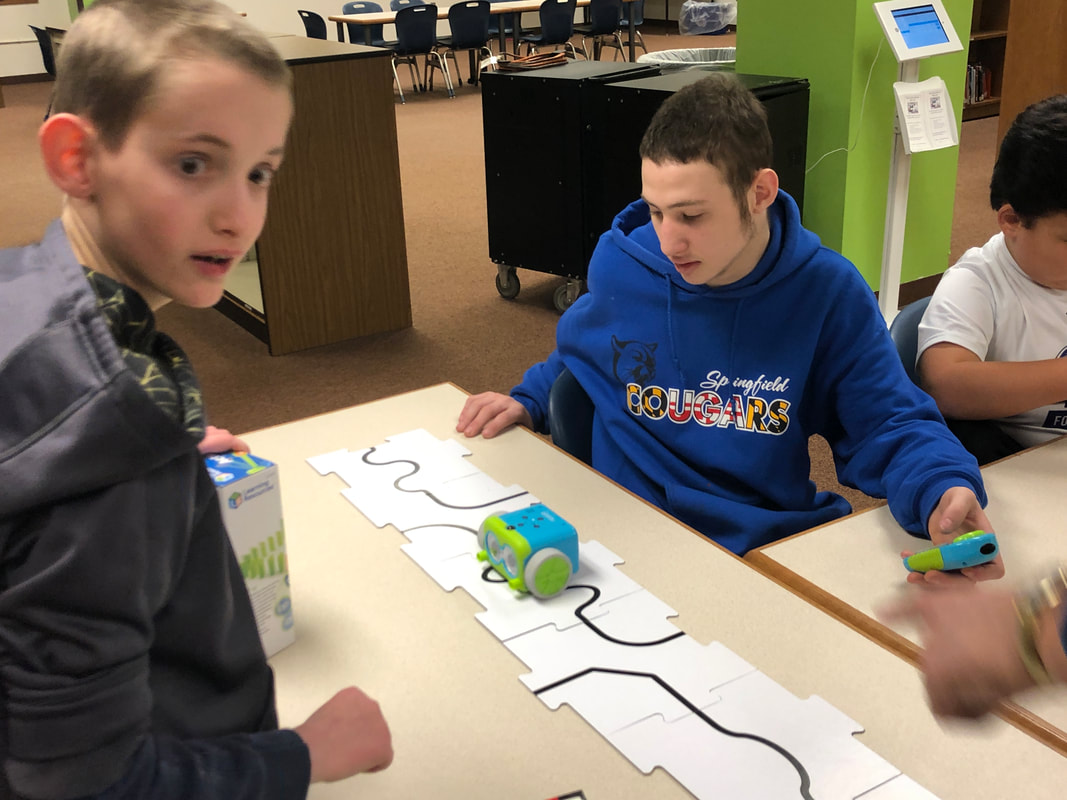 Next, they tried experimenting with some of the accessories, including the blocks, flags, and circle goals! 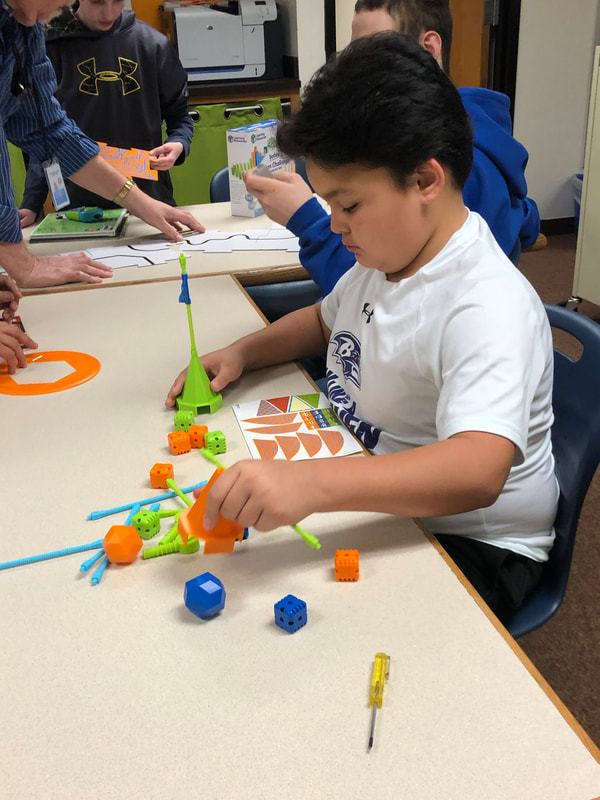 They used the accessories to make a goal for Botley to go and "grab" the square block with his two small arms, coding it with the remote control! 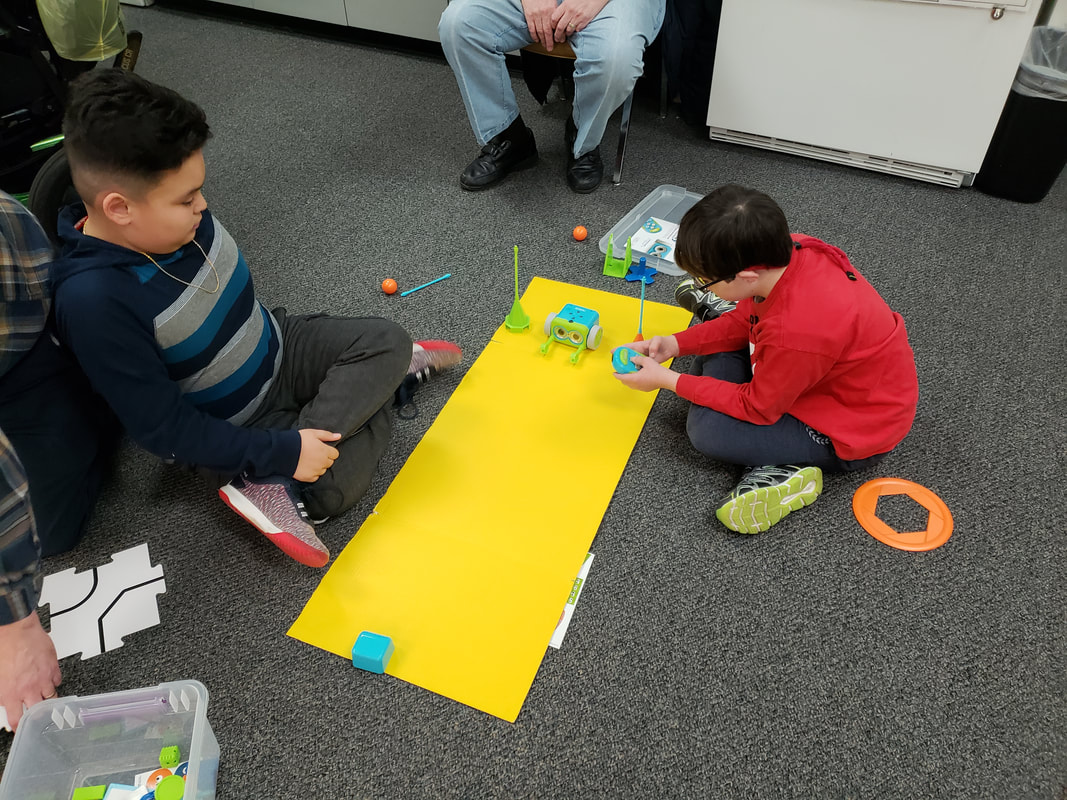 They even created fun obstacle courses for Botley to navigate, and coded him to move through it: 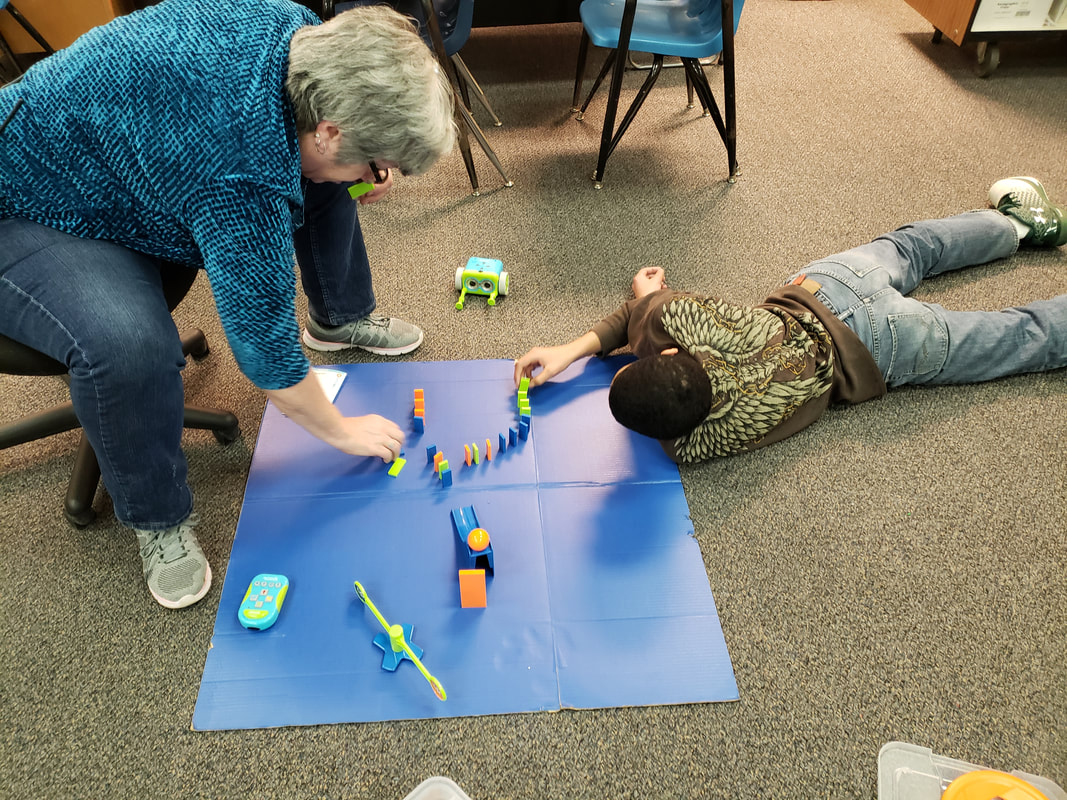 Using these Botley Robots with my life skills students was one of the most rewarding lessons I've done yet this year. These student-friendly robots truly allow anyone to code successfully!
How would YOU use Botley in your library? Drop a comment below and let me know! 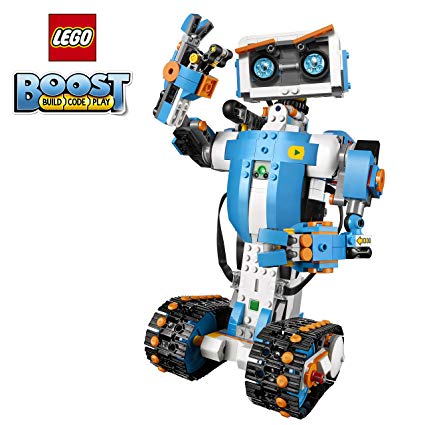 Are you looking for a Lego kit for your students that teaches coding? The Lego BOOST Creative Toolbox is perfect for ages 7-12! It claims to help kids learn the basics of coding, engineering, and robotics. To accompany it, you'll need to download a free app:  The kit includes a motorized hub, color sensor, distance sensor, an extra motor, and a little over 800 pieces to build one of five models. It reminds me of a kinder, gentler, less expensive version of the Lego Mindstorms EV3 kits! I wrote a grant for the Lego BOOST Creative Toolboxes on Donor's Choose and it was funded fairly quickly. My students tore into the boxes as soon as they arrived: 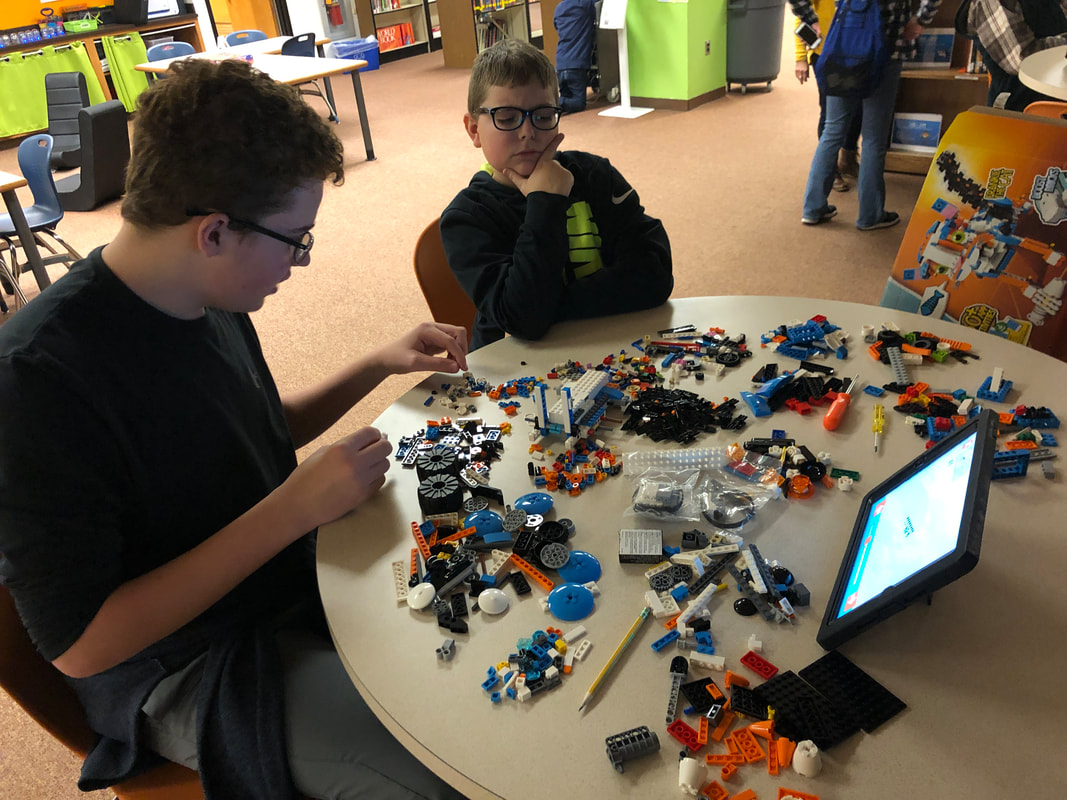 I was a little concerned at first that the functionality would be too easy for my middle school students, but they proved to be engaging enough that even my 8th graders enjoyed the challenge of building them! One group chose to focus on building Vernie the robot, who moves and talks: 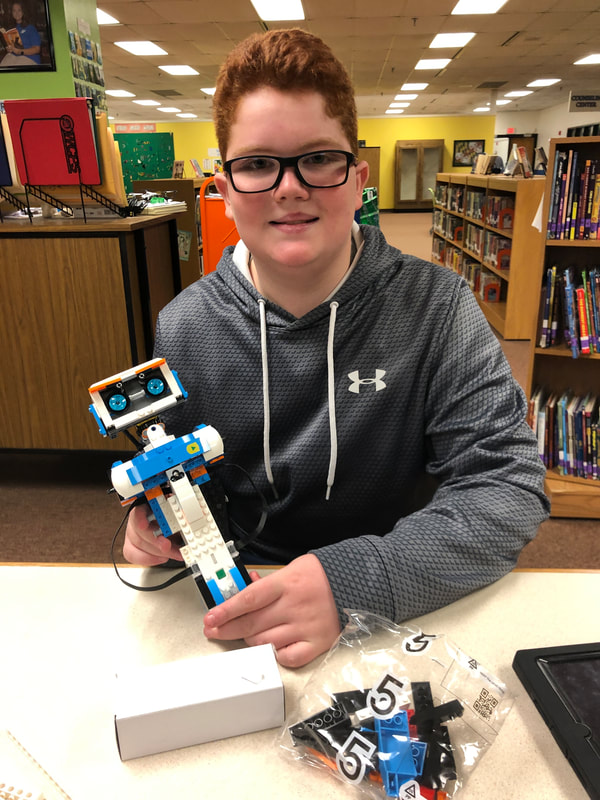 The other group decided to work on the M.T.R.4., or the Multi-Tooled Rover 4. It's a rover with several fun attachments that kids can use in a variety of ways! 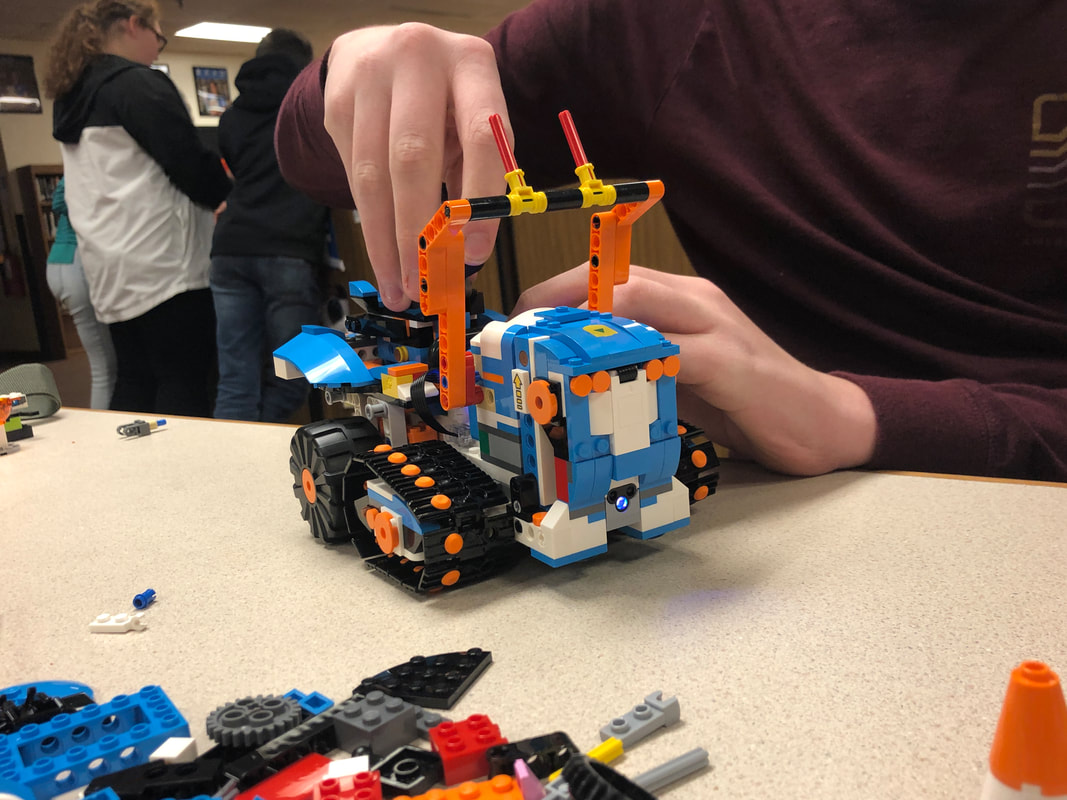 I love that the Lego BOOST Creative Toolbox provides versatility in a way that is less overwhelming than the Mindstorms EV3 kits. We have the EV3 kits, but my students often shy away from them because they are more difficult than they have time or desire to break into. The BOOST kits, however, feel fun and accessible from the beginning! As far as the coding goes, the app is very easy to use. My students, with little prior coding experience, were able to pick it up effortlessly. It teaches coding through a series of step-by-step challenges, and it provides the chance for open-ended play with the robots as well. 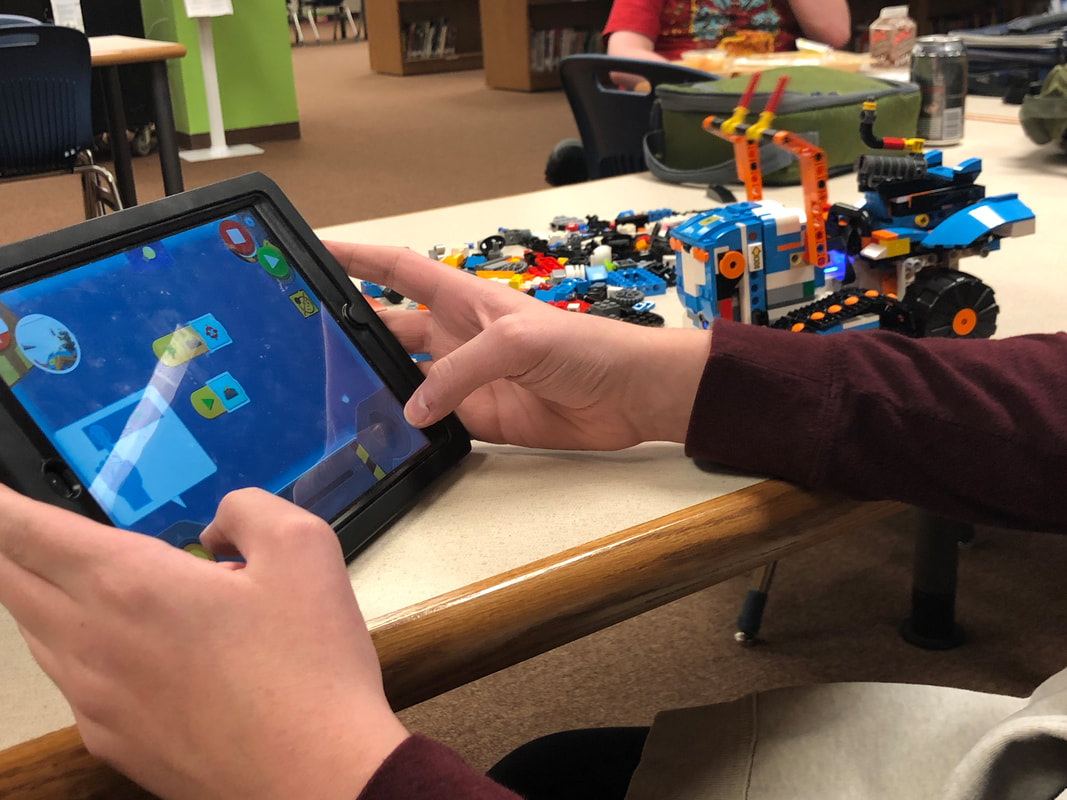 The only limitation I would say that this kit has is the same as other Lego Robotics kits - generally they are built to be 1:1 or 2:1 student-to-kit ratio. At $160 a kit, that can get expensive very quickly. I have two kits in my middle school media center and for now, that is enough for us!
Otherwise, I would definitely recommend the Lego BOOST Creative Toolbox for students in 3rd - 7th grade! 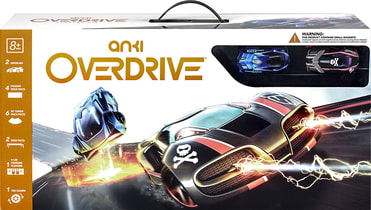 I'm always looking for new and exciting ways to engage reluctant students and increase foot traffic in the media center. I was doing some research on a super awesome robot that we have in the library, Cozmo, when I discovered that ANKI also makes a robotic race car track called Overdrive. I knew immediately that this was going to draw students to the library, particularly some of my reluctant readers who check out race car books by the armload but will engage in no other texts. Enter DonorsChoose.org. After a little more research, I wrote a grant for the ANKI base kit, two additional cars, a storage bag, some extra track pieces, and several books related to robotics, race cars, and more. The grant was funded almost right away! I love it when donors believe in what I'm doing and fund my little pet projects! When the cars arrived, the kids tore into them right away. The kids were captivated - within a few minutes, they were building tracks, downloading the app, and driving the cars. 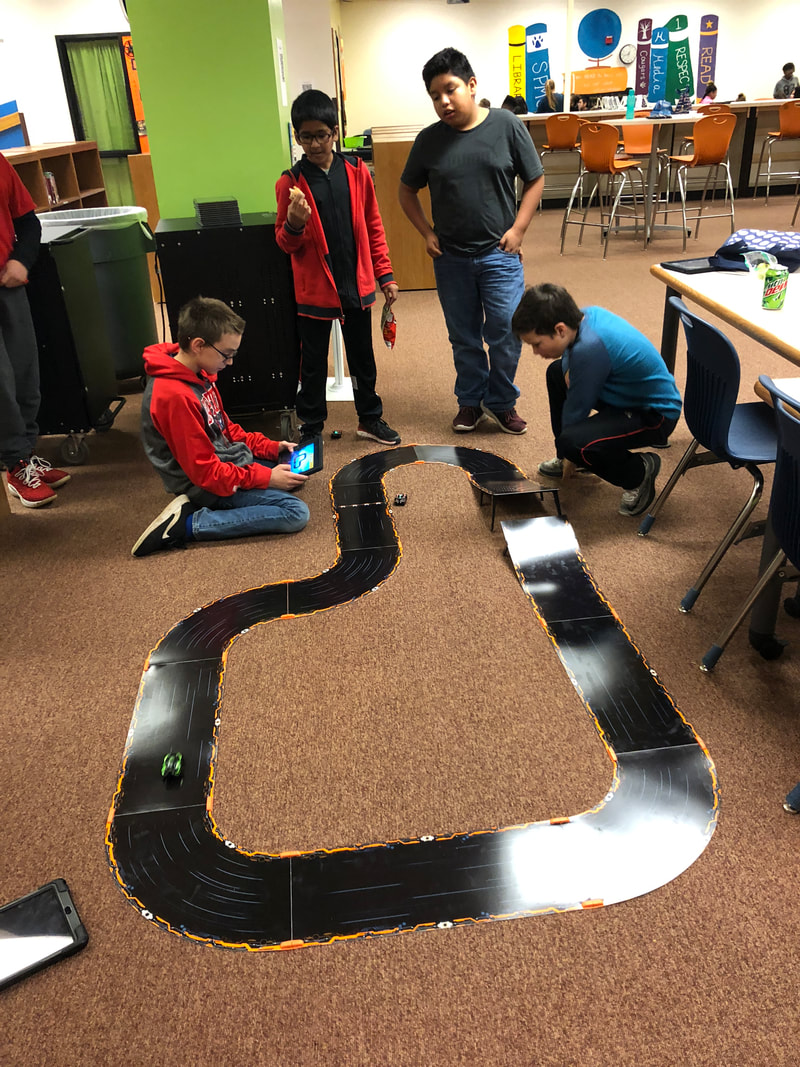 As I mentioned - the grant I wrote included several books. I processed them that morning and by that afternoon they were gone. It was a very easy sell to get the kids to take the books - they were engaging and interesting! In fact, I don't have pictures of the kids reading them because they aren't ever on the shelf. Mission accomplished! Over the next few weeks, interest in the Anki cars continued to grow. Two students brought in their own Anki base kits to donate to our collection, growing it from 4 cars to TEN! We had an incredible amount of track, too - the kids were able to make some amazing courses! The robotic Anki smart cars have certainly sparked an interest in coding, robotics, artificial intelligence, and racing in my students. What are YOU doing to increase foot traffic in your media center? Drop a comment below and let me know, I'm always looking for new ideas!
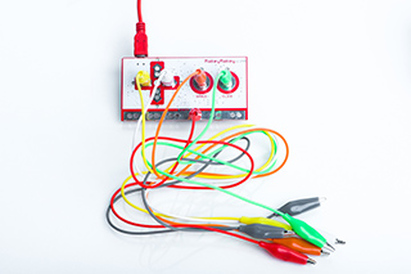 I seriously love Donor's Choose!! Generous donors funded another grant for our media center - this time for four Makey Makey kits! What is a Makey Makey? Watch this video to find out: Now that you've seen that, you REALLY want one, right?? Because they are so much FUN! It's an invention kit that allows kids to make basic gadgets and gizmos using simple alligator clips and an interface. There are tons of programs out there, including Super Mario Brothers, Pac Man, a piano program, bongos, and much more! The best part is that you can use Scratch to program your own ideas, too! We have just scratched the surface of using the Makey Makey kits, but check out some of the fun things my kids created within just a few minutes of busting the kits out: 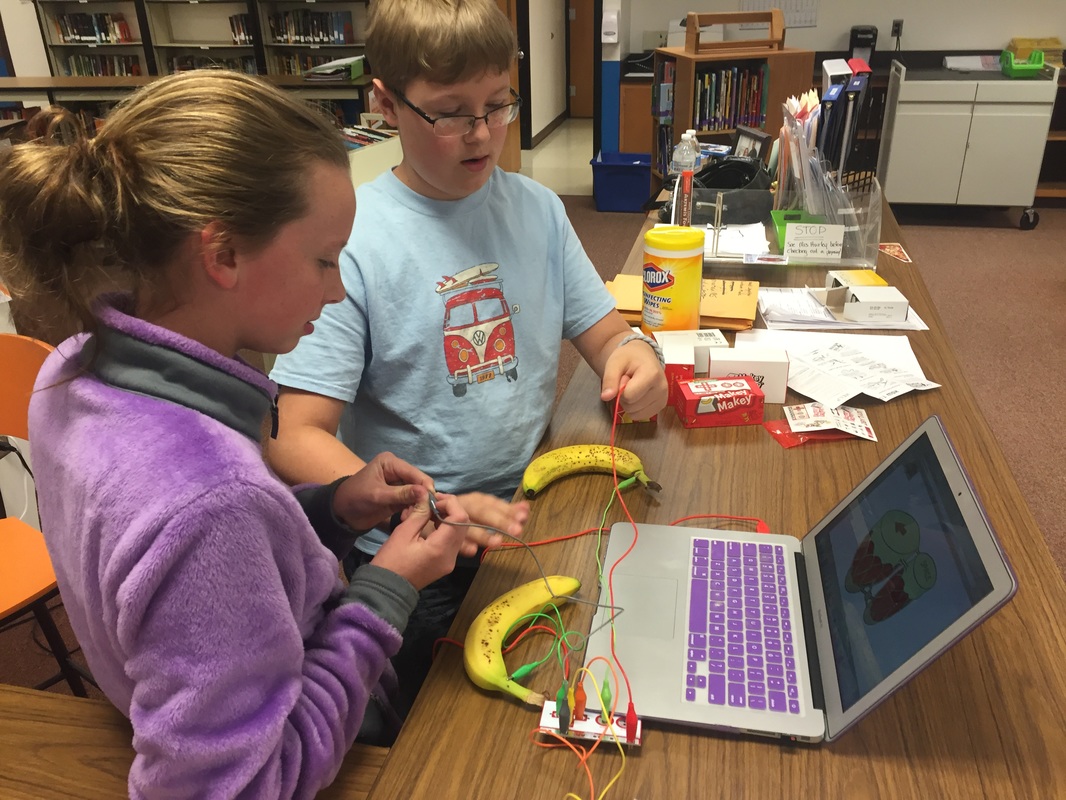 Banana bongos. For real. 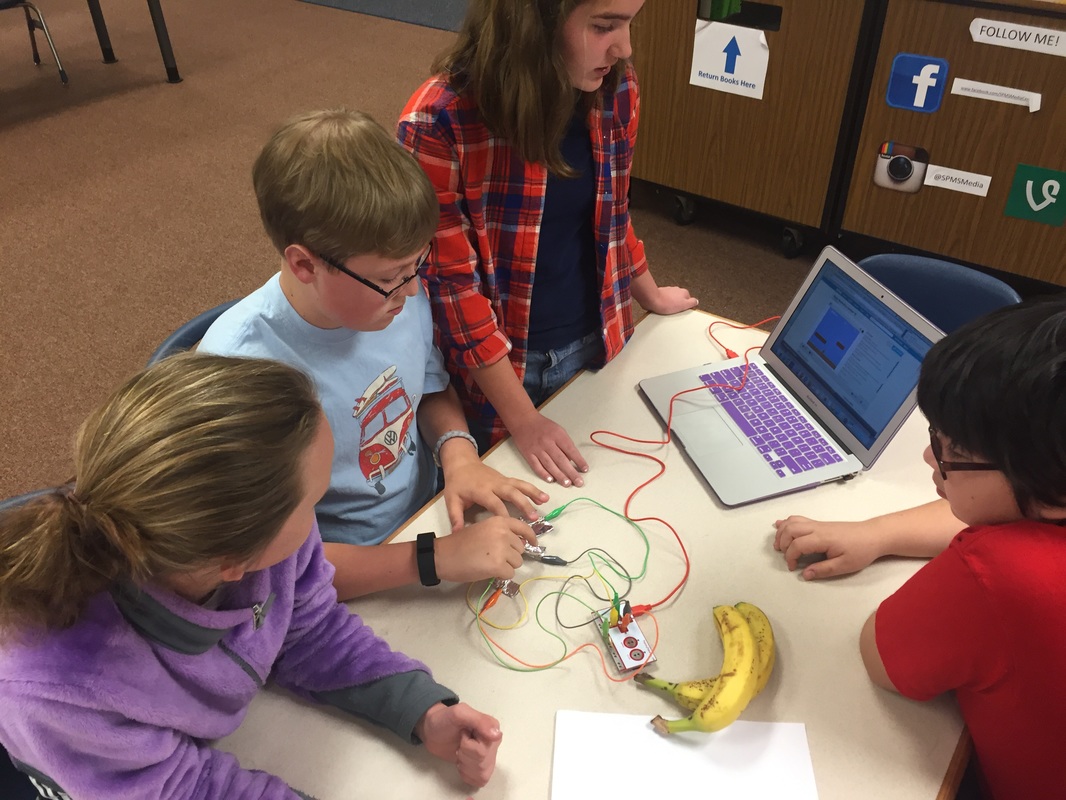 It's hard to see, but this is a remote control to play Super Mario Brothers - made out of aluminum foil! 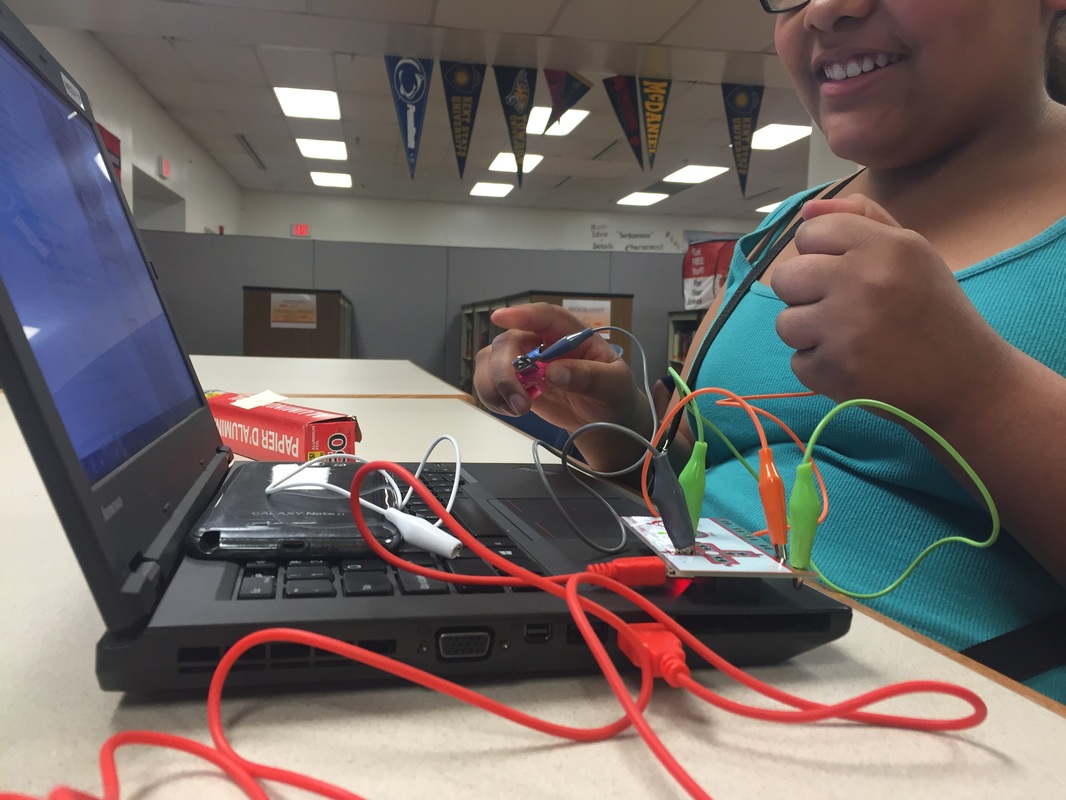 These girls were using themselves as a human synthesizer! Being the nerd that I am, I got in on the fun too - I made a water piano using some petri dishes, water, and the Makey Makey kit!
We have since experimented with playdough, other fruit, and office supplies. Pretty much anything that conducts a low-level electrical current can be used... the possibities are endless! What would YOU make-y with a Makey Makey kit? Comment below! 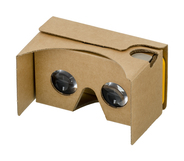 A few weeks ago, I went on a Donor's Choose posting blitz and posted a bunch of projects that I'd had floating around in my head. Just a few days later, there was a flash-funding event and several of my projects got picked up at the same time! It was amazing! One of my favorite projects included 6 Google Cardboard virtual reality headsets. If you aren't familiar with Google Cardboard, it uses a variety of apps on your smart phone to create a virtual reality experience that is totally immersive and very, very cool. Click HERE to read more about Google Cardboard direct from the source! You can get them on Amazon.com for $10-15 per headset... I bought the ones that are actually made from cardboard, but they do have plastic versions that are more durable (and more expensive). So how can Google Cardboard help us in the classroom? One of the apps that Google Cardboard supports is Google Street View. Street View is a free app that uses pictures to show the streets of famous places. Additionally, users can upload photos. It's PERFECT for virtual field trips! Upon unpacking and watching a YouTube video on how to fold them (because my spatial reasoning skills are HORRID), the first place we went was Paris, France. We walked around the Eiffel Tower, looked up and down some streets... it was amazing. With your phone in the front of the cardboard, it feels like you are standing right there! Our 7th grade ELA team is reading The Lightning Thief by Rick Riordan. In the story, Percy visits a variety of places around the world. The students are going to hop from place to place and take a virtual tour of the landmarks in the story! Our 8th grade ELA teachers have discussed looking at Anne Frank's house and Edgar Allen Poe's grave, among other places. One of our science teachers wants to use the cardboards to look at different biomes and environments... A social studies teacher is going to have her students visit the camps at Auschwitz, and another one wants to visit the pyramids. The students who use our Makerspace have toured the volcanoes in Hawai'i, the peaks of Mount Everest, the snowy tundra of Antarctica, Cinderella's castle, and more! As if that isn't enough... check out what Google is releasing soon: Google Expeditions! How amazing is that? Teachers will have the ability to interact with their students and take them on a guided tour using Google Cardboard sets. Wow. The SPMS Makerspace has 10 Google Cardboard headsets available for student and staff use - we are looking to purchase more for the future! So... where would you go with Cardboard? Comment below, I'd love to hear your ideas!  Everyone loves Lego bricks, right? YES! So what better item to have in our Makerspace than an EPIC LEGO WALL?? I saw the amazing Lego wall that Diana Rendina built over at RenovatedLearning.com and I just KNEW that we had to have one like it in our Makerspace. Legos! Libraries! Epic indeed! So how to you build an Epic Lego Wall? Turns out it's not super hard, but there are some tips that I learned that will make your experience flow much smoother. Step 1: Secure Funding Lego base plates are expensive. Our wall required 64 plates that were 10"x10" each. Packs of 4 were $29.99 at the time I bought them from Amazon, making the total cost of the wall $480 plus shipping. Fortunately for me, I had bookfair money that I used to cover the cost. I'd also suggest DonorsChoose.org or asking your PTA... funding is out there! Step 2: Prep The Area Prepare your wall and decide how you are going to secure the plates to the wall. I used a piece of 80.5" by 80.5" plywood (more on the size later, see Step 3) screwed into the wall. The guys from WCPS Facilities supplied the plywood for me - they even cut it and painted the edges for me! They also supplied the adhesive - Liquid Nail. I used a whole gallon! I may have been a little overzealous with the glue.... 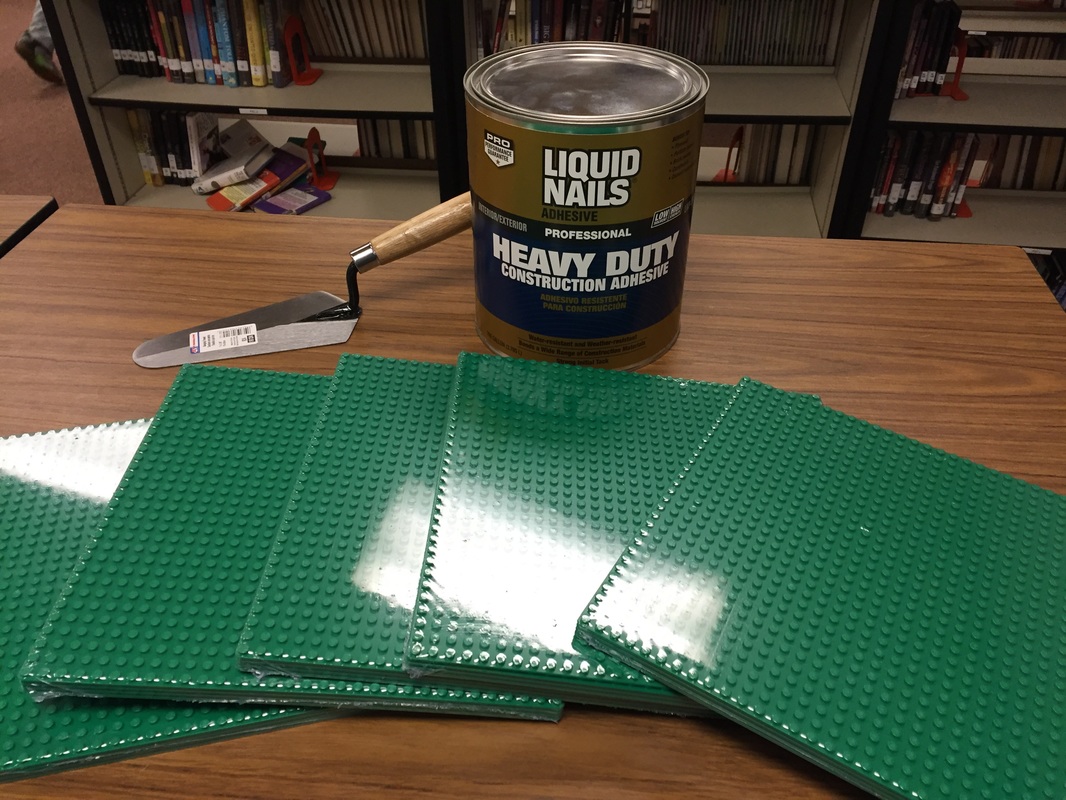 Step 3: Apply Lego Plates to the Wall Wear clothes that can get ruined because the liquid nail does not wash out... I learned that the hard way! I used a trowel to slather each plate with Liquid Nail: 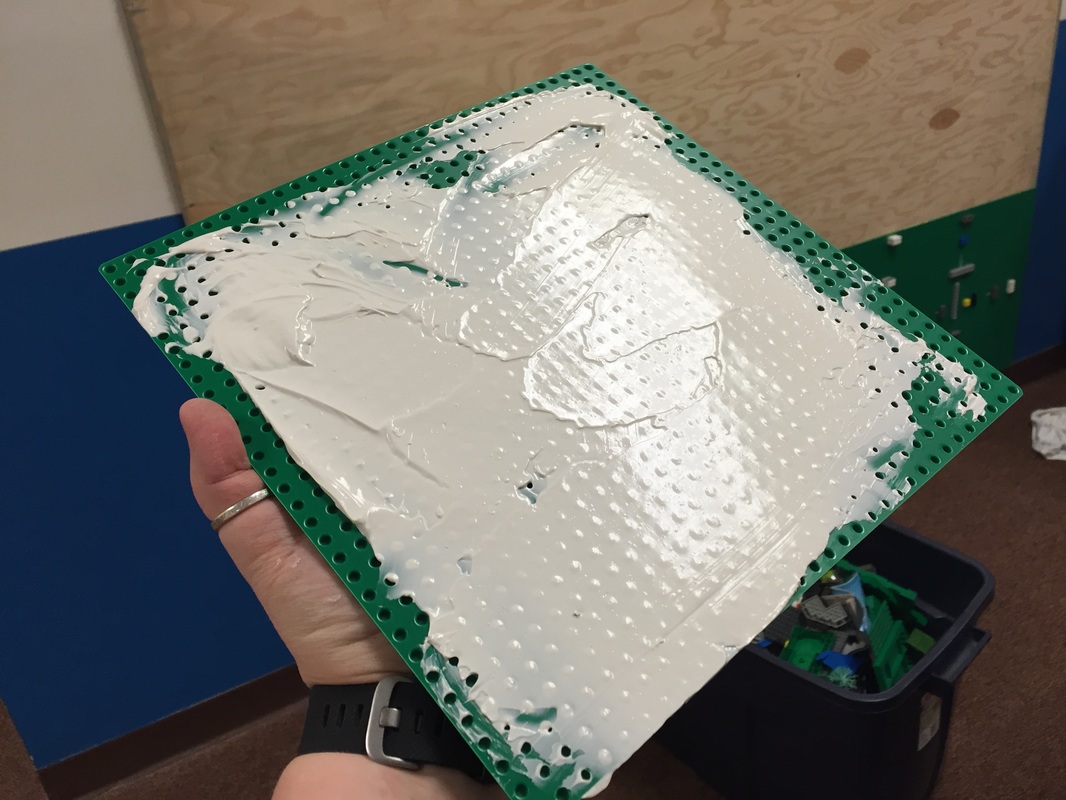 Start at the bottom and work your way up to the top. The most important thing you can do is use Lego bricks as spacers. If you do not, the plates will be too close to one another and the Lego bricks will not span across from one plate to another correctly. There must be a 1 mm gap in between each plate: 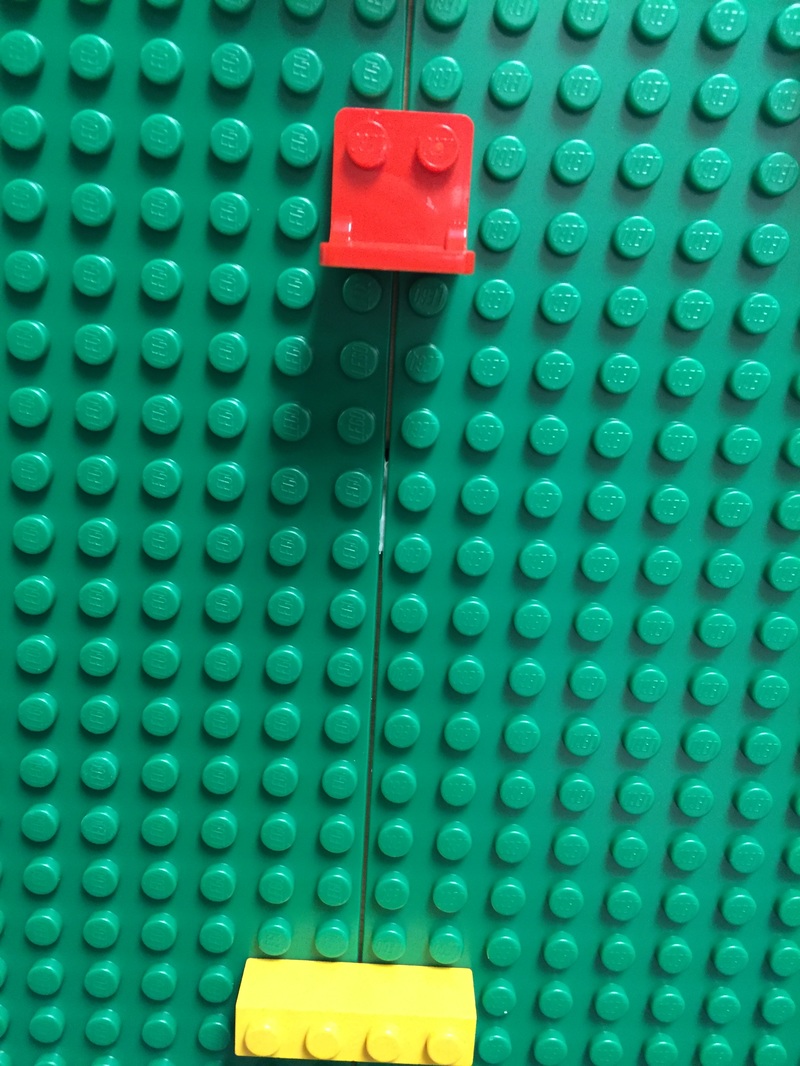 That 1 mm gap is why the wall is 80.5"x80.5" even though it is comprised of 8 plates across and 8 plates down that are 10" x 10" each. Without the extra half an inch, I would have had to cut the plates to make them fit correctly. Be sure to take this into consideration when you are calculating your wall size. Here are pictures of the wall in progress! Step 4: LET IT DRY This might be the hardest part... you need to let the liquid nail set completely, otherwise when the kids pull the bricks off of the wall, you might pull a plate off as well. I let mine dry for an entire week... it was TORTURE! I posted signs on it and told the kids that we would have a grand opening the following Friday. 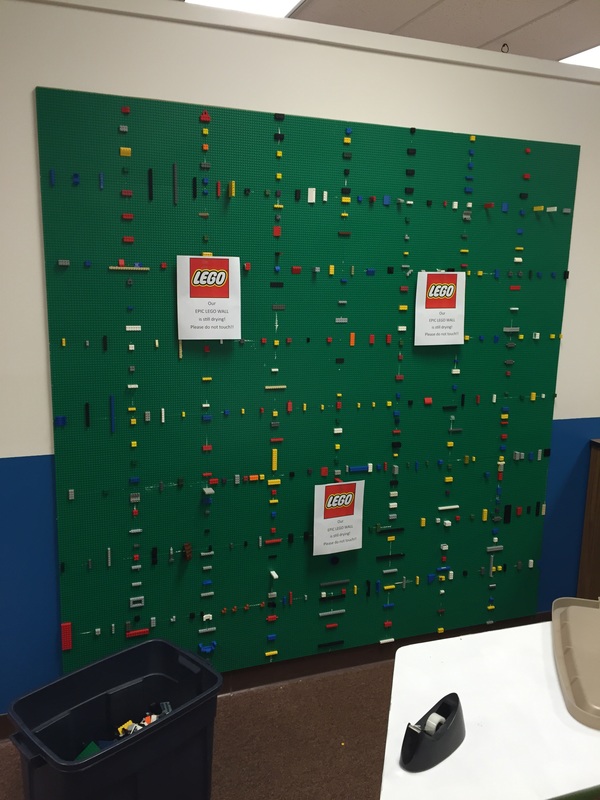 In the meantime, I had plenty of kids willing to sort all the donated Lego bricks that we received. How did I get them? I posted on the local Facebook yard sale pages that I was the new librarian at SPMS and that I wanted Lego bricks for a project. Before I knew it, I had two enormous tubs full with more legos than we could ever use, FREE! I bought plastic bins at Target to have the kids sort them. They sorted them by color, as well as pulling out the minifigures and wheels into their own bins. You could really sort any way that you wanted, but sorting by color worked for me. 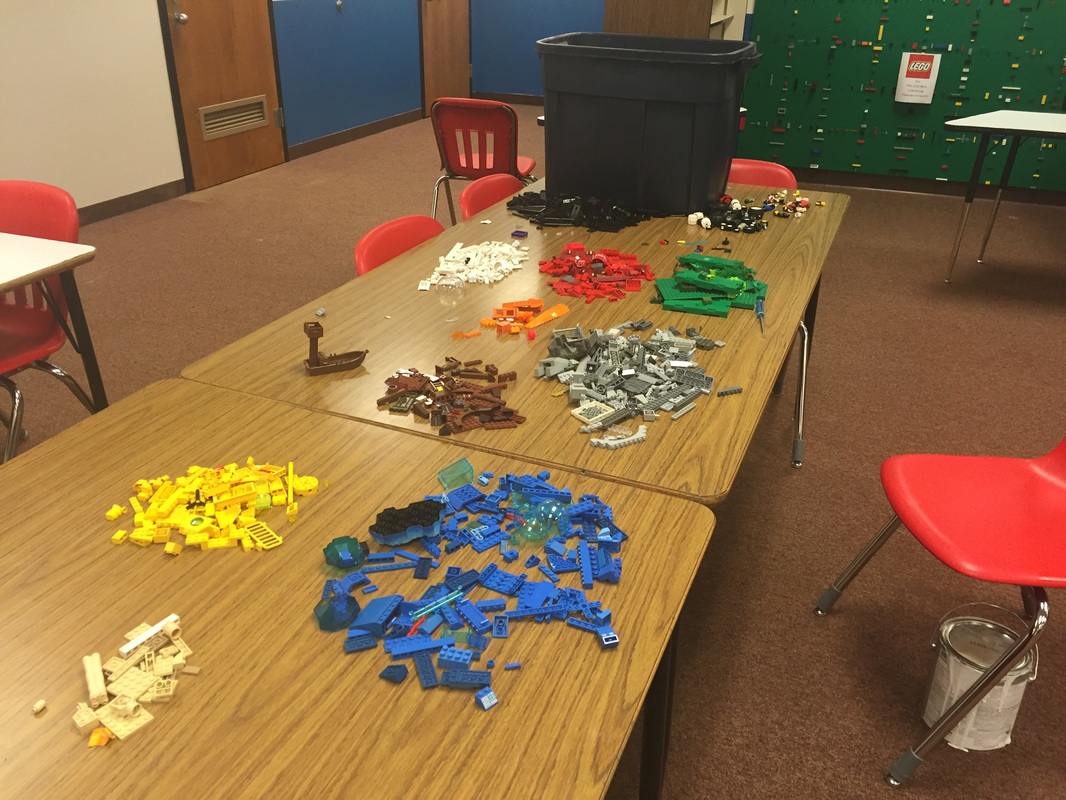 Step 5 : Open It to Building! We had a ribbon cutting ceremony - I even wore my Lego brick earrings that I bought at a craft festival. My awesome and amazing administration team attended! Shortly after, students started to put bricks on the wall... YAY! Incidentally, here is the font I used if you want to make your own Lego Wall sign! Right now I am allowing the students to free build as they see fit. Future design challenges will include art challenges (create a piece of Lego art from all one color), design challenges (move a ping pong ball from one place to another on the wall, like Plinko), and more! So now the Epic Lego Wall at SPMS is open, and EVERYTHING IS AWESOME!! Stop by and build, we would love to see what you create! I had the good fortune recently of having a DonorsChoose project for Ollies funded! They arrived at school and everyone LOVES them. What are Ollies? They are fun, fast, and fantastic! What a great addition to our SPMS Makerspace. We have 3 of them - their names are Ollie, Pollie, and Mollie. Here are some pictures of the kids using them: Some of the future ideas that I have are some design challenges to get the kids creating and engineering. For example:
Do you have ideas for Ollie? Leave them in the comments below!  I was privileged to attend the AASL conference earlier this month and I am still just in awe of my colleagues from around the country. This is Part 2 of my reflections on the conference. Part 1 can be found here. This part will focus on the individual sessions that I attended. I'm going to group them by the two major strands: Apps and Makerspaces! AASL Best Apps for Teaching and Learning!The AASL has curated a list of the best apps for teaching and learning. This year's list is awesome, and should certainly be reviewed by teachers and administrators to see how these apps can be best used in the classroom. An interesting note... not all of these apps are free. In fact, some of them are quite costly. When asked about they aren't promoting free apps, one of the media specialists on the panel stated that librarians regularly pay $25-30 for a good book, what is stopping us from paying $1-3 for a great app? Whoa. What a great point. Particularly because when talking about purchasing in bulk, the apps become 1/2 price when you purchase over 20 copies... so a $1 app costs the same to buy 10 copies as it does to buy 20 copies. So about the apps... In the interest of brevity, I won't list them here... but you can check them out at the AASL website! But you HAVE to see them... they are awesome. Please check them out! It's worth mentioning that the previous winners are also archived on the AASL website, so you can see the best apps from 2013 and 2014, too! MakerSpaces in the Library!Makerspaces are the new trend in libraries. Before we talk about it, I'm sure some people are wondering, " What is a Makerspace?" Check out this short video: I know what you're thinking - but WAIT... A library is ALREADY a Makerspace... right? Libraries have always been places where people come together to make and create. But libraries are thought of traditionally as quiet spaces.  A world of no... just NO. Libraries should not be quiet! They should be the heart of the school, full of students learning and creating. Learning is messy. Creating is noisy. Embrace the insanity!
*Steps off soapbox* So let's talk about what these amazing librarians had to say! The first session was by Diana Redina, Media Specialist at Stewart Middle Magnet School. You'll want to check out her blog, Renovated Learning, for sure! Her presentation, Makerspaces & Libraries: How to Bring Some STEAM Into Your Program, was a hit! There were around two hundred people in the room - it was standing room only. She discussed lots of popular Makerspace ideas, including:
She shared even more than what I put here, but these were my favorite take aways. What a great session - and ironically, my Donor's Choose project for 3 Ollies was funded DURING the session! How awesome!!! The second Makerspace session I attended was entitled Full STEAM Ahead! Create Maker Spaces Using Your Library Print VBooks with an eBook Connection Using QR Codes, presented by Lisa Hathcock and David Burrow. It was also full of great resources for Makerspaces, including:
I also went into the actual AASL Makerspace area, which was super fun. There were some really cool toys in there that I have on my radar to check out in the future! My favorites were:
There were SO MANY awesome speakers and sessions at AASL15... I am still wrapping my brain around my session notes and going through files! Like the keynote speaker Heidi Hayes Jacobs said, "We should all leave here emotionally disturbed." I definitely am unsettled (in a good way) by all that I learned at AASL! More changes are coming to the SPMS Media Center, and it's going to be AMAZING! I am just going to throw this out there - I am not a huge fan of bulletin boards. I am not a cutesy-crafty person by nature. It takes me a long time to work on craft projects and frustration levels are high... So bulletin boards are my own personal nightmare. Thank heavens for PINTEREST!! I have four bulletin boards in my new library, and a fifth that is due to be installed soon. I decided to liven up the space with fabric backgrounds and bright colors. I'm trying to make it more warm and inviting for the students! Here they are, in no particular order: Featured Author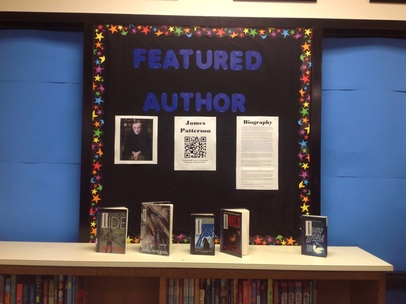 I'm planning on rotating a display of student's favorite authors through the library every month or more. Our first author is James Patterson, an amazing author and children's literature advocate. Along with a picture and short biography, I have posted a QR code linking to his website. Our district recently adopted a BYOD Policy, so kids have smartphones for use instructionally! Awesome Opening Lines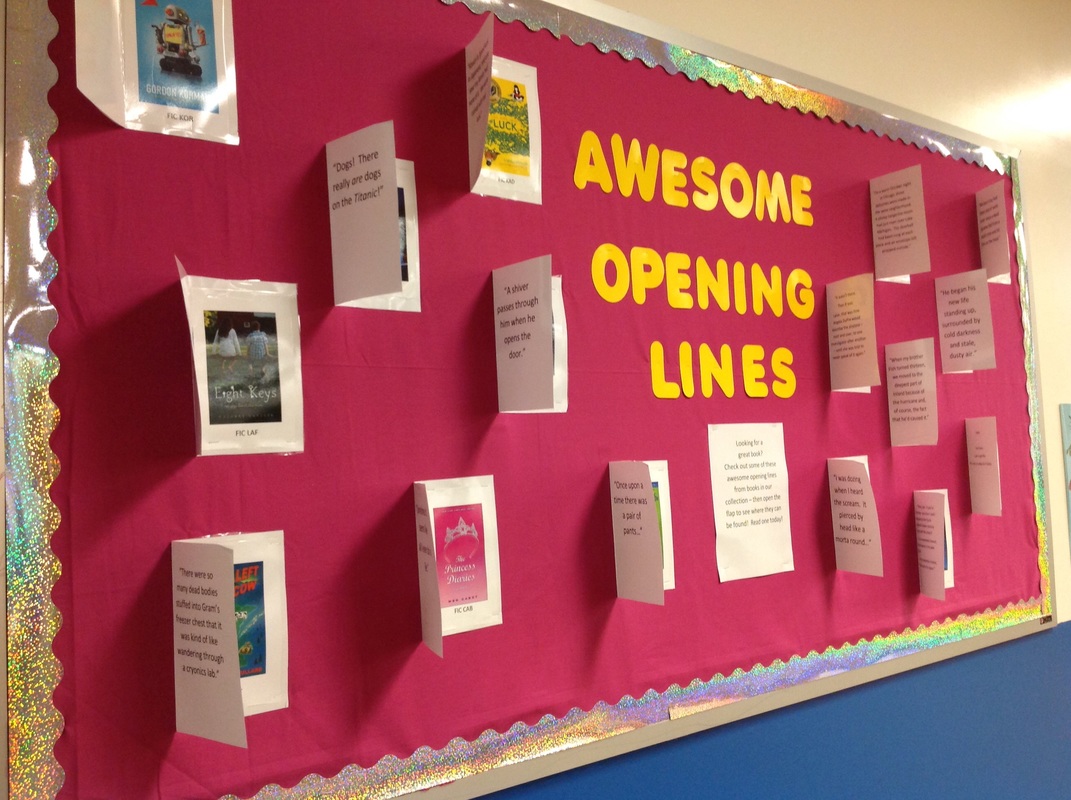 This interactive bulletin board displays books with a great opening line that can really hook the reader. Inside the flap is a photo of the front cover and the call number where students can find the book in the library! Stop And Think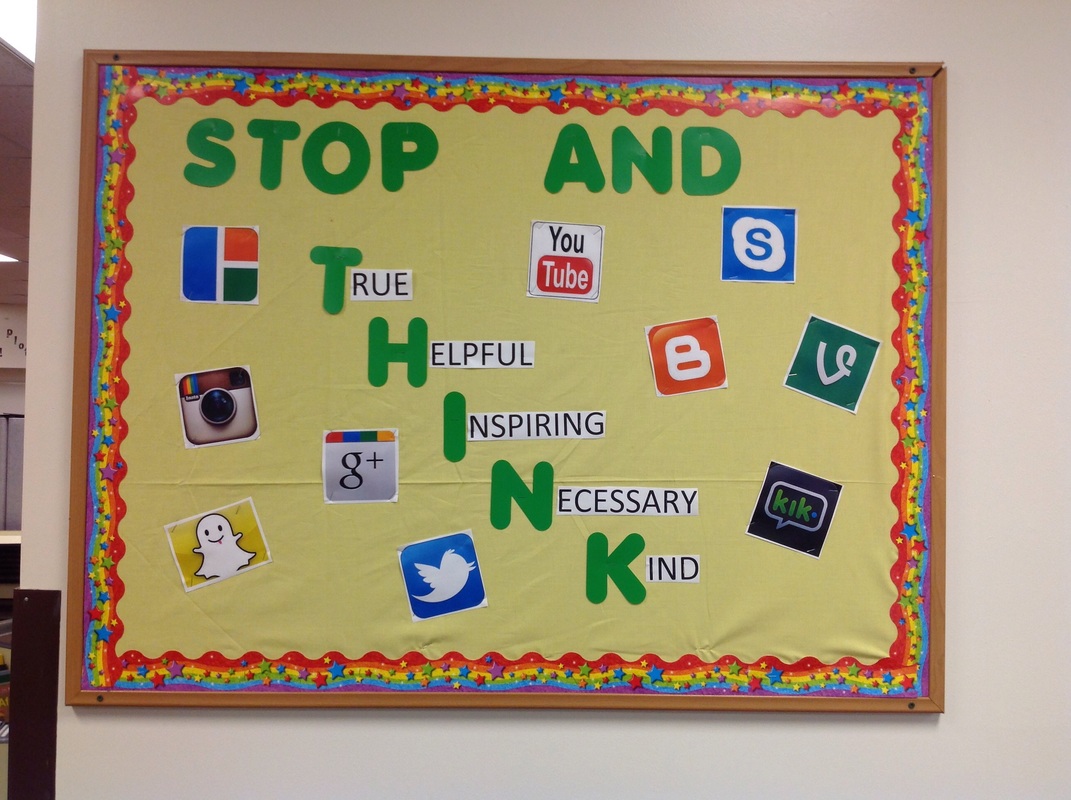 This very small bulletin board is near my computer area in the media center. Digital citizenship is a big focus this year for our school, so I wanted a visual reminder for the kids to THINK before they post online. Donors Choose Projects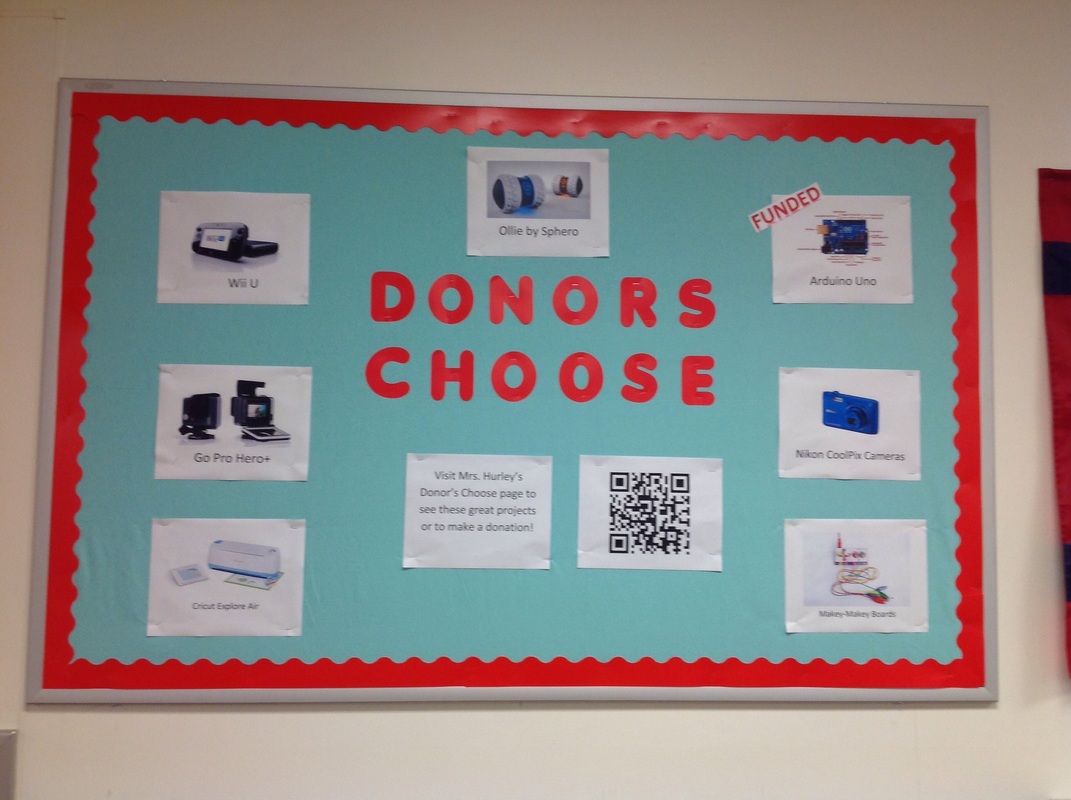 I like to post projects on DonorsChoose.org. I am trying to develop our media center MakerSpace this year, and these are just a few project that are open. The QR code takes visitors/guests to my class on the Donors Choose website. As projects are funded, I will post "FUNDED" on the top corner of each picture - see the top right Arduino Uno picture? I already had one funded, and it's still August!
Right now I have projects up for:
I feel like it's critical to show how we are improving our libraries - these projects are making our library transform into a 21st Century Learning Commons! |
About the AuthorHi! Welcome to my blog! My name is Christine Hurley. This is my 17th year of teaching - I've taught Kindergarten, 4th grade, elementary media, and now I am in my 6th year of teaching middle school media! Archives
September 2020
Categories
All
|
 RSS Feed
Proudly powered by Weebly