 When someone says "computer programmer" to you, what do you immediately think of? If you're like many people, it's something like this:  A nerdy white guy, right? Girls Who Code is here to shake up that stereotype. Their mission statement, from their website, states: Girls Who Code is a national non-profit organization working to close the gender gap in technology. Our programs educate, equip, and inspire girls with the computing skills they’ll need to pursue 21st century opportunities. Fantastic, right?? I am proud to be the first school in WCPS to host a Girls Who Code Club. We met 2x a week, 24 girls participating. As a secondary GWC Club, my girls had access to their iPads to work. They learned how to write "real code" - not just block coding in a drag-and-drop interface, but by actually writing code in Apple's Swift Playgrounds, shown here: 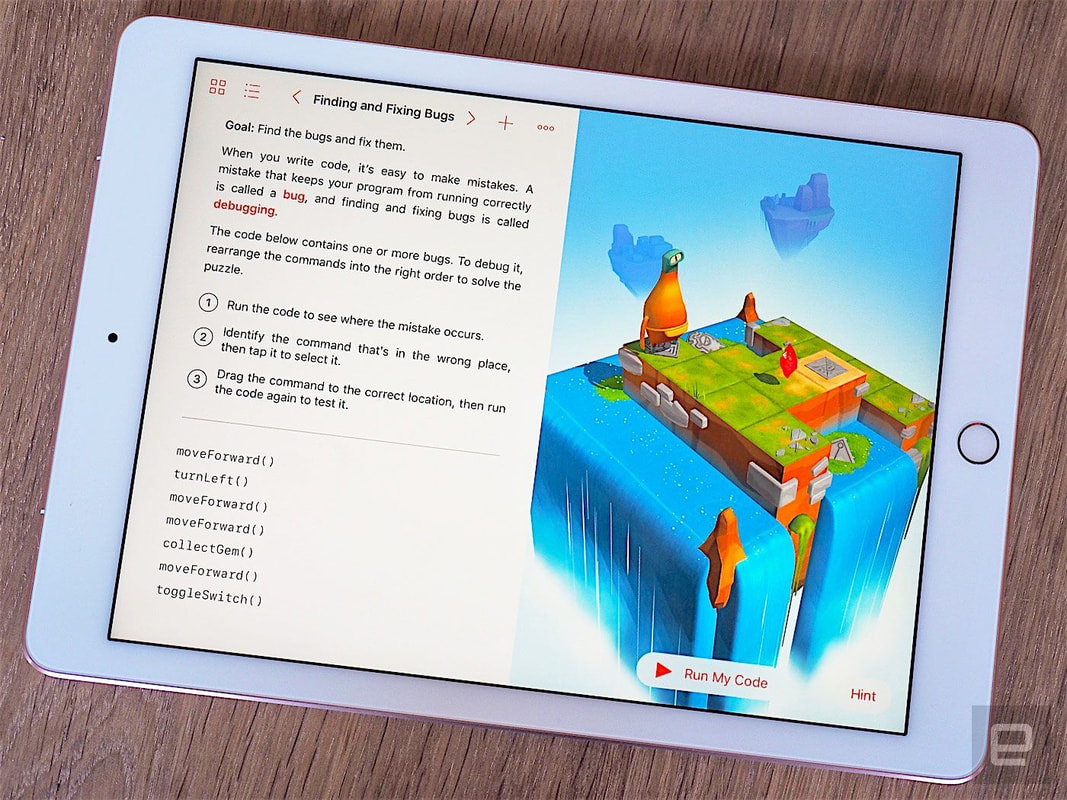 With the Learn to Code I, Learn to Code II, and the Answers playground, my girls learned how to write lines of code in Apple's Swift language. They found and fixed bugs, learned about variables, and so much more. The final project was to work on coding a personal assistant, much like Apple's Siri or Amazon's Alexa. More importantly, these girls discovered that they COULD code... that they could break down the stereotype of the nerdy white guy and that THEY, this amazing, talented, diverse group of brilliant young women, could be the future faces of programming:  To quote Beyonce... "Who runs the world? GIRLS!"
0 Comments
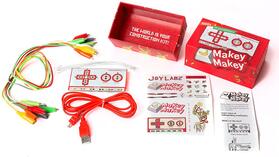 I recently had the opportunity to partner with a 6th grade math teacher and her Magnet students for an amazingly awesome and fun project - making pianos with Makey Makeys! If you aren't sure what a Makey Makey is, check out this video for a quick explanation... it takes any item that conducts electricity and turns it into an input device (like a mouse or keyboard) for a computer! We've used water, aluminum foil, playdough, even PEOPLE! This lesson was the perfect collaboration between the classroom and the library. The math teacher handled all the math content, while I taught the kids how to use the Makey Makeys to create a scaled-up piano... like in the movie Big! (Yes, we showed them this clip... and yes, they thought it was pretty cool!) Here is the small model piano the kids used, which was drawn by the creators of Makey Makey: 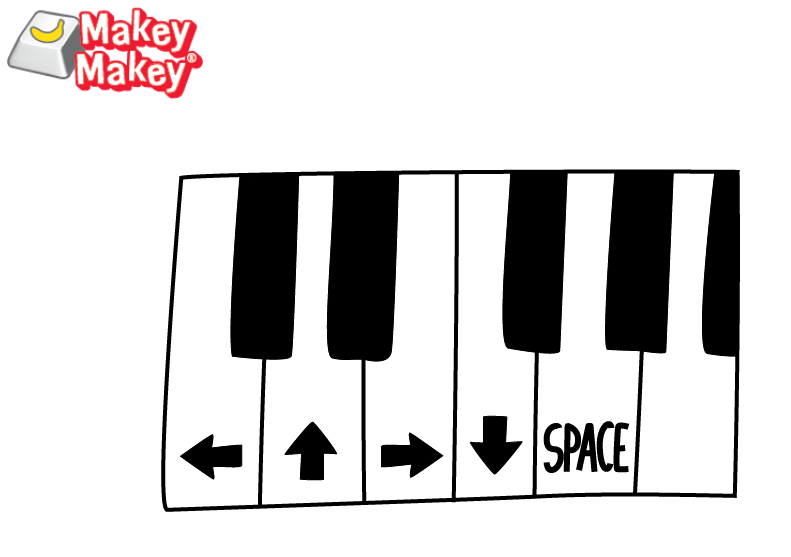 The teacher allowed the students to pick their own scale factor. She created a quick rubric for grading, found HERE. The kids had worked on scale factor in class prior to coming to the library, so after a brief review of scale factor, I taught them how to wire up the Makey Makey... and they were off and running... well, dancing! Take a look at some of the amazing work they did! And now you know why I say I have the best.job.ever. How would YOU use Makey Makeys with your students? Drop a comment below and let me know!!
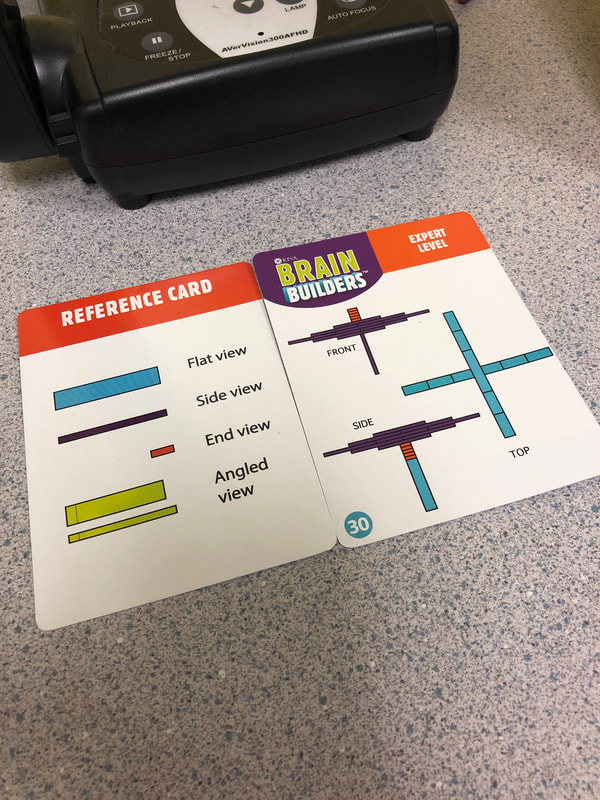
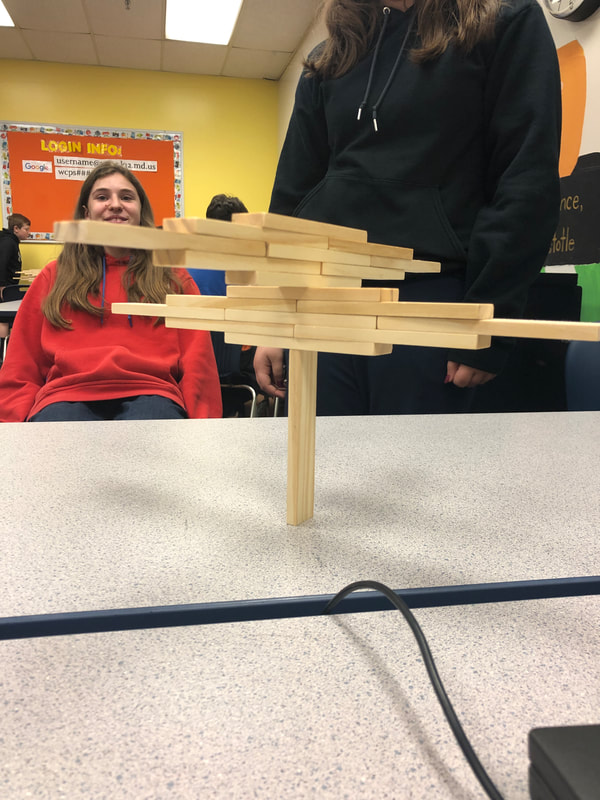
 If you haven't already heard of the wonders of KEVA planks, let me introduce you to one of the most popular Makerspace materials I have purchased to date! These small, perfectly cut pieces of wood may look just like any other wooden block; however, their simplicity makes them perfect for everyone to use! First - what is a KEVA Plank? As you can see from the photo below, they are small planks made of maple or pine (my sets are pine). Every piece is exactly the same - 1/4" thick, 3/4" wide, and 4.5" long. 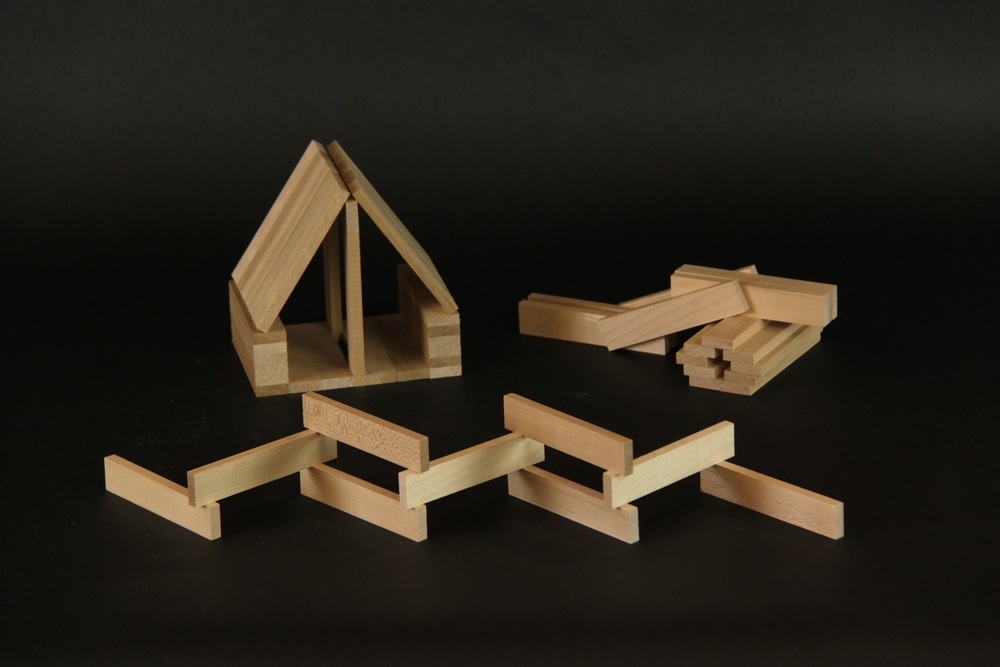 Why do those measurements matter? Because KEVA Planks follow the "Golden Ratio" of 1:3:5. 1 plank wide is 3 planks tall and also 5 planks long, as illustrated in this picture: 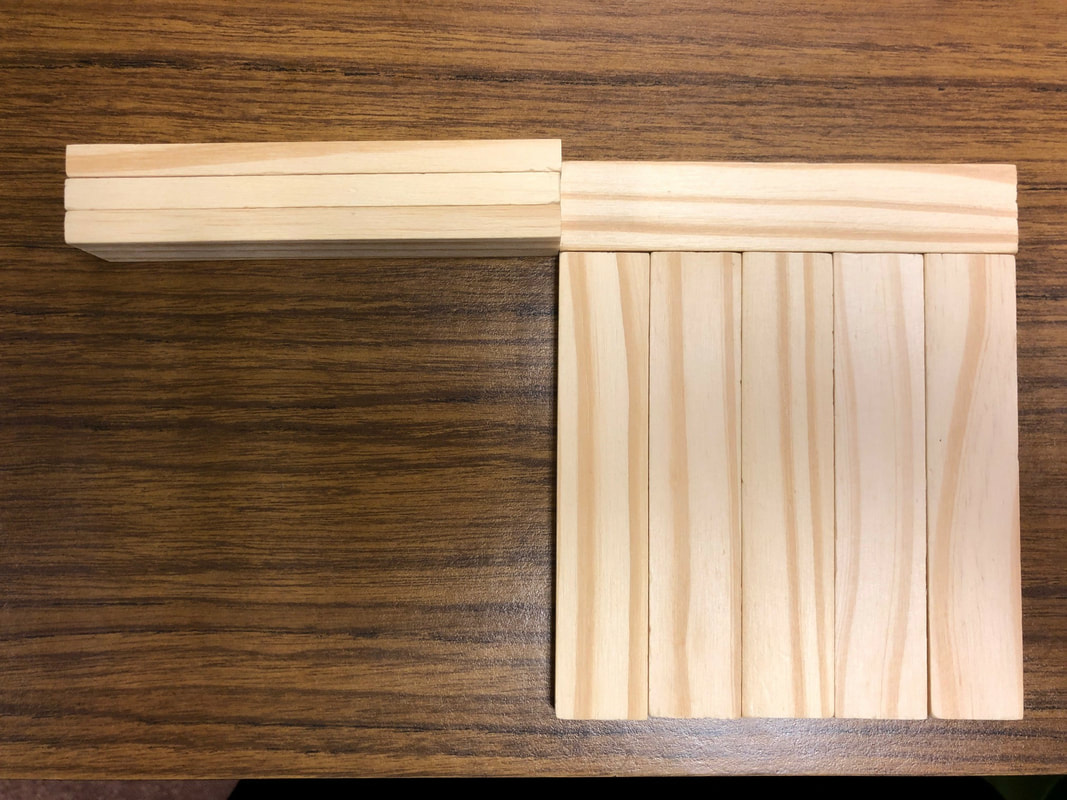 This is know as the beginning of a series of numbers discovered by Leonardo Fibonacci. You can learn more about the Fibbonacci sequence here: In short, the ratio of each successive pair of numbers in the series approximates the irrational magic number called phi, or 1.1618 (not to be confused with pi, or 3.1415). The interactions of the first numbers in the Fibbonacci sequence create perfect proportions and are very versatile. You see it in the architecture of the Parthenon, the Great Pyramids, and more! So how can you use KEVA Planks with kids? Fortunately for teachers, the KEVA Planks company has created an amazing selection of resources for parents, educators, and librarians! Just click on this picture below, then mouse-over the Educators or Libraries tabs as appropriate! 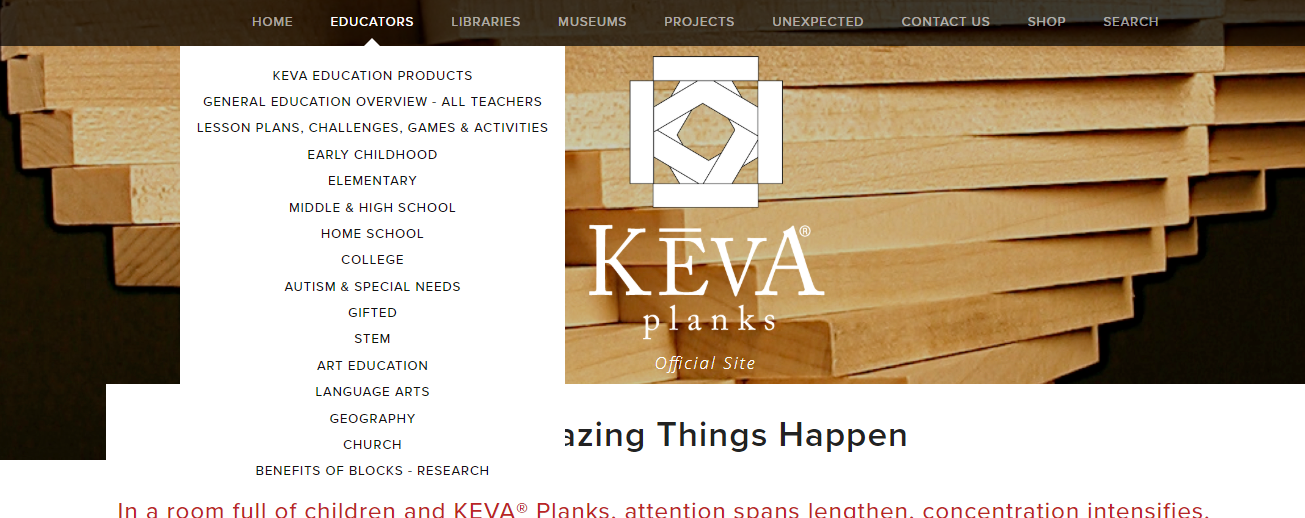 I used KEVA Planks with my 6th and 7th grade Coding and Computational Thinking classes with amazing results. I used the KEVA Brainbuilders boxes to supply them with a warm up challenge. Each card has 1 pattern to be built with 20 planks or less. Here is a sample expert level card with two of my students who worked together to solve it. This was a very difficult card, but they did it!
The collaboration, engineering skills, and communication that my students displayed while they worked together to solve these puzzles was incredible. My students have made some AMAZING structures with the KEVA Planks. I have given them challenges, such as "build the tallest freestanding structure you can using triangle shapes" or "build the longest bridge you can build without supports". 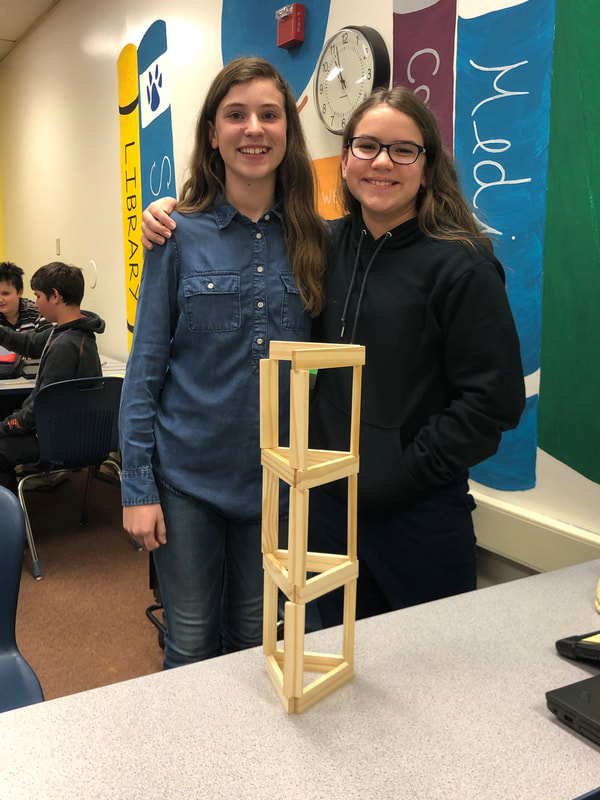 Sometimes I have just allowed them to free build and use their imaginations. They have built replicas of famous buildings, free standing structures taller than me... they even studied the physics of skyscraper demolition by building and recording the demolition of model skyscrapers, analyzing the fall patterns in slow motion to see what the smallest area of "debris" was that they could make. I am always impressed by the designs they come up with!
How would YOU use KEVA Planks with your students? Drop a comment below and let me know!  Sphero SPRK+ robots are not new to my blog... I have blogged about using them in class (and in summer school!) before. My students love them. This year I wanted to try a new approach to coding them. Thanks to inspiration from other blogs and the Sphero website, my students and I did a Sphero Mini-Golf Challenge! The goal was simple - design and build a golf course, then code your Sphero to get to the hole in the least number of movements possible. The kids had an absolute blast coming up with their golf course designs. They each had to select a theme and "hazards" that went with the theme. For example, one team created a beach theme and they created palm trees and surf boards to go with their project: 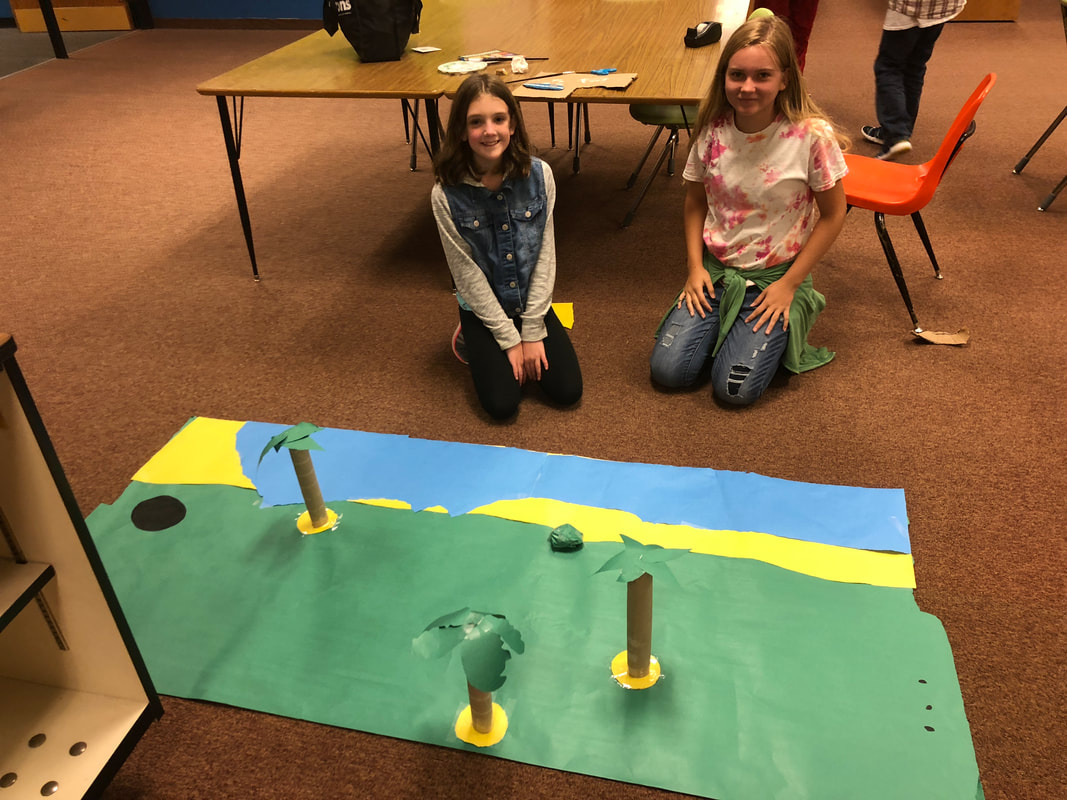 This project was fantastic - it hit all the components of the engineering and design process that we've been working through, and it really stretched their coding skills! 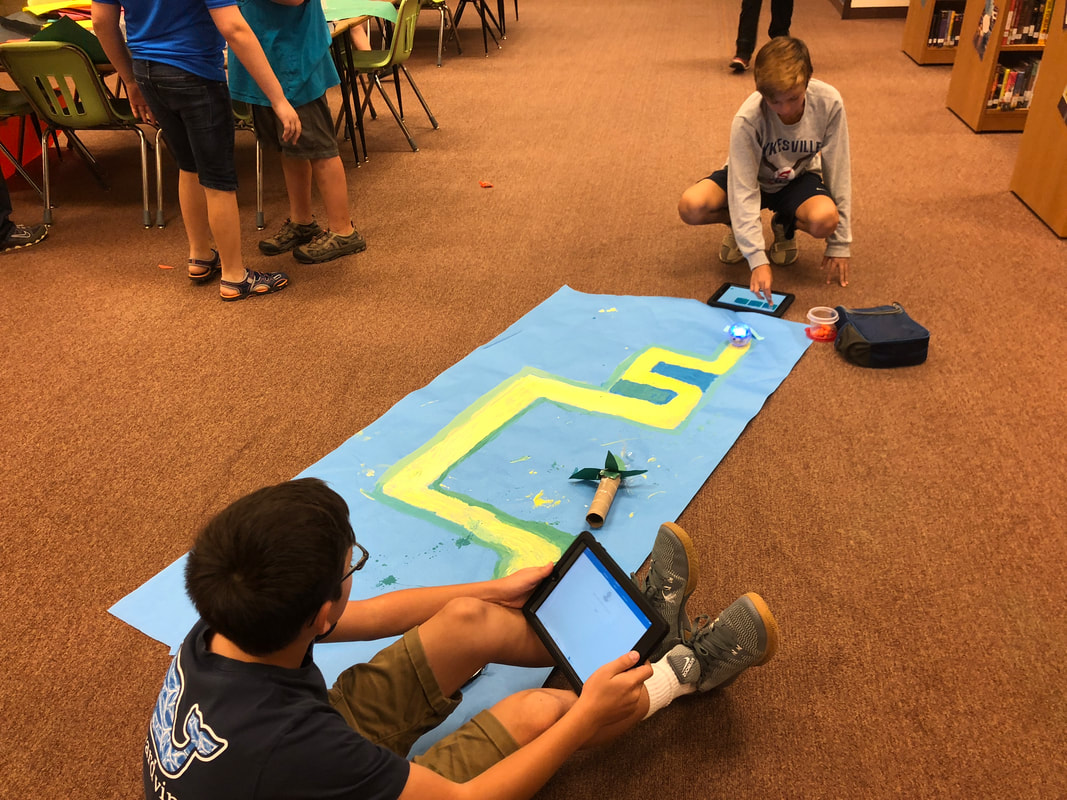 Once everyone created their mini golf course, we had one whole class period where everyone circulated around and played golf on each others' designed courses. They even kept score using these golf score cards, created by Sphero... It was amazing, and engaging! Disclaimer: I have a LOT of Spheros... we have 15 here at SPMS, due to generous donors on DonorsChoose.org. We are also a 1:1 iPad school, so my students could work in partner pairs. For this project, I would recommend groups of 4 or less to allow everyone to design, build, and code. 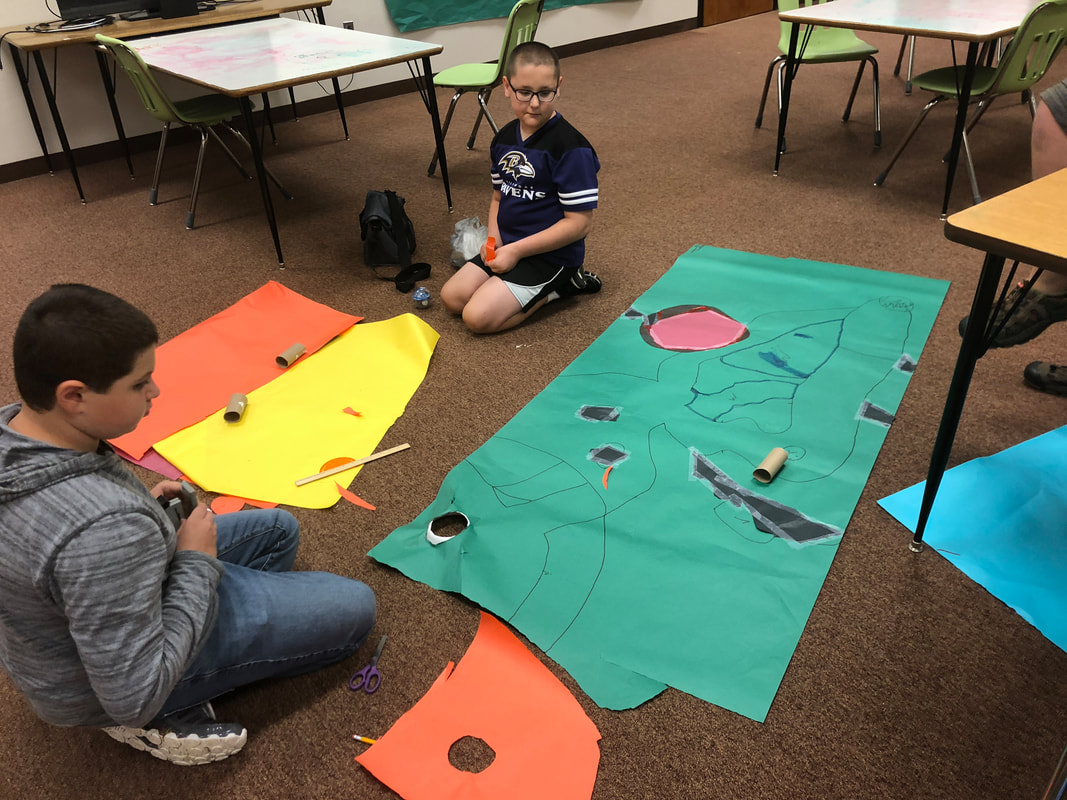 Check out this groups' success with coding... this was a tough project, but they did it! How would you integrate Sphero Robots into your instruction? Comment below and let me know!
|
About the AuthorHi! Welcome to my blog! My name is Christine Hurley. This is my 17th year of teaching - I've taught Kindergarten, 4th grade, elementary media, and now I am in my 6th year of teaching middle school media! Archives
September 2020
Categories
All
|
 RSS Feed
Proudly powered by Weebly