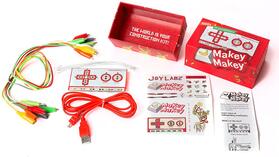
 I recently had the opportunity to partner with a 6th grade math teacher and her Magnet students for an amazingly awesome and fun project - making pianos with Makey Makeys! If you aren't sure what a Makey Makey is, check out this video for a quick explanation... it takes any item that conducts electricity and turns it into an input device (like a mouse or keyboard) for a computer! We've used water, aluminum foil, playdough, even PEOPLE! This lesson was the perfect collaboration between the classroom and the library. The math teacher handled all the math content, while I taught the kids how to use the Makey Makeys to create a scaled-up piano... like in the movie Big! (Yes, we showed them this clip... and yes, they thought it was pretty cool!) Here is the small model piano the kids used, which was drawn by the creators of Makey Makey: 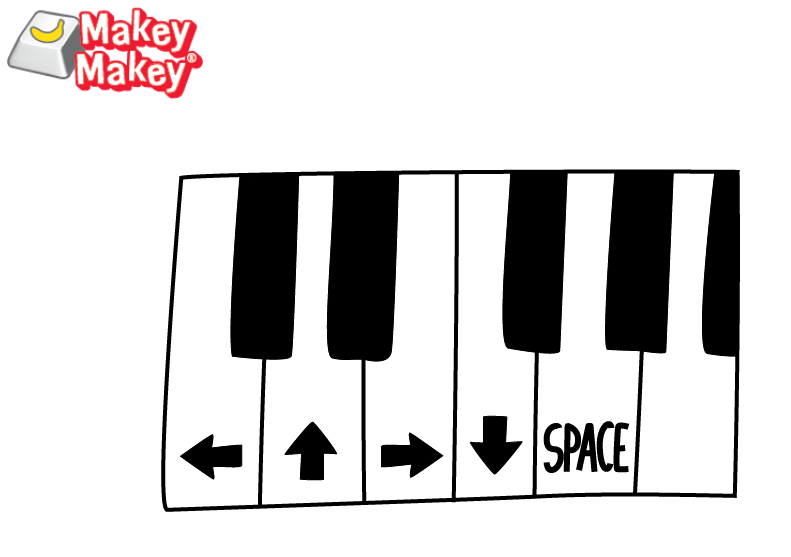 The teacher allowed the students to pick their own scale factor. She created a quick rubric for grading, found HERE. The kids had worked on scale factor in class prior to coming to the library, so after a brief review of scale factor, I taught them how to wire up the Makey Makey... and they were off and running... well, dancing! Take a look at some of the amazing work they did! And now you know why I say I have the best.job.ever. How would YOU use Makey Makeys with your students? Drop a comment below and let me know!!
0 Comments
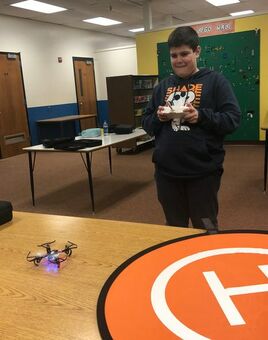 In the spring of 2018, I attended the Common Ground Conference in Ocean City, Maryland, where I had the pleasure of attending a session all about using drones in the classroom! The session focused on an after school drone club using Parrot Mambo Fly Drones. These cool little drones are very stable when they fly, making them perfect for beginning drone flyers. I immediately set to writing a Donor's Choose grant for some drones to start an after school club of my own. Much to my chagrin, the Parrot Mambo Fly drones were not available through Donor's Choose, so I was able to procure some Holy Stone HS170 Predator Mini Drones instead. These small, inexpensive drones are not quite as stable as the Parrot Mambo Fly drones, but they do have some advantages! Replacement parts are cheap, including batteries, motors, and propellers. They also come with a separate controller, so no external technology is necessary (unlike the Parrot which requires a device to fly). When the drones arrived, drone club was born! We meet once a month on select Thursdays after school. Right now we are still learning to fly our Holy Stone Predators, but the kids are loving the experience. Our first order of business was to create a drone safety guide. The students generated our drone "best practices" to make sure everyone was safe and had a good time!
We have also done research into real-world careers that make use of drones, including real estate photography, military use, and even the future of retail delivery! Here are some photographs from Drone Club... more to come as we expand our drone program! My next goal is to get us eight Parrot Mambo Fly mini drones (we currently have 2) so we can code them using Swift Playgrounds on the iPads. Look for a future blog post as it develops, and if you have any ideas for our drone club, drop a comment below and let me know!
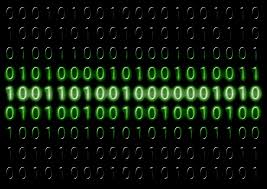 Coding is a critical skill that is being pushed more and more in public schools. I teach a weekly coding class during our Targeted Intervention and Enrichment period. I have both 6th and 7th graders, twice a week per class. We use a variety of coding platforms to code, including Code.org, Code Combat, Scratch 3.0, a variety of robots and more. However, once in a while we just need to unplug and do an activity that doesn't require a screen. Enter Binary Bracelets! 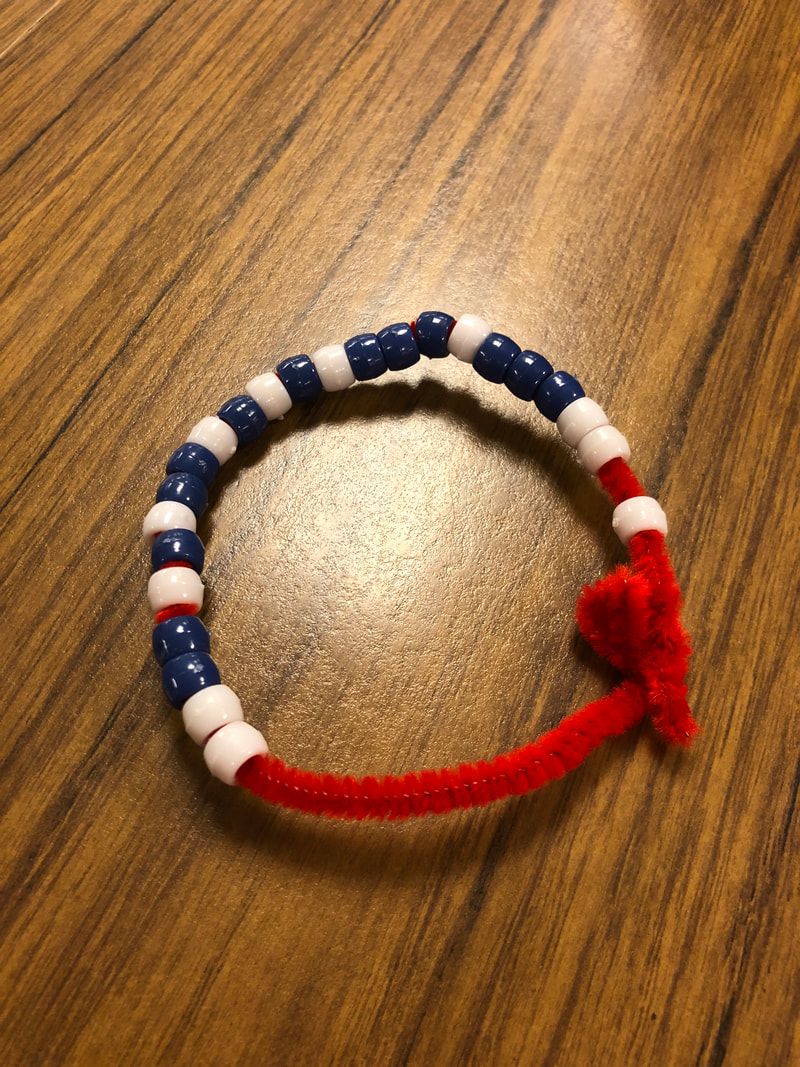 I pulled this lesson directly from Code.org. The materials are simple: chenille stems, pony beads, and a copy of the Binary Bracelet Code displayed and/or copied for students. I'd also recommend paper plates for students to sort and store beads while they work so they aren't all over the floor. Yes, that is the voice of experience speaking. For the bracelets, students will need to select 3 colors: a color to represent 0, a color to represent 1, and a color to act as a "spacer" to tell each letter apart. First, we reviewed the difference between an algorithm and a code. We explored the idea of binary code, which is "a coding system using the binary digits 0 and 1 to represent a letter, digit, or other character in a computer or other electronic device." I provided them with the materials, and they were off and "coding" the initials of their name onto their bracelets! 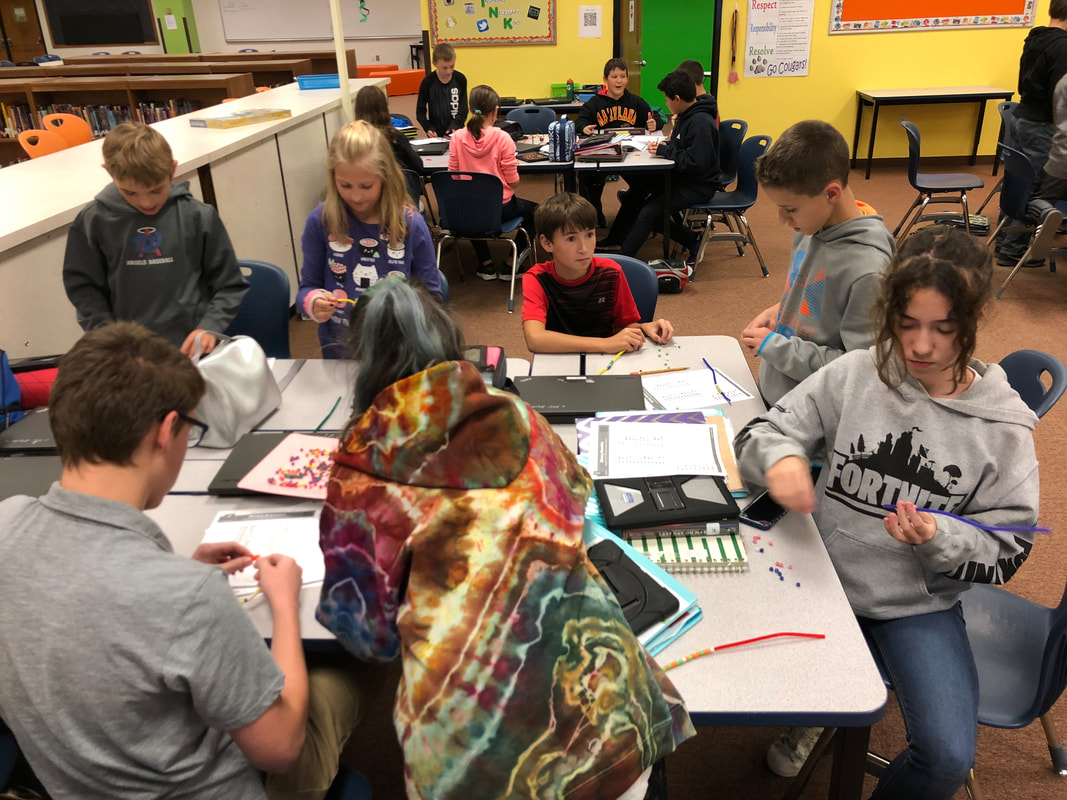 To my utter delight, they were excited to work on this project! Even better, they seemed to really understand how to make the bracelets! As a middle school teacher, you never know how students will react to a lesson. This one was a hit! Here are some shots of their finished bracelets. I was so proud of them and their hard work! April was National Poetry month, and this year the library hosted our first-ever "Blackout Poetry" contest! Blackout poems are created by taking a piece of text and blacking-out words so the poems are left. Here's one I did as an example: 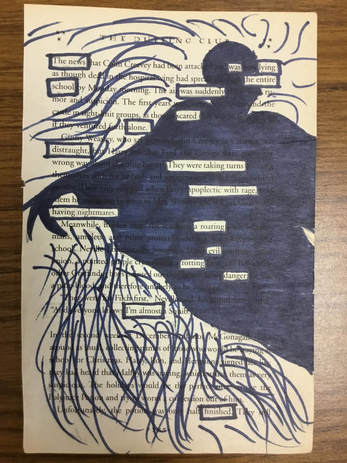 The page is from Harry Potter and the Sorcerer's Stone. I had a copy come in that all the pages were falling out... so I sacrificed it for this project. I sent the directions out to our ELA department, including this awesome resource from Scholastic. The student submissions were amazing! The winner was Brianna N., for her poem below, entitled The Mirror. 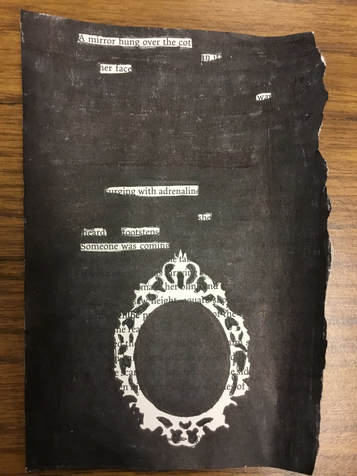 Here are some of the other student submissions! I am so proud of my students and their creativity.  Summer school is a great opportunity to try out some unconventional projects - the kids need extra motivation to continue to show up and work when it should be summer vacation. One of the most popular items in our Makerspace are the Sphero SPRK+ Robots. These small, easy-to-use robots are constantly skittering around underfoot in the library during the school year. They are sealed, so they are waterproof, too! I'd heard about using the Spheros to paint on Pinterest a few months ago, and I just KNEW we had to try it! However, the idea of having a classroom full of middle schoolers driving paint-covered robots around my carpeted library made me twitchy. I knew it would have to be a small group setting when other students would not be walking into the library... summer school seemed like the perfect opportunity to try out this fun way to create some abstract artwork! We used 9'x12' plastic painting tarps on the floor, the SPRK+ Sphero robots, the SpheroEdu app, washable tempera paints, 8.5"x11" cardstock, and one iPad per Sphero: I was really impressed with their completed work! We discovered a few tips: 1. LESS IS MORE. Paint, that is... use less paint than you think you need. It spreads! 2. SLOW DOWN. Turn the drive speed down on the Spheros - otherwise you'll end up driving paint-covered robots on the carpet. Not that we did that or anything... 3. MODEL. I know that shouldn't need to be said, but model the expected behaviors first so the kids understand what they are to do (and NOT to do). I modeled everything and the kids were very careful and responsible with the robots and the paint. What could have been a huge mess was a really fun art project! If I were to do this during a regular school year, I would add a coding component too - the students did some limited coding with this project, but mostly drove the robots over their paper. I would use larger sheets of paper and require the kids code their robot to drive a pattern or path! My summer school sessions were time-limited, so for this project they were driving the robots manually. Check out some pictures of the students' work below, and don't forget to comment on how you might use Spheros to make art! |
About the AuthorHi! Welcome to my blog! My name is Christine Hurley. This is my 17th year of teaching - I've taught Kindergarten, 4th grade, elementary media, and now I am in my 6th year of teaching middle school media! Archives
September 2020
Categories
All
|
 RSS Feed
Proudly powered by Weebly