 If you haven't met Botley yet, you NEED to hang out with this cool little guy and his fun personality! This battery driven robot requires no previous coding skill and no additional technology - he just needs you to be ready to problem solve! I found the perfect opportunity to use our Botley coding robot kits with our Life Skills students. With the easy, push-button remote and the fun activity cards included, my life skills kids were coding within seconds! First, the students explored creating line paths for Botley to follow using the puzzle-piece shaped cards included with the kit: 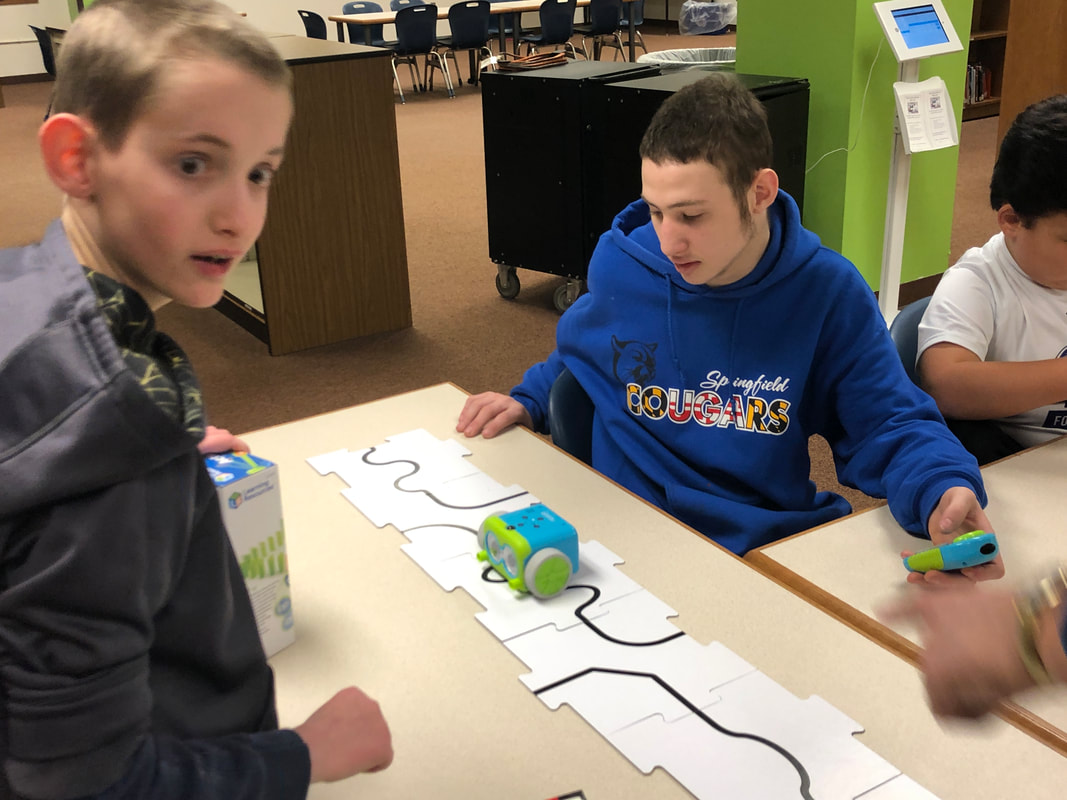 Next, they tried experimenting with some of the accessories, including the blocks, flags, and circle goals! 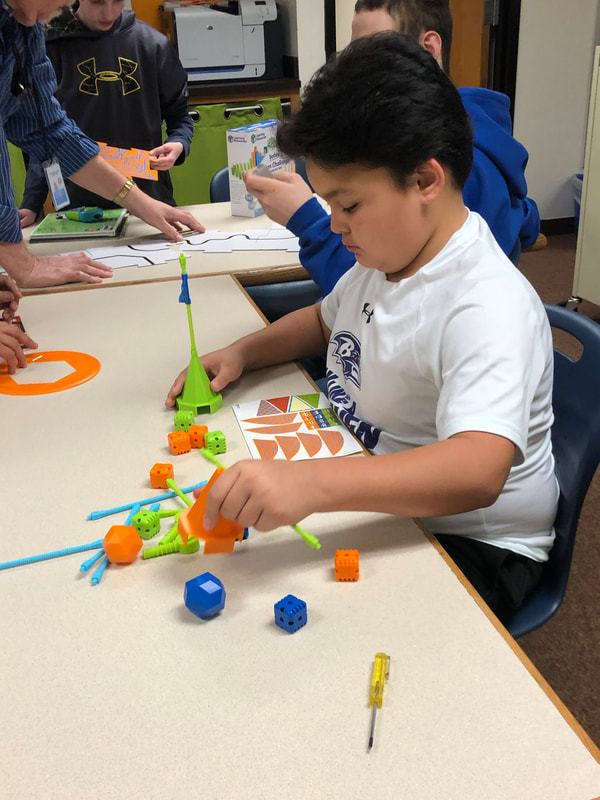 They used the accessories to make a goal for Botley to go and "grab" the square block with his two small arms, coding it with the remote control! 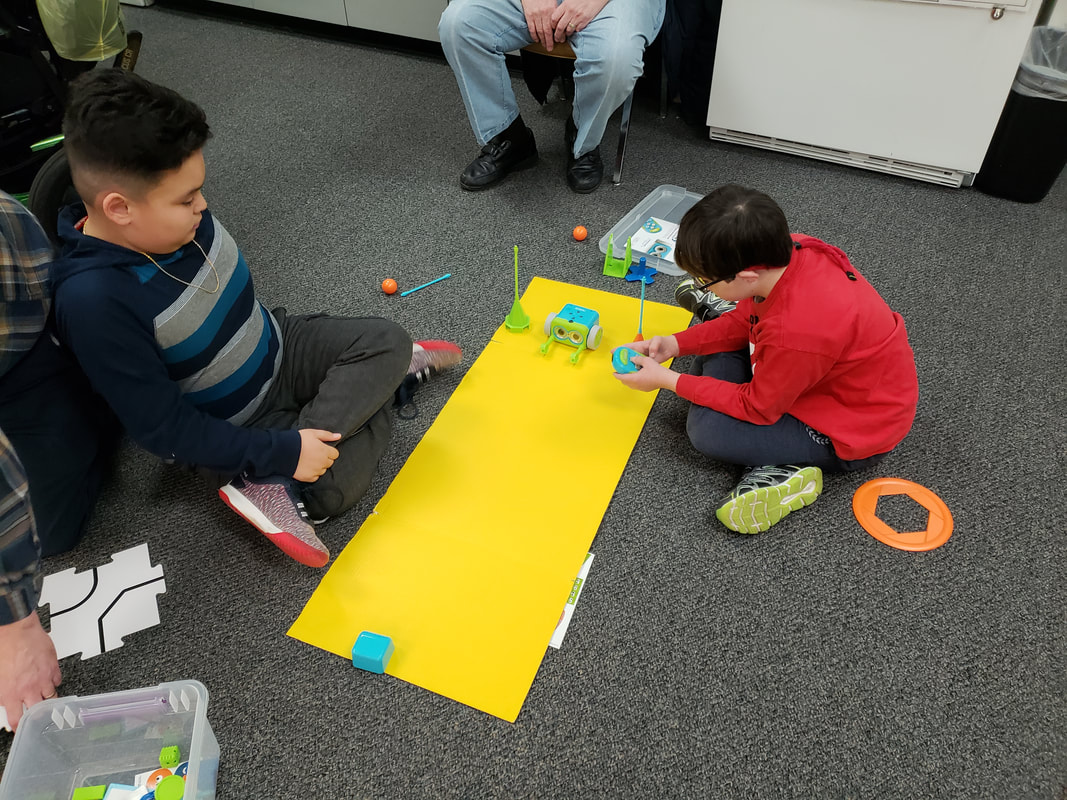 They even created fun obstacle courses for Botley to navigate, and coded him to move through it: 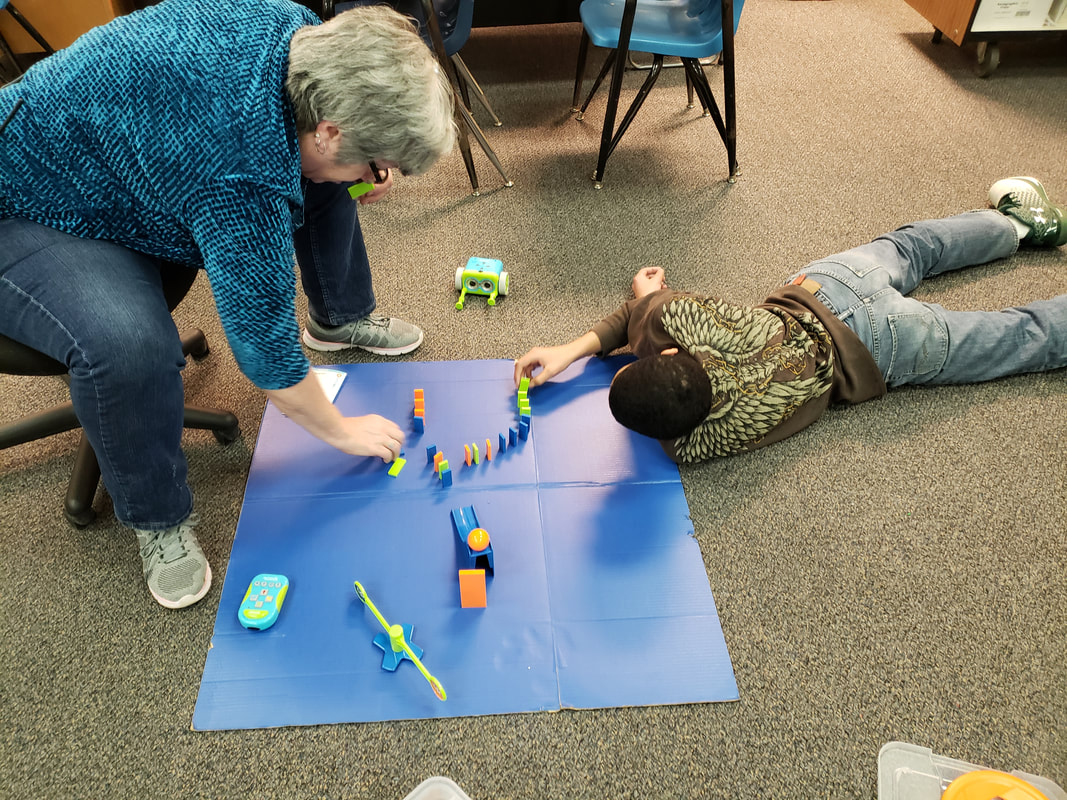 Using these Botley Robots with my life skills students was one of the most rewarding lessons I've done yet this year. These student-friendly robots truly allow anyone to code successfully!
How would YOU use Botley in your library? Drop a comment below and let me know!
0 Comments
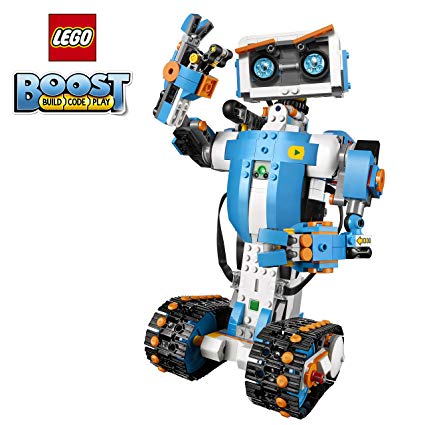 Are you looking for a Lego kit for your students that teaches coding? The Lego BOOST Creative Toolbox is perfect for ages 7-12! It claims to help kids learn the basics of coding, engineering, and robotics. To accompany it, you'll need to download a free app:  The kit includes a motorized hub, color sensor, distance sensor, an extra motor, and a little over 800 pieces to build one of five models. It reminds me of a kinder, gentler, less expensive version of the Lego Mindstorms EV3 kits! I wrote a grant for the Lego BOOST Creative Toolboxes on Donor's Choose and it was funded fairly quickly. My students tore into the boxes as soon as they arrived: 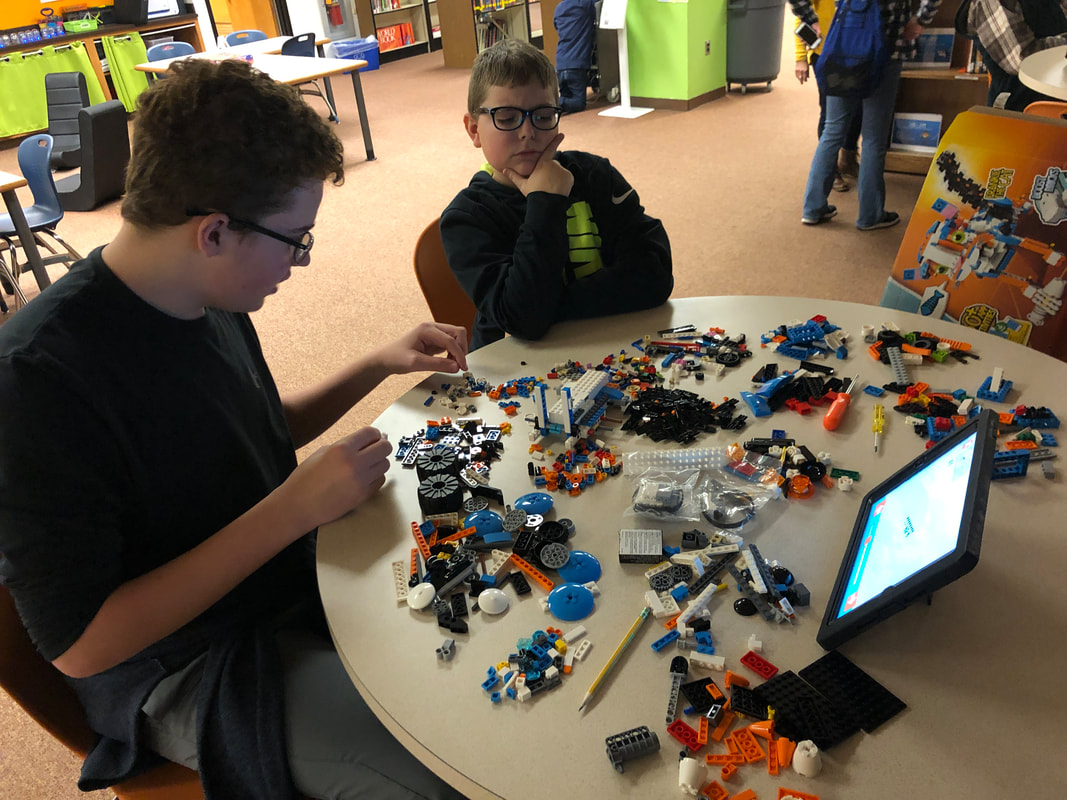 I was a little concerned at first that the functionality would be too easy for my middle school students, but they proved to be engaging enough that even my 8th graders enjoyed the challenge of building them! One group chose to focus on building Vernie the robot, who moves and talks: 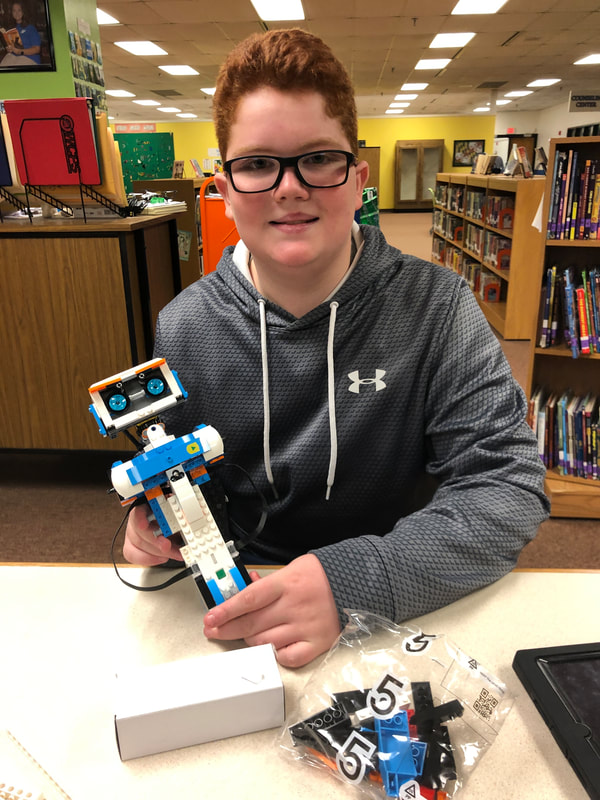 The other group decided to work on the M.T.R.4., or the Multi-Tooled Rover 4. It's a rover with several fun attachments that kids can use in a variety of ways! 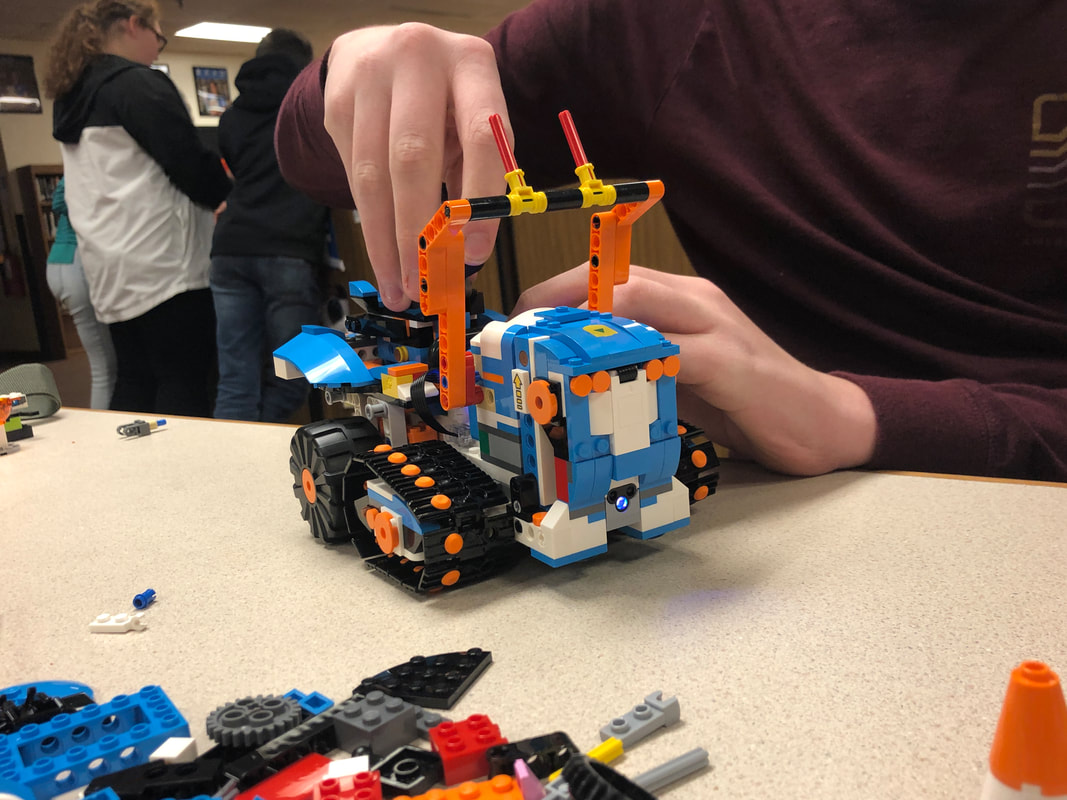 I love that the Lego BOOST Creative Toolbox provides versatility in a way that is less overwhelming than the Mindstorms EV3 kits. We have the EV3 kits, but my students often shy away from them because they are more difficult than they have time or desire to break into. The BOOST kits, however, feel fun and accessible from the beginning! As far as the coding goes, the app is very easy to use. My students, with little prior coding experience, were able to pick it up effortlessly. It teaches coding through a series of step-by-step challenges, and it provides the chance for open-ended play with the robots as well. 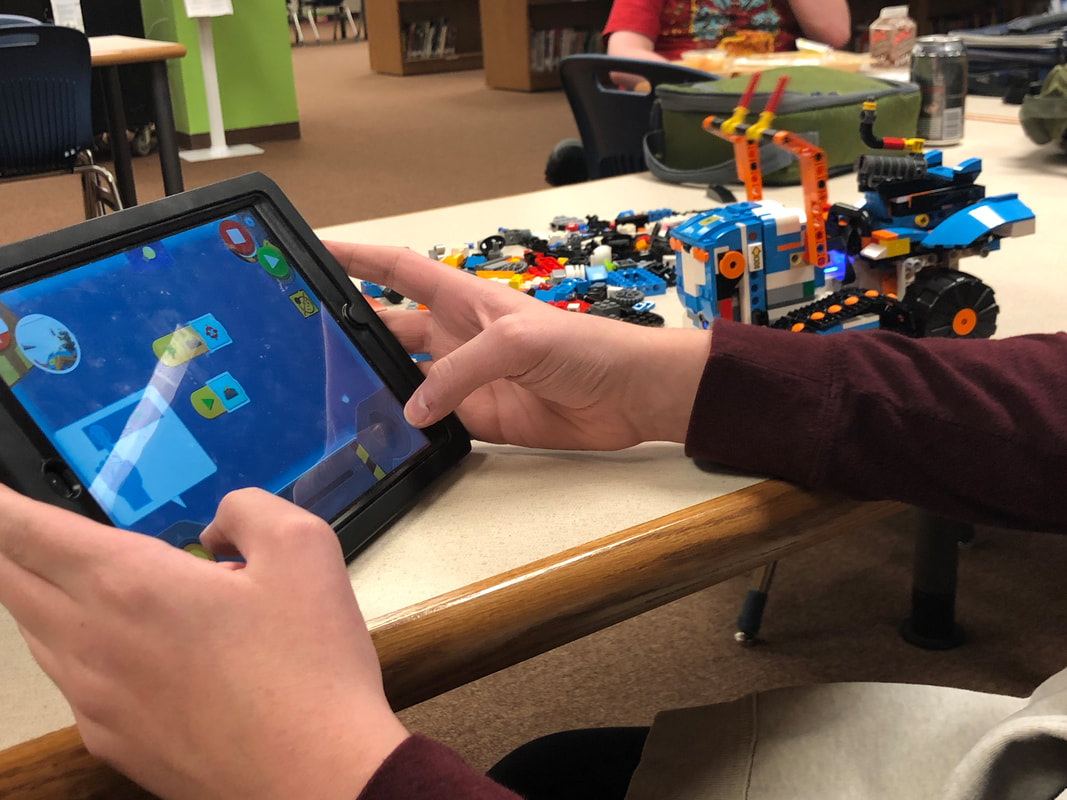 The only limitation I would say that this kit has is the same as other Lego Robotics kits - generally they are built to be 1:1 or 2:1 student-to-kit ratio. At $160 a kit, that can get expensive very quickly. I have two kits in my middle school media center and for now, that is enough for us!
Otherwise, I would definitely recommend the Lego BOOST Creative Toolbox for students in 3rd - 7th grade! 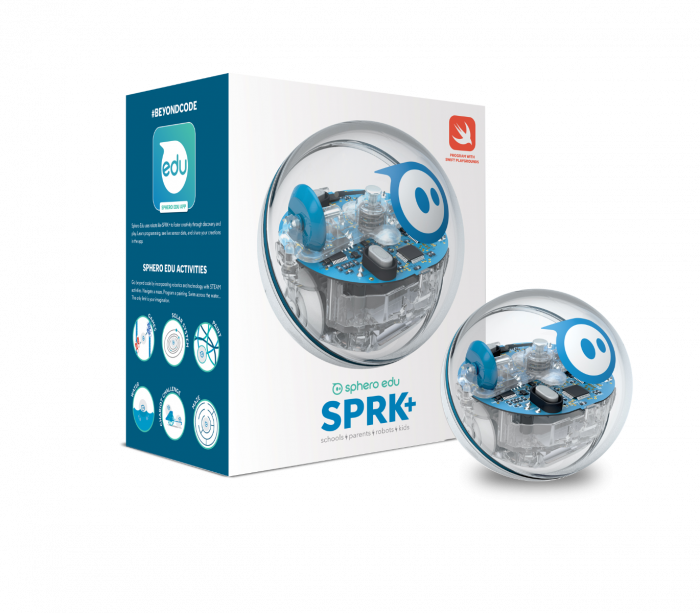 Sphero SPRK+ robots are not new to my blog... I have blogged about using them in class (and in summer school!) before. My students love them. This year I wanted to try a new approach to coding them. Thanks to inspiration from other blogs and the Sphero website, my students and I did a Sphero Mini-Golf Challenge! The goal was simple - design and build a golf course, then code your Sphero to get to the hole in the least number of movements possible. The kids had an absolute blast coming up with their golf course designs. They each had to select a theme and "hazards" that went with the theme. For example, one team created a beach theme and they created palm trees and surf boards to go with their project: 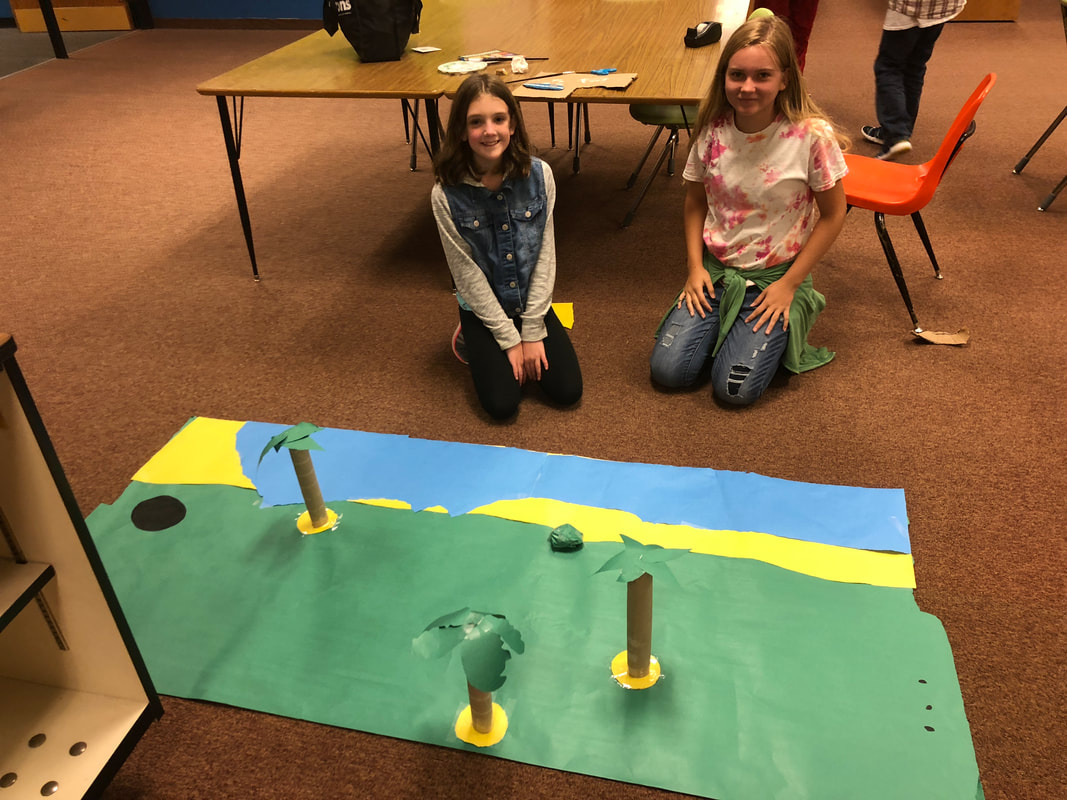 This project was fantastic - it hit all the components of the engineering and design process that we've been working through, and it really stretched their coding skills! 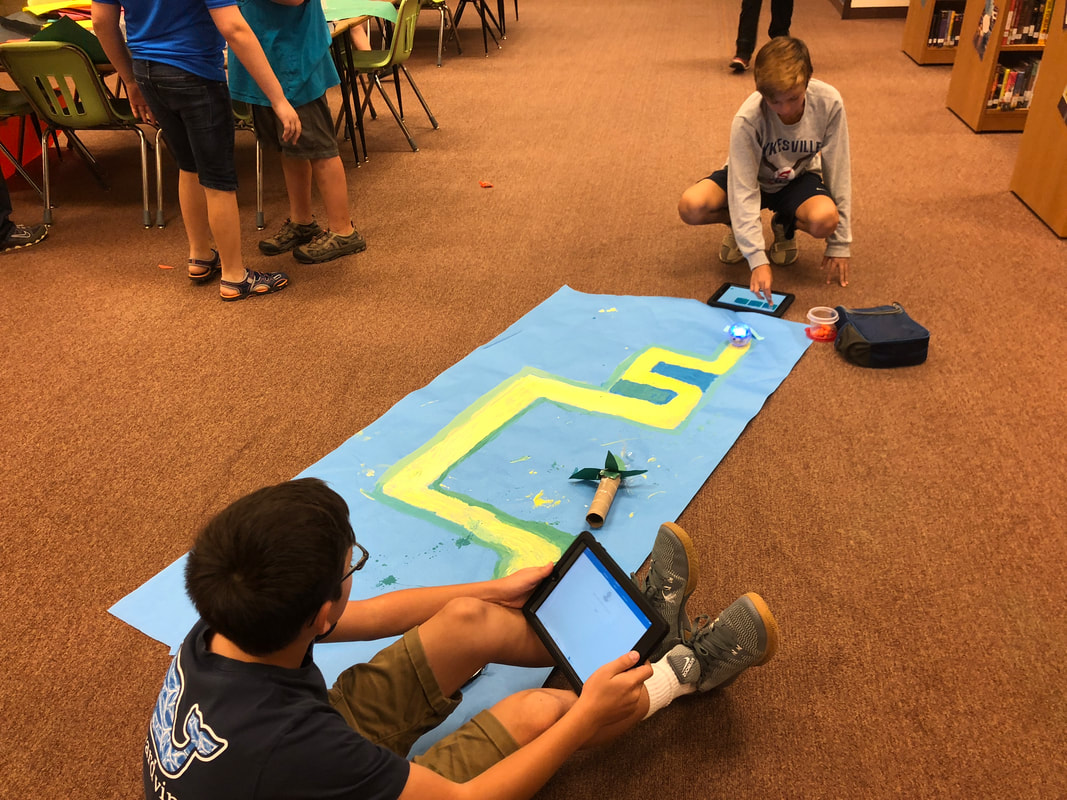 Once everyone created their mini golf course, we had one whole class period where everyone circulated around and played golf on each others' designed courses. They even kept score using these golf score cards, created by Sphero... It was amazing, and engaging! Disclaimer: I have a LOT of Spheros... we have 15 here at SPMS, due to generous donors on DonorsChoose.org. We are also a 1:1 iPad school, so my students could work in partner pairs. For this project, I would recommend groups of 4 or less to allow everyone to design, build, and code. 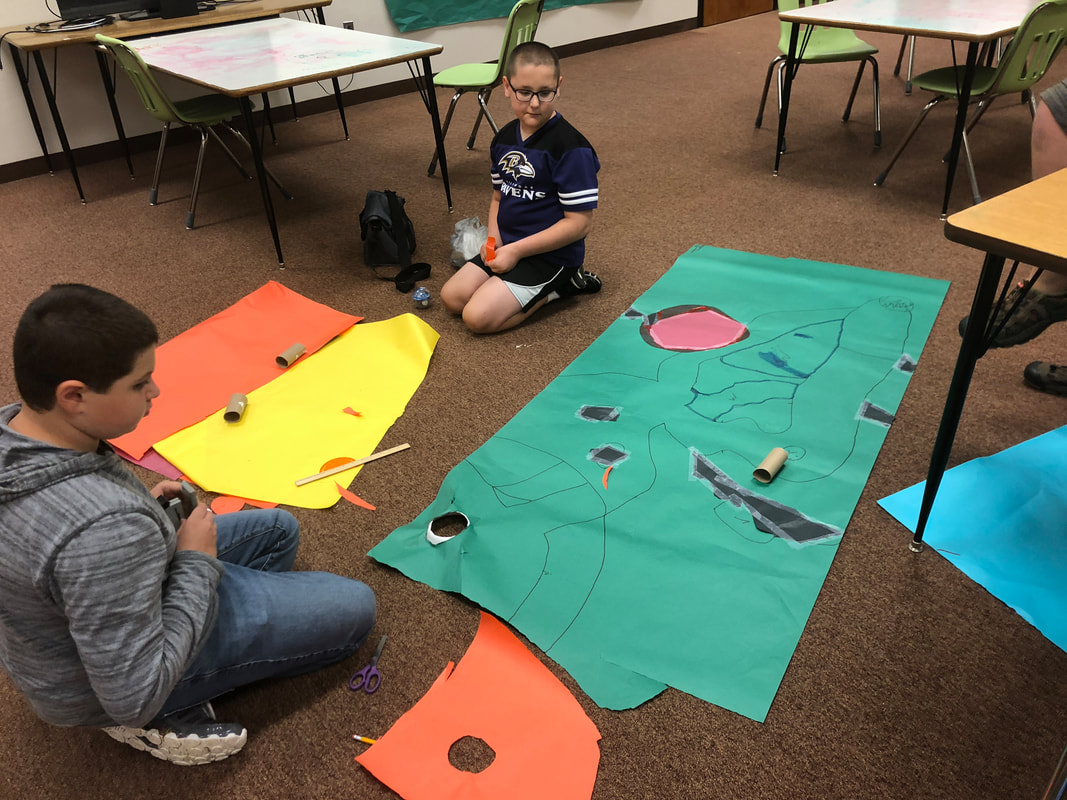 Check out this groups' success with coding... this was a tough project, but they did it! How would you integrate Sphero Robots into your instruction? Comment below and let me know!
 Summer school is a great opportunity to try out some unconventional projects - the kids need extra motivation to continue to show up and work when it should be summer vacation. One of the most popular items in our Makerspace are the Sphero SPRK+ Robots. These small, easy-to-use robots are constantly skittering around underfoot in the library during the school year. They are sealed, so they are waterproof, too! I'd heard about using the Spheros to paint on Pinterest a few months ago, and I just KNEW we had to try it! However, the idea of having a classroom full of middle schoolers driving paint-covered robots around my carpeted library made me twitchy. I knew it would have to be a small group setting when other students would not be walking into the library... summer school seemed like the perfect opportunity to try out this fun way to create some abstract artwork! We used 9'x12' plastic painting tarps on the floor, the SPRK+ Sphero robots, the SpheroEdu app, washable tempera paints, 8.5"x11" cardstock, and one iPad per Sphero: I was really impressed with their completed work! We discovered a few tips: 1. LESS IS MORE. Paint, that is... use less paint than you think you need. It spreads! 2. SLOW DOWN. Turn the drive speed down on the Spheros - otherwise you'll end up driving paint-covered robots on the carpet. Not that we did that or anything... 3. MODEL. I know that shouldn't need to be said, but model the expected behaviors first so the kids understand what they are to do (and NOT to do). I modeled everything and the kids were very careful and responsible with the robots and the paint. What could have been a huge mess was a really fun art project! If I were to do this during a regular school year, I would add a coding component too - the students did some limited coding with this project, but mostly drove the robots over their paper. I would use larger sheets of paper and require the kids code their robot to drive a pattern or path! My summer school sessions were time-limited, so for this project they were driving the robots manually. Check out some pictures of the students' work below, and don't forget to comment on how you might use Spheros to make art! |
About the AuthorHi! Welcome to my blog! My name is Christine Hurley. This is my 17th year of teaching - I've taught Kindergarten, 4th grade, elementary media, and now I am in my 6th year of teaching middle school media! Archives
September 2020
Categories
All
|
 RSS Feed
Proudly powered by Weebly